The Previous/Next Button helps your customers to move forward or backward through different pages in your survey.
How to use Previous/Next Button in your Survey?
Step 1 – Navigate to the Survey Creator
Open the Survey Creator to start creating your survey.
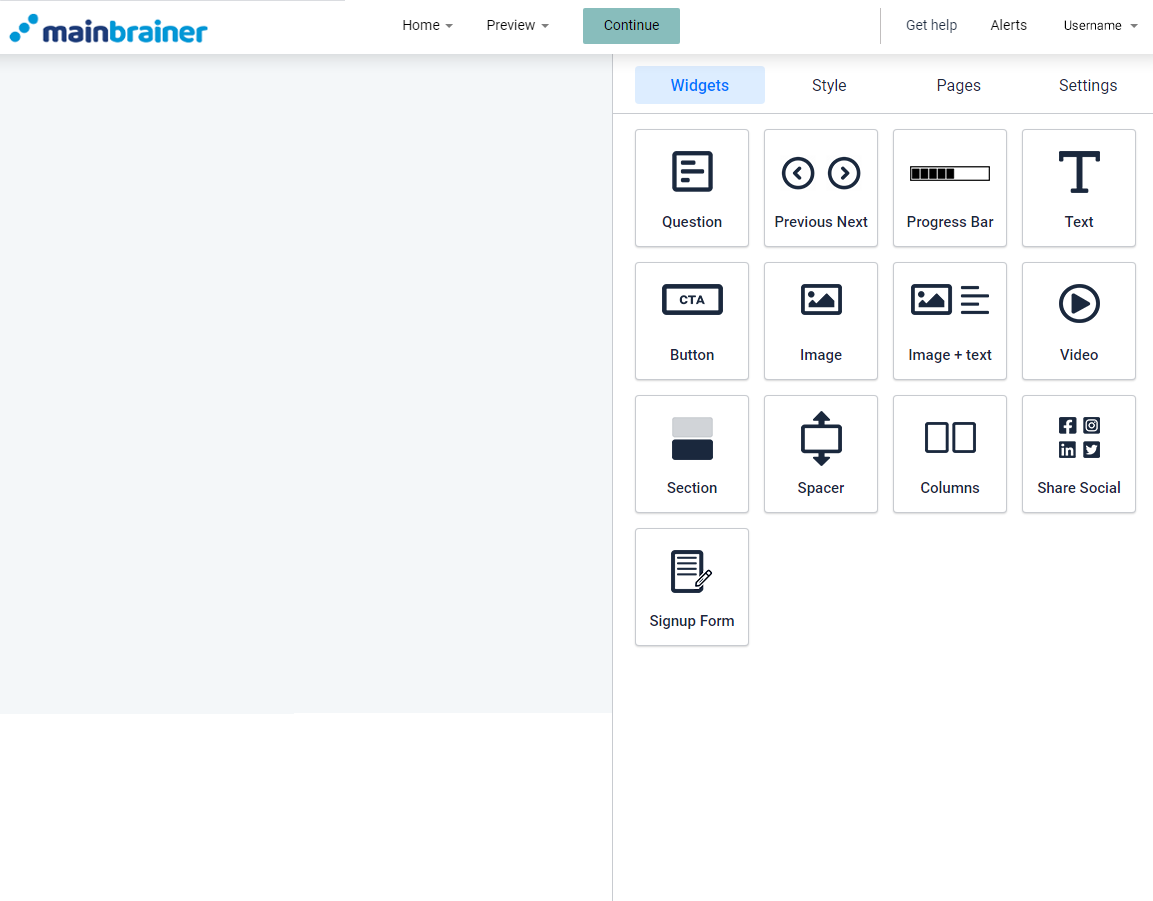
Step 2 – Add Previous/Next Widget in your survey
To add a Previous/Next to your Survey, drag and drop the widget to the work area.
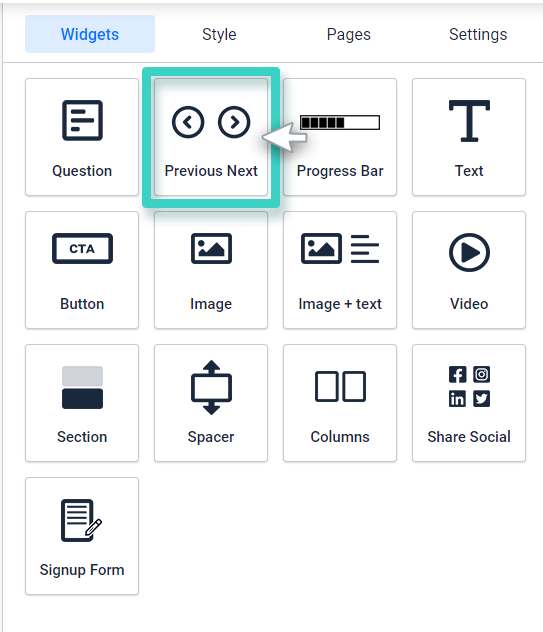
Step 3 – Customize the Previous/Next Widget
Once you drop the widget in the work area, you’ll see the widget settings on the right side.
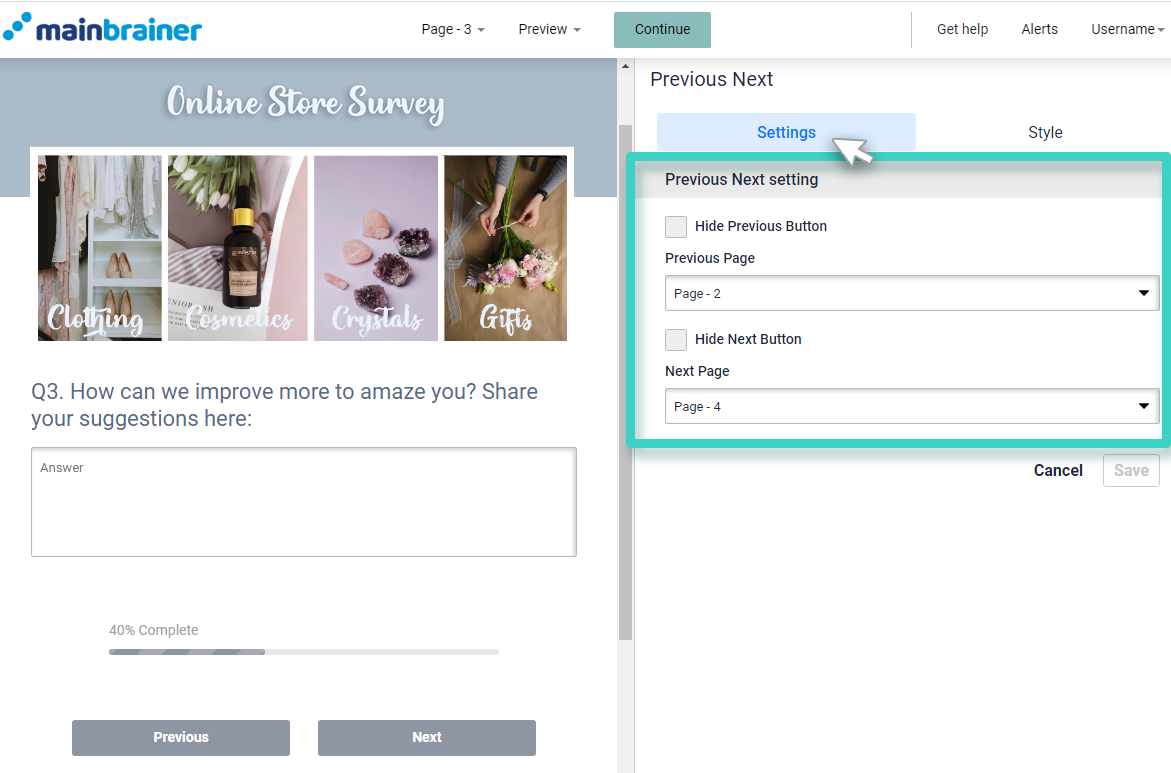
Use the settings to define Previous and Next Button for the current page.
You can:
- Select which page the button should take the customer on to once they finish filling the current page.
- Hide Previous or Next Button according to your preferences. It is useful for the Home page and the last page of your survey.
Step 4 – Style your Previous/Next Button
You can edit how the Previous/Next Button should look by clicking on the Style tab.
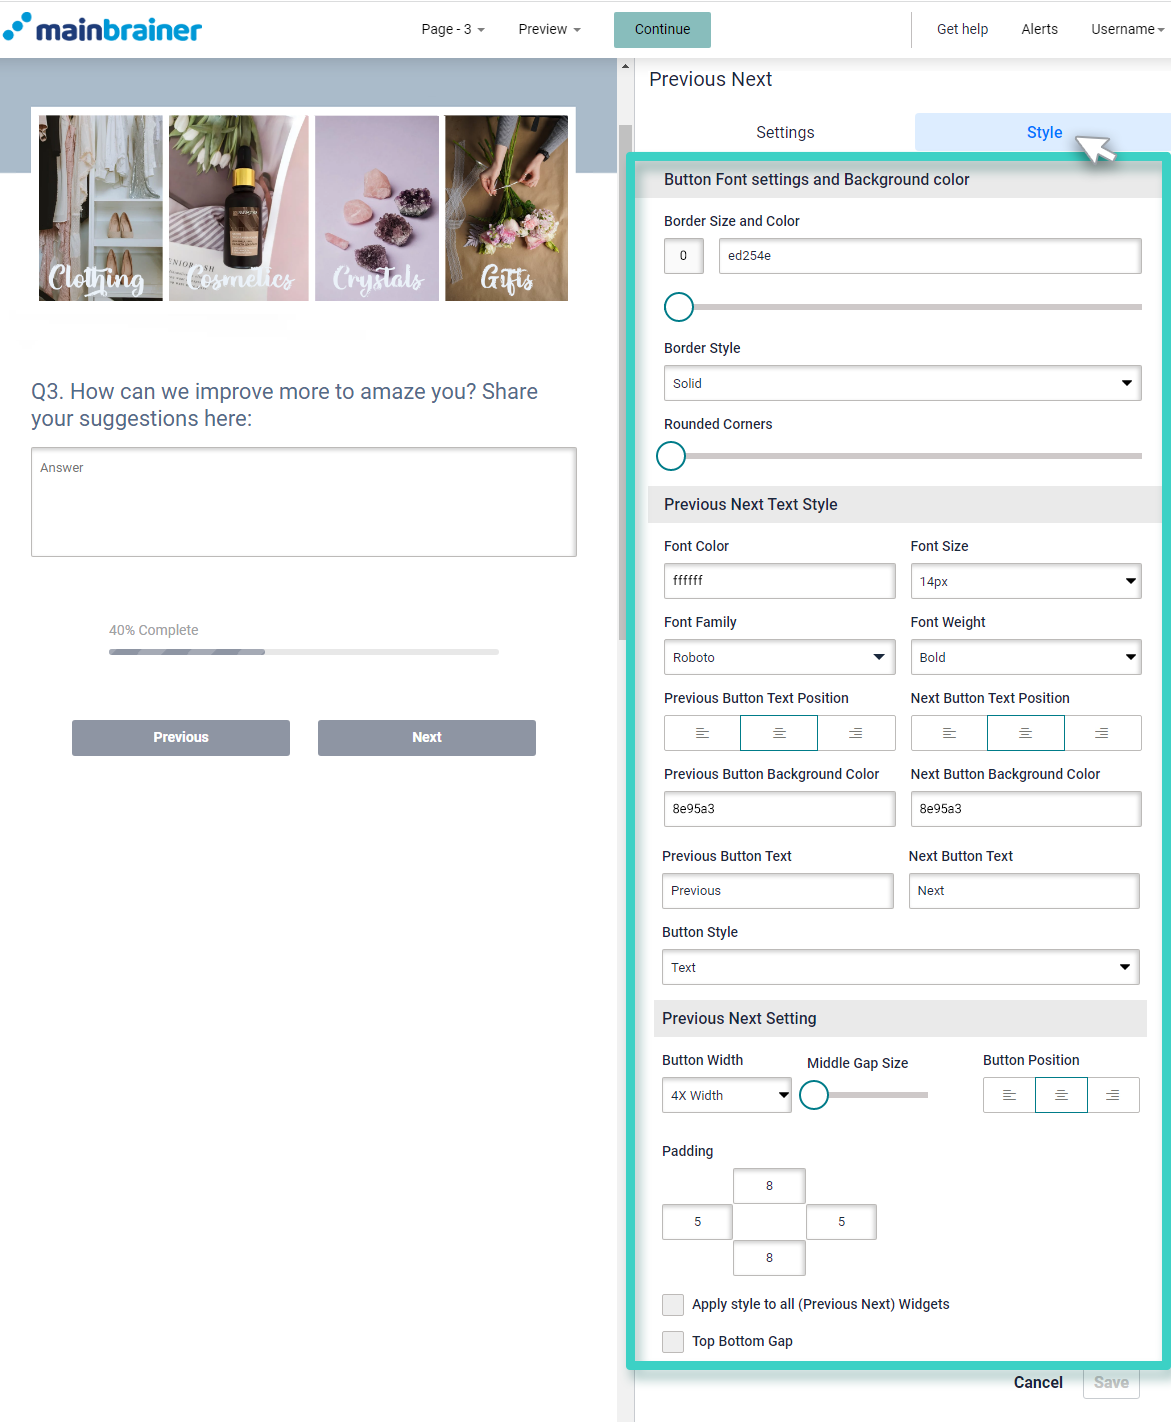
The different design options available to you are:
4.1 Previous/Next Button Font and Color Settings
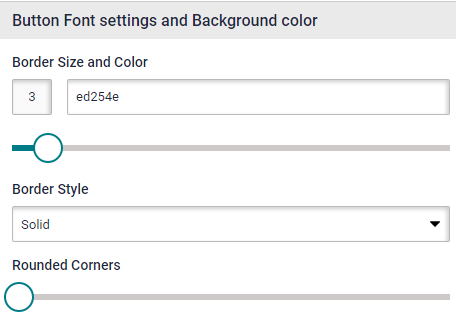
- Border Size and Color for you to adjust the thickness and color of the border around your buttons.
- Border Style to edit how the border should look i.e., solid, dashed, dotted, etc.
- Rounded Corners to edit how rounded or sharp you want the corners to be.
4.2 Previous/Next Text Style
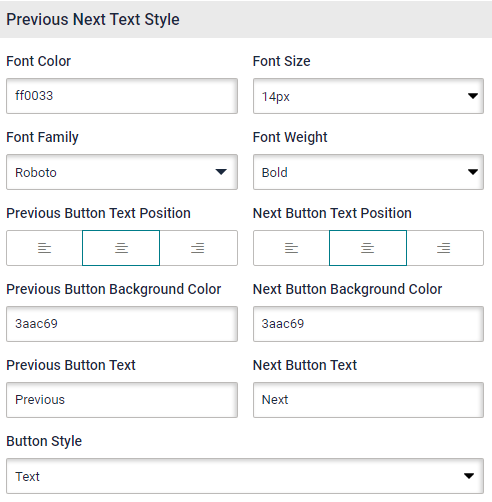
Use the options available under this section to edit the font style, color, font family, and font-weight, text position, and button text and style.
4.3 Previous/Next Button Settings
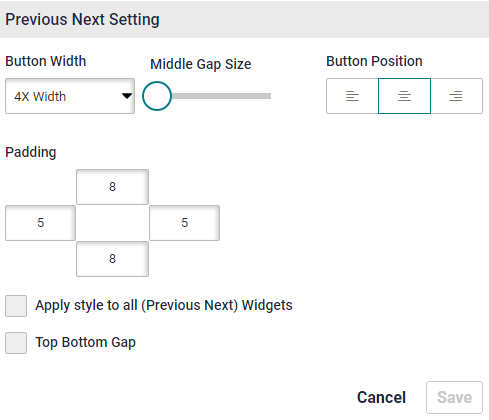
- Previous/Next Button Width to adjust the width of the button.
- Middle gap size adjuster to adjust the gap between the Previous and the Next button.
- Button Positions to adjust where you want to place the button on the page i.e left, middle, or right alignment.
- Padding to enter in the desired padding measurements. Padding refers to the gap between the text entered in the button and the button boundary.
- Apply style to all (Previous/Next) Widgets to ensure the buttons on all the pages look the same. This means you don’t have to edit every button on each page separately.
- Top Bottom Gap to put a gap between the last text on the page and the button.
Click Save and that’s it!
You have successfully added a custom Previous/Next button to your survey!
