When you choose to create an Email campaign in MainBrainer, you are redirected to the Email Manager which lists all the Email campaigns created under your account to date.
Once you navigate to your desired Email campaign, the Email listing states the current status of the Email campaign, the different actions possible, etc.
Here’s what the different sections and terms in an Email listing mean:
1. Email Name
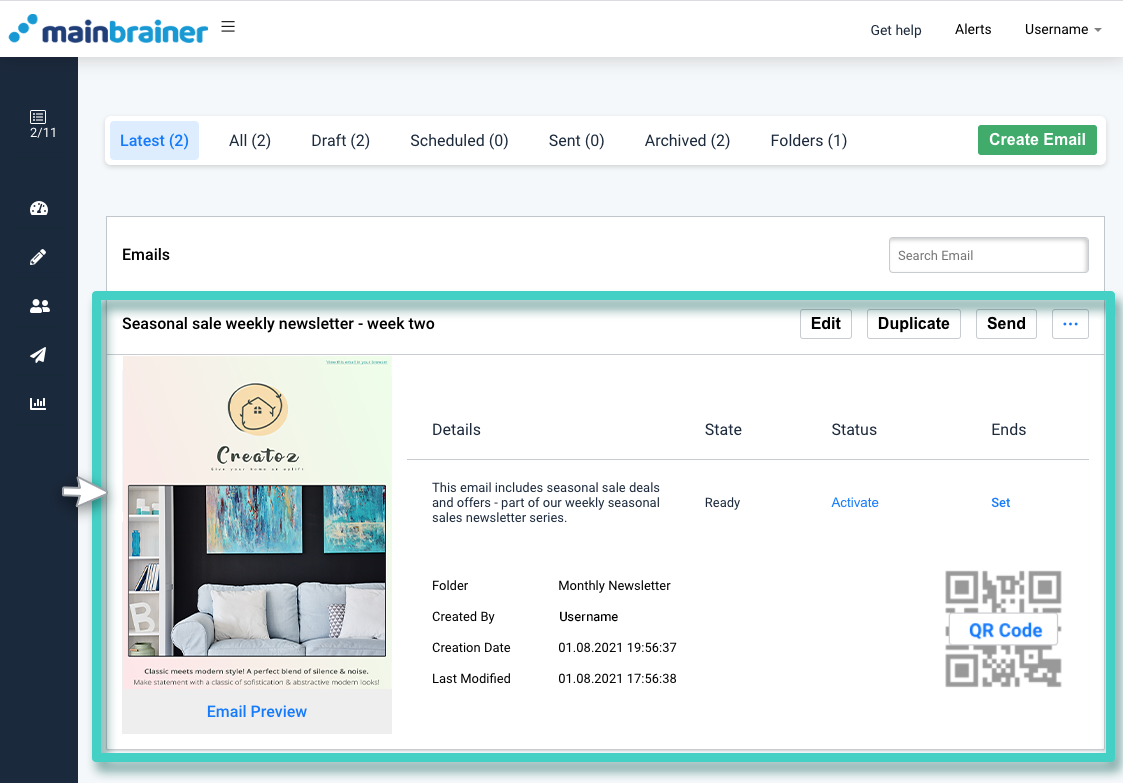
The area highlighted in the screenshot below displays the name of the Email campaign entered at the time of campaign creation.
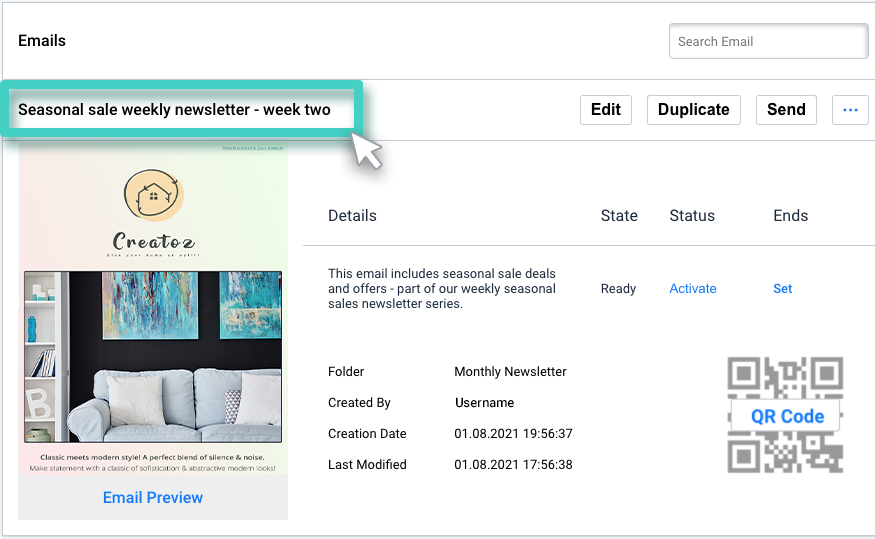
When creating an Email, if you choose not to enter an Email name, MainBrainer assigns a default name to the Email with the following structure:
<Email Creation date Creation time>
For example: Email 30-07-2021 10:00:00
2. Description
The area highlighted in the screenshot below displays the description text entered at the time of Email creation.
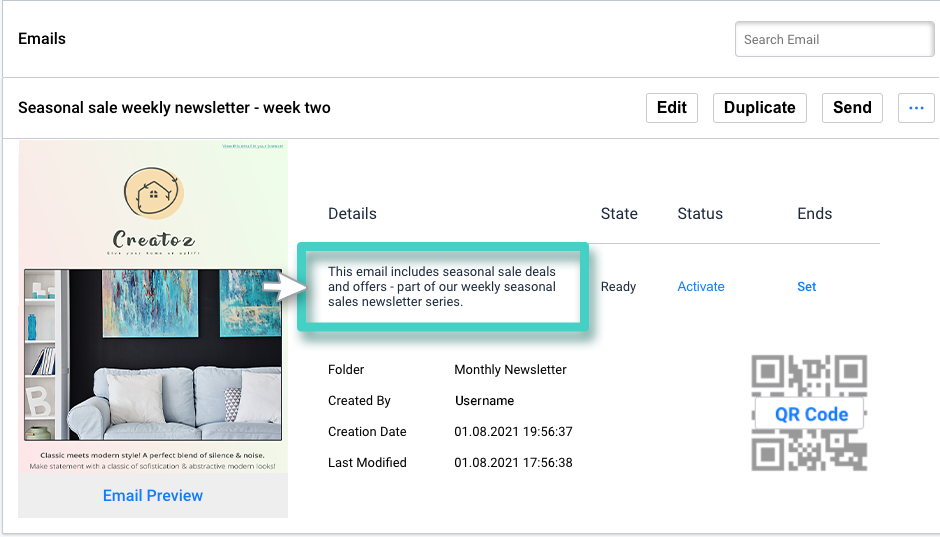
In case you choose not to add a description text for an Email, this area appears blank.
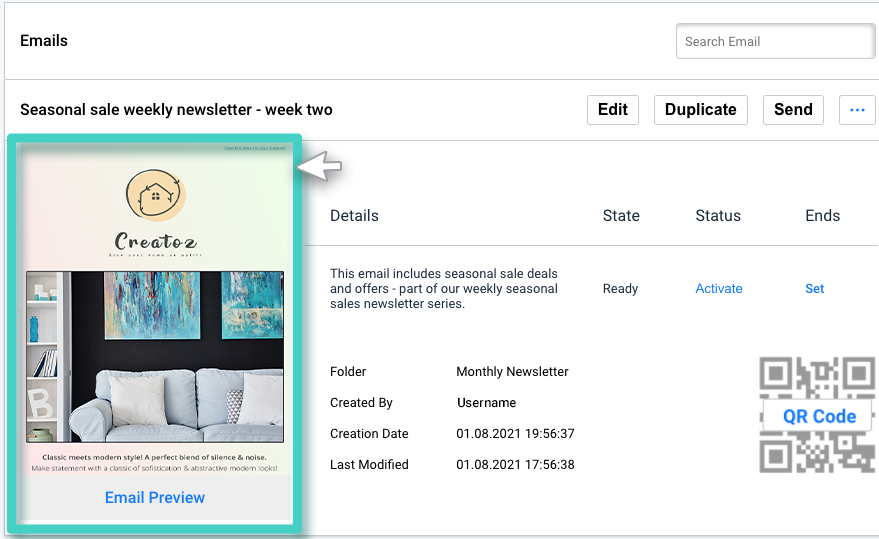
3. Email Preview
The area highlighted in the screenshot below displays a preview of the Email as a thumbnail image.
4. State
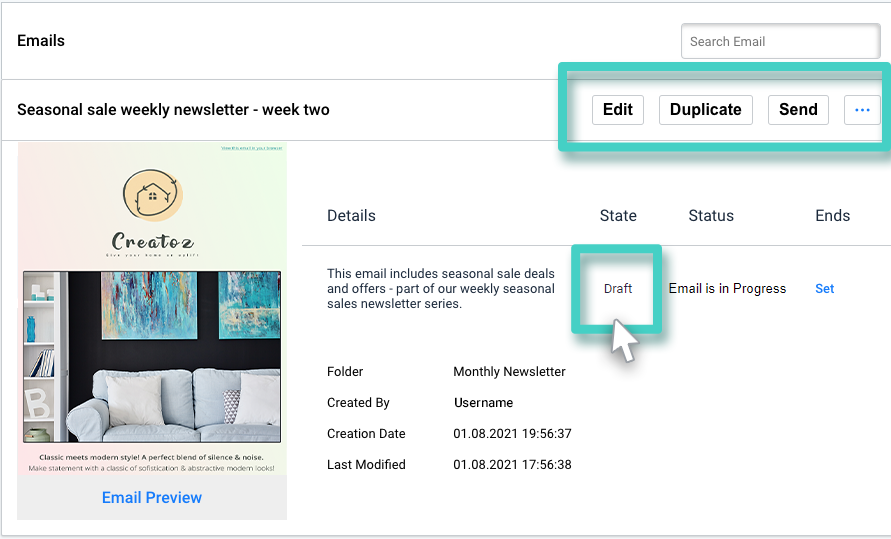
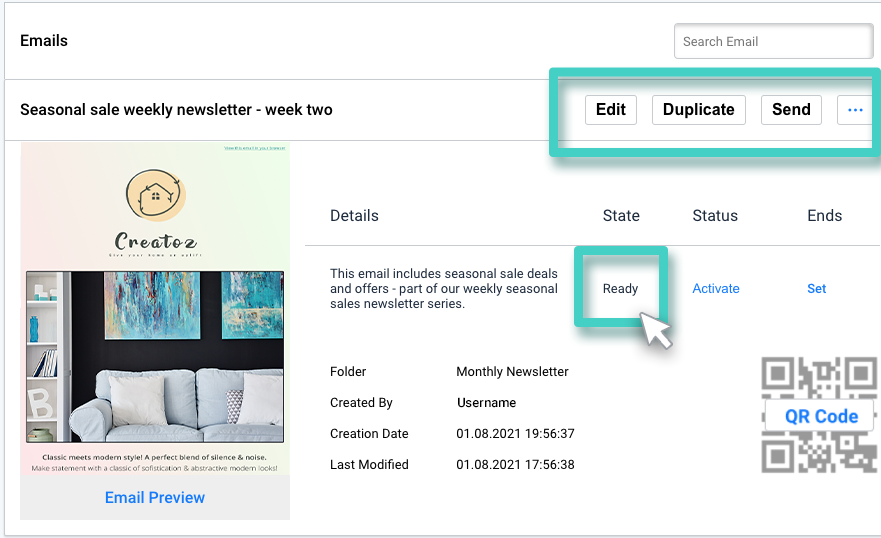
The column highlighted in the screenshot below displays the current state of the Email.
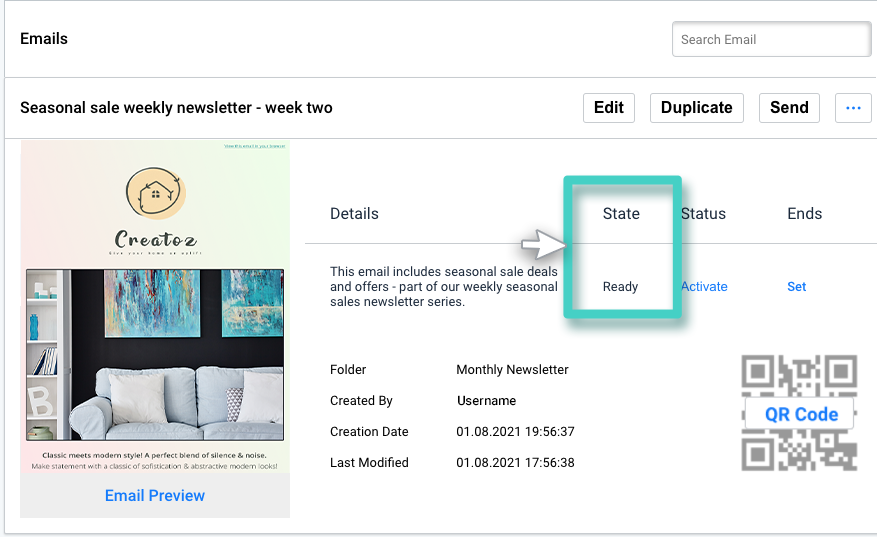
Different Email States and their significance:
- Draft – the Email is being designed.
- Ready – the Email has been designed. Emails move to this state when you click the Continue button in the Email Creator.
- Sent – the Email has been sent out at least once.
5. Status
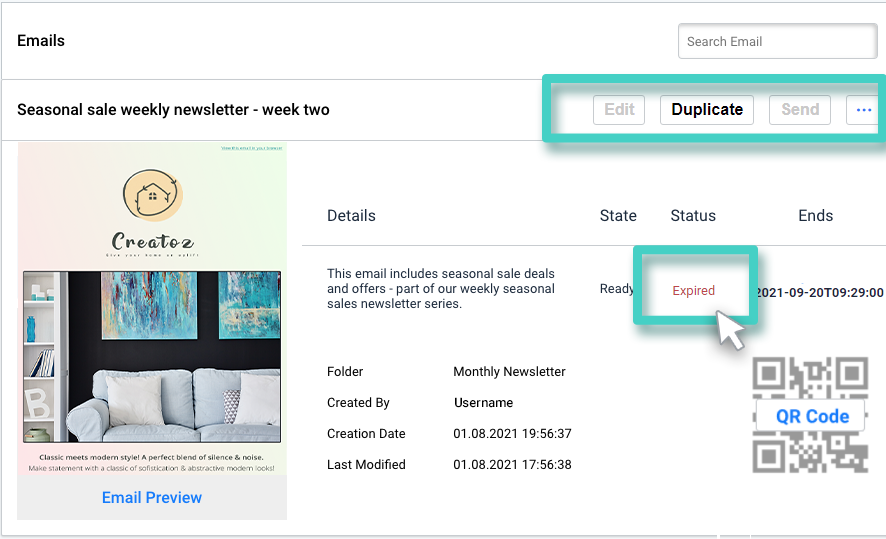
The column highlighted in the screenshot below displays the current status of the Email.
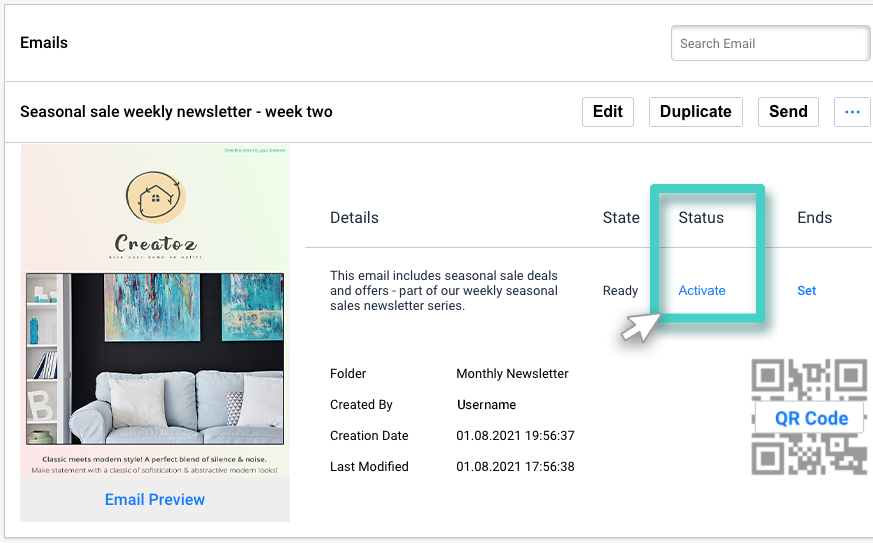
Different Email Statuses and their Significance:
- Email is in Progress – the Email has only been created and no further changes have been saved yet.
- Activate – the Email has been created, but the watermark has not yet been removed.
- Active – the Email is currently active, i.e., the watermark has been removed.
- Expired – the Email is no longer active.
6. End Date & Time
The column highlighted in the screenshot below displays the date and time till when the Email will stay active.
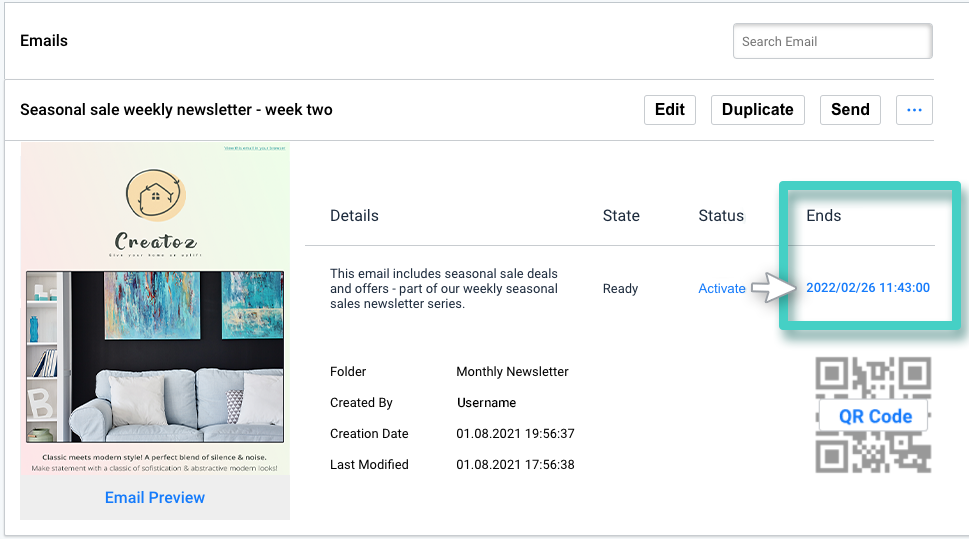
7. Folder, Created By, Creation Date, and Last Modified
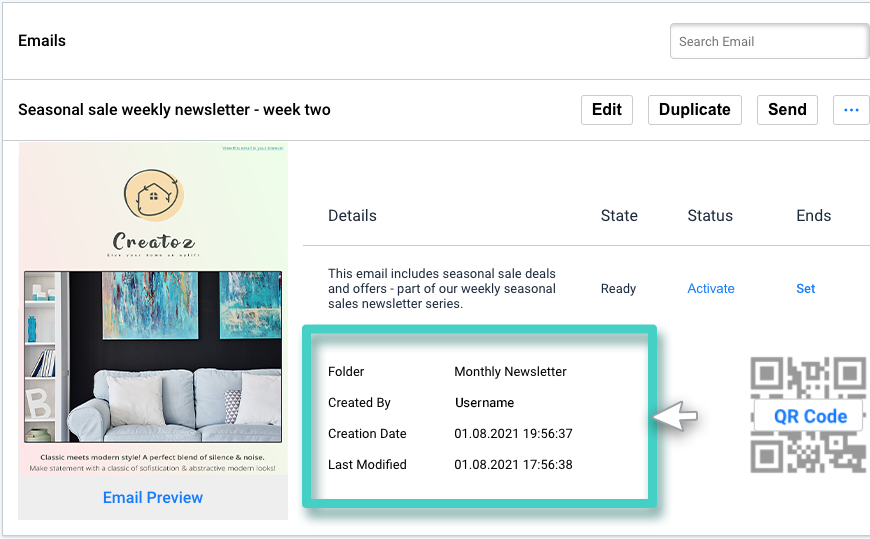
The above-marked area displays:
- Folder – the name of the Folder that this Email is a part of
- Created By – the Username of the account that created the Email
- Creation Date – the time and date of Email creation
- Last Modified – the time and date of the last modification
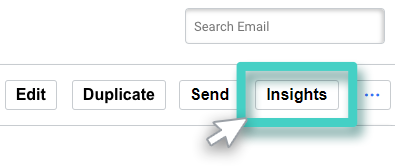
8. The list of actions that can be performed for an Email:
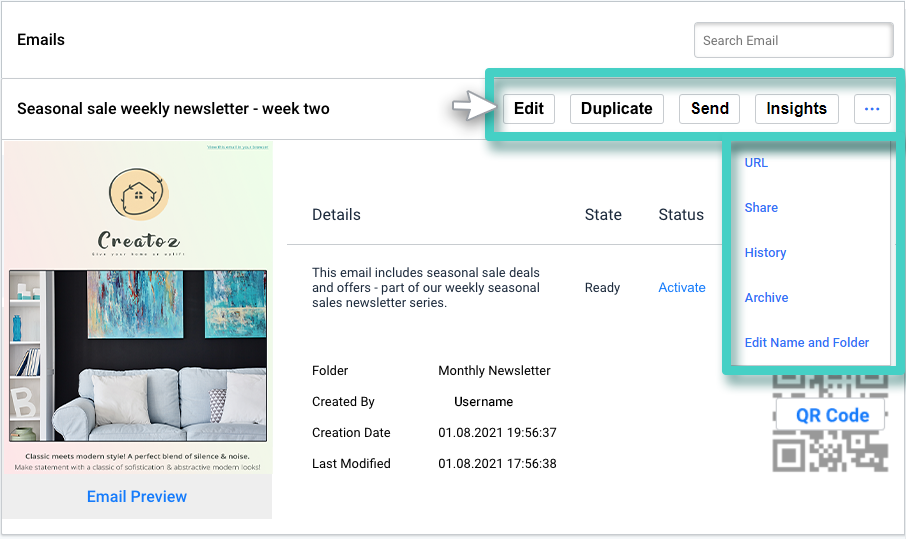
- Edit – to pick up where you left off and edit a previously created Email.
- Duplicate – to create another Email that is a copy of this Email.
- Send – to distribute an Email
- Insights – to view the performance analytics of the Email campaign (this button will be visible only after you distribute the Email).
- URL – to view/copy the short/original URL of the Email campaign
- History – to view the previous actions performed on the Email
- Archive – to archive the Email campaign
- Add to folder – to add the Email to a folder
- Embedded Code – to view/copy the embeddable code for the Email
Buttons corresponding to some permitted actions are displayed against the Email name in the listing; the rest are displayed in an expandable menu.
Permitted actions depend on the current state of the Email. For example:
1. For Emails that are in the Draft state, but you haven’t saved any changes to the campaign, you can only Edit or Duplicate the Email. For such Emails, actions – History, Archive, and Add to Folder are available in the expandable menu.
2. For Emails that are in the Ready state, you can Edit, Duplicate, and Send the Email. Rest all the actions are available on the expandable menu. You can also generate a QR code for these Emails if needed.
3. For the Expired Emails, you can Duplicate the Email or use the Insights button to view the analytics for the Email. You cannot edit or send these Emails as such. To edit or send them again, create a duplicate of the Email and then proceed as desired. Rest all the actions are available under the expandable menu.

