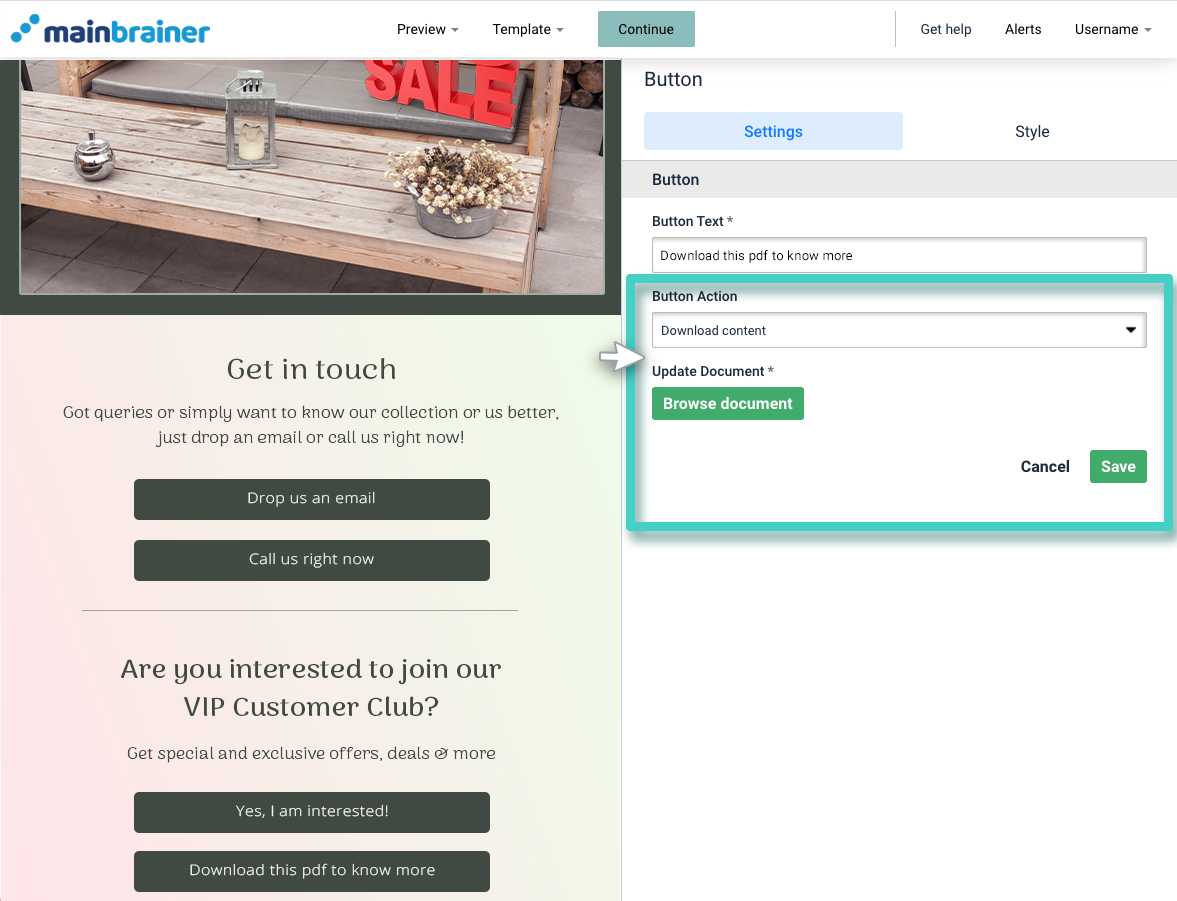
When adding a CTA Button to an Email, you can configure different click actions for the Button depending on the desired functionality.
Let’s look at the different click configurations available for the CTA Button, and how to set them up:
1: Redirecting the Button clicks to an external URL:
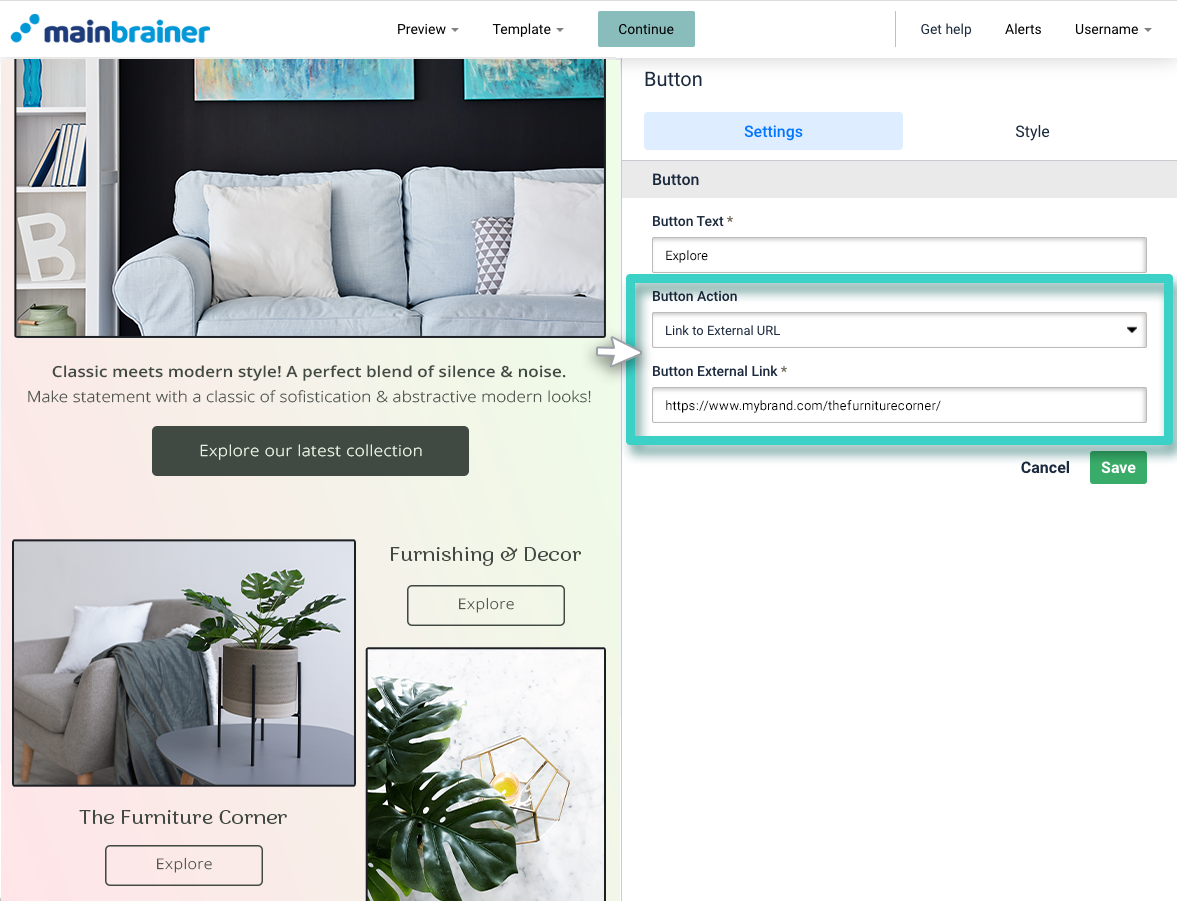
To redirect the Button clicks to an external URL, use the Button Action dropdown menu to select Link to External URL. Use the next field, Button External Link, to specify the external URL to which you want to redirect your Button clicks.
2: Redirecting the Button clicks to a Landing Page:
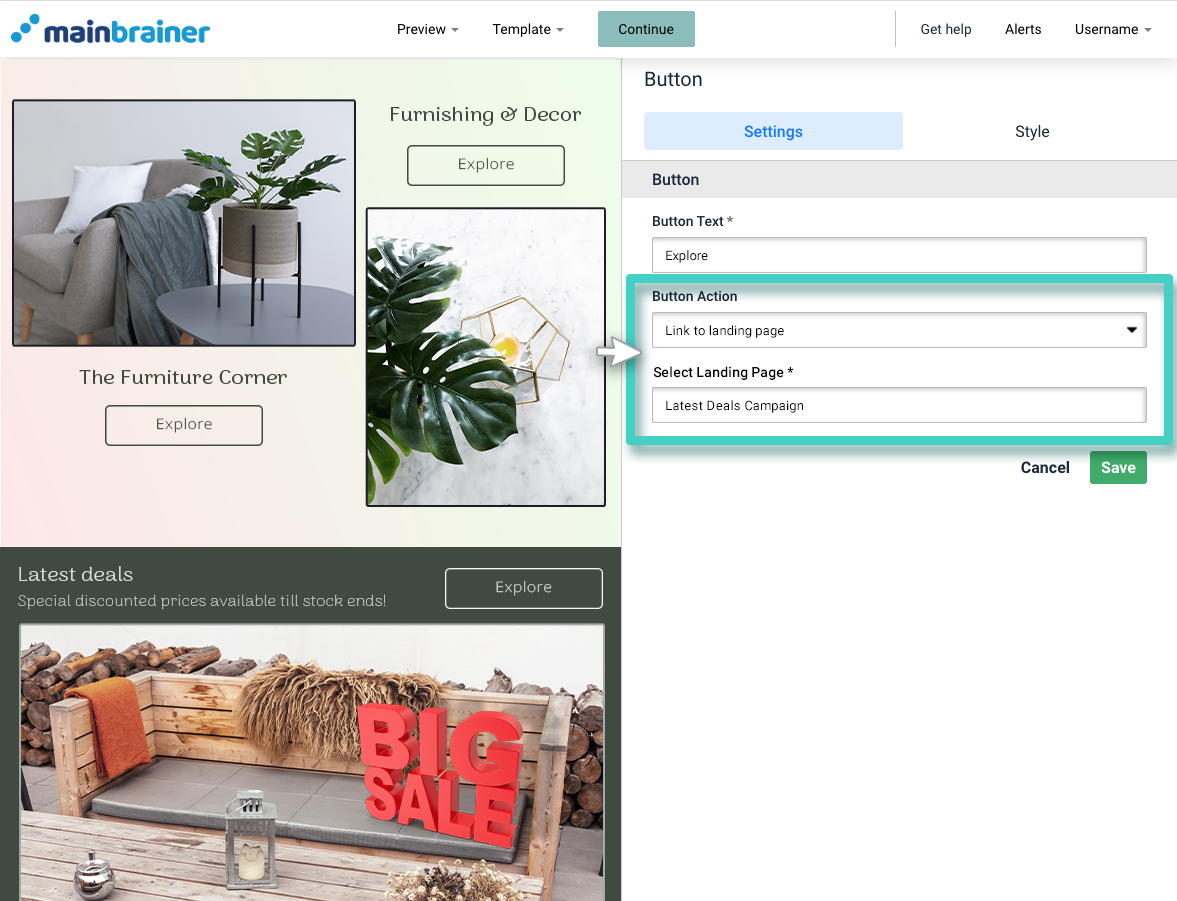
To redirect the Button clicks to another Landing Page, use the Button Action dropdown menu to select Link to Landing Page. Use the next field, Select Landing Page, to specify the Landing Page to which you want to redirect your Button clicks.
3: Redirecting the Button clicks to an Email address:
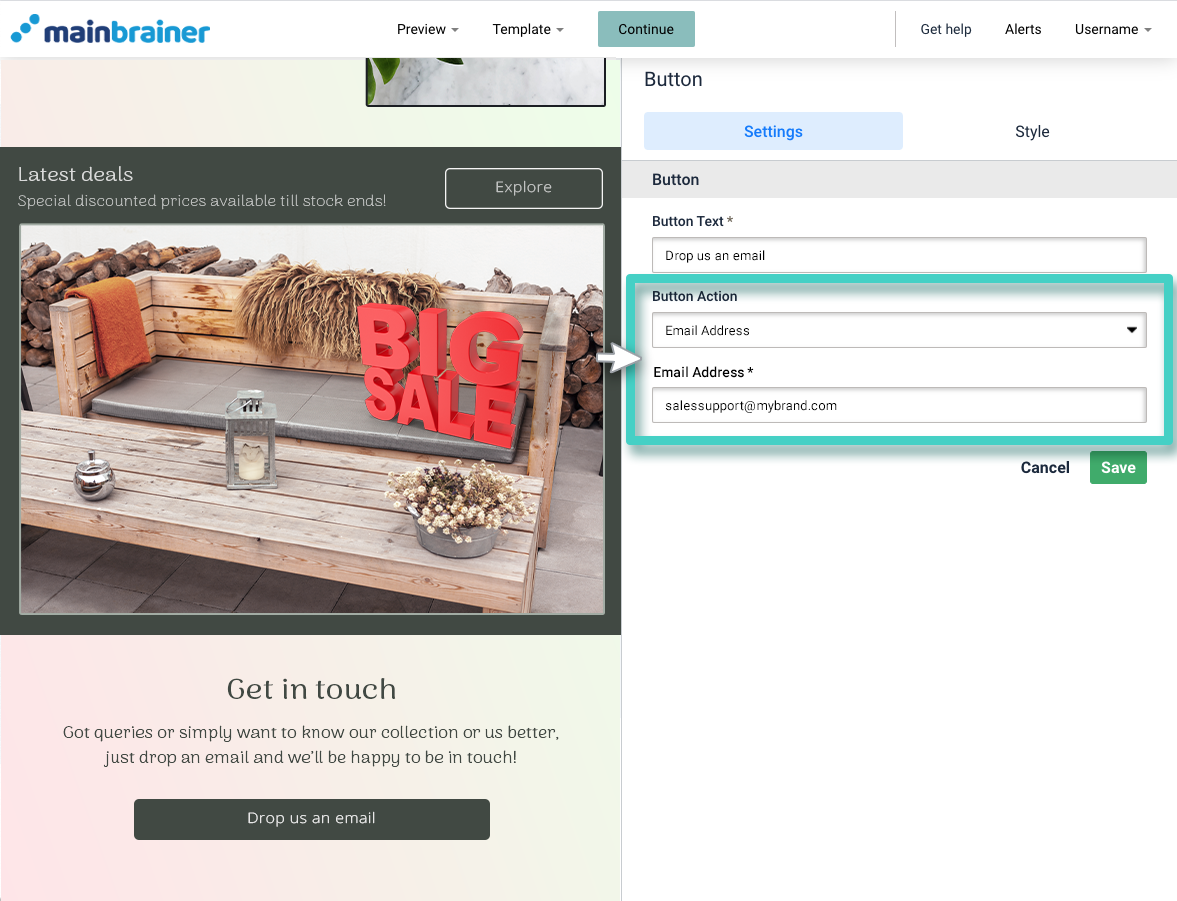
To redirect the Button clicks to an Email address, use the Button Action dropdown menu to select Email Address. Use the next field, Email Address, to specify the Email address to which you want to redirect your Button clicks.
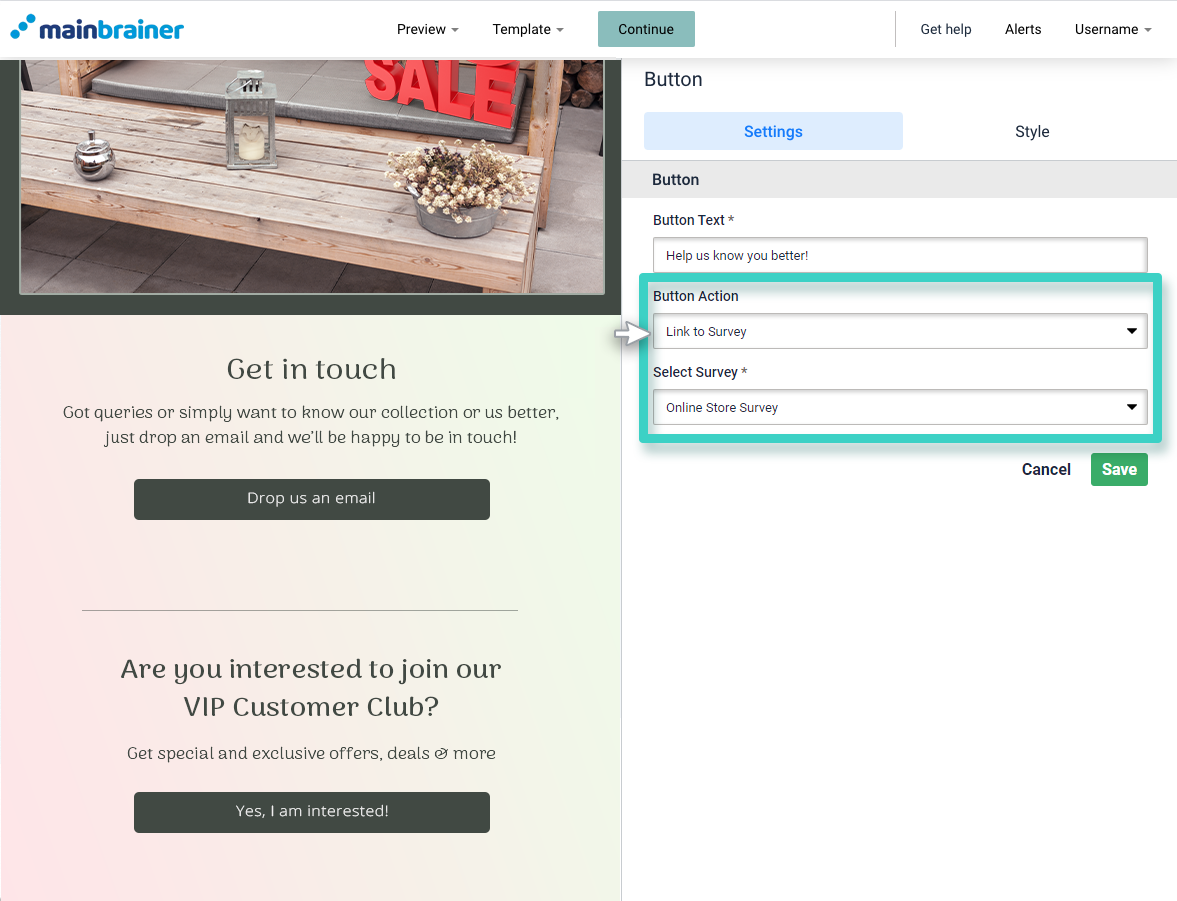
4: Redirecting the Button Clicks to Survey
To redirect the button clicks to a survey, use the Button Action dropdown menu to select the menu option – Link to Survey Page. Use the next field Select Survey Page to specify a survey to which you want to redirect the clicks.
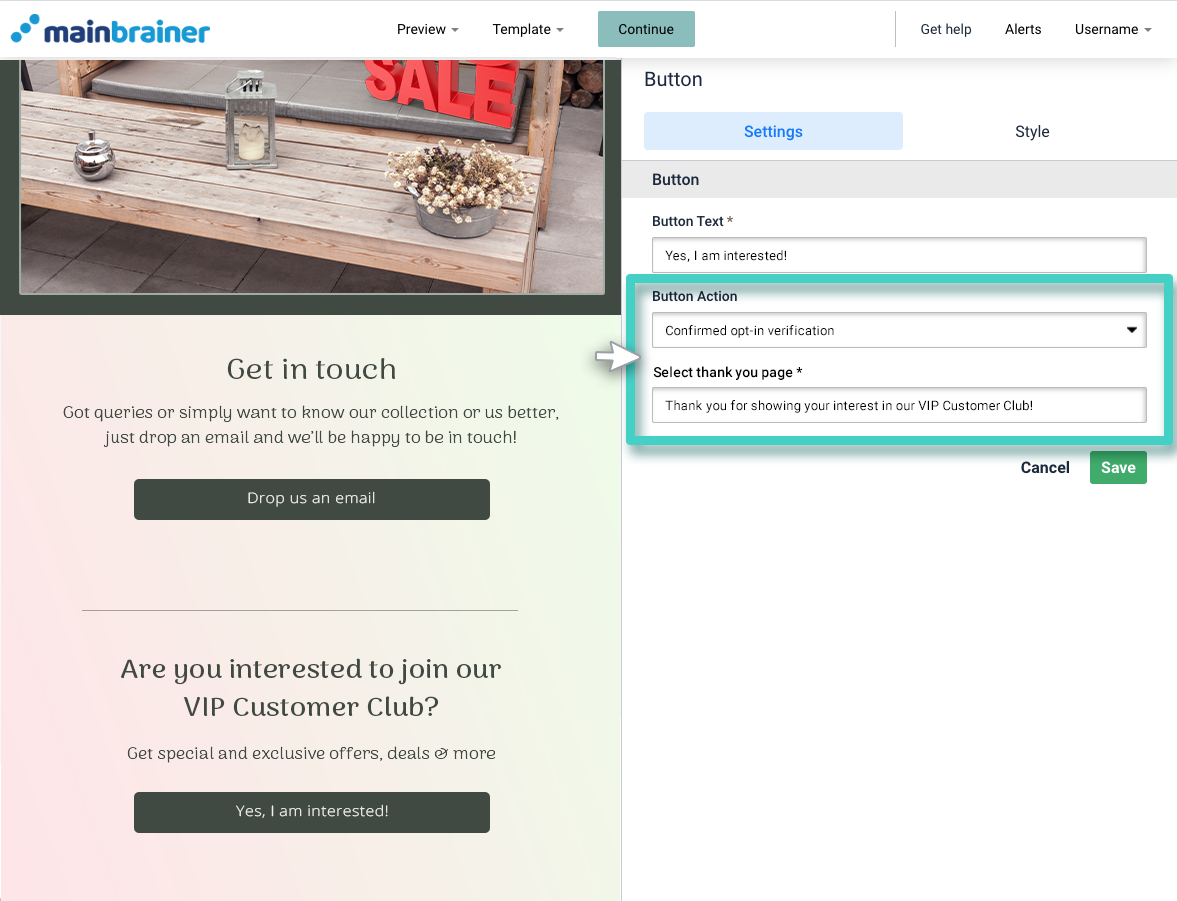
5: Redirecting the clicks to a Thank You Page (to confirm an Opt-In request)
To redirect the clicks to a thank you page, use the Button Action dropdown menu to select Confirmed opt-in verification. Use the next field, Select thank you page, to select the third field to specify the Landing Page that you want to use as a Thank You Page. All clicks received on this Button will be redirected to the specified Thank You Page.
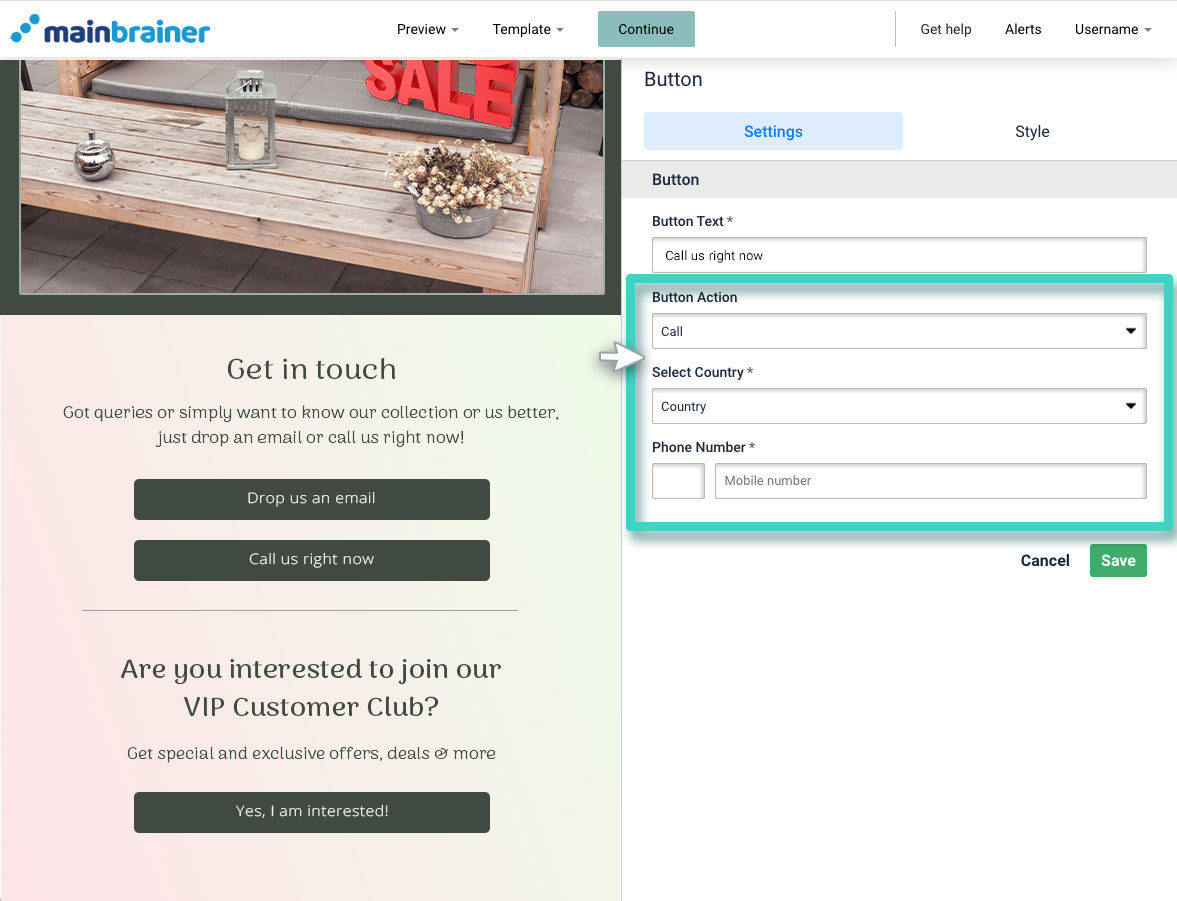
6: Redirecting the clicks to place a phone call to the specified mobile number:
To configure the button clicks to place a phone call, use the Button Action dropdown menu to select Call. Use the next field Select Country to select the country where you want to place a phone call. You can also type in the country code manually in the following field if you wish. In the Phone Number field, type in the mobile number to which you want to direct the phone call requests.
7: Configuring a file download on Button clicks:
If you want the clicks on the Button to trigger a file download to the customer’s local system, use the Button Action dropdown menu to select Download content. Use the Browse document button to upload the relevant document. All clicks received on this Button will download this document to the customer’s local system.
