1. The Main Menu
The blue pane on the left is the Main Menu. Using the Main Menu, you can access:
- the Getting Started introduction/setup menu,
- the Dashboard, and
- the functional areas available on MainBrainer as expandable menu options that list everything you can do on the platform – creating and sending campaigns and templates, getting campaign performance insights, etc.
The Main Menu may be minimized or expanded with the 3 stripe icon to the right of the logo.
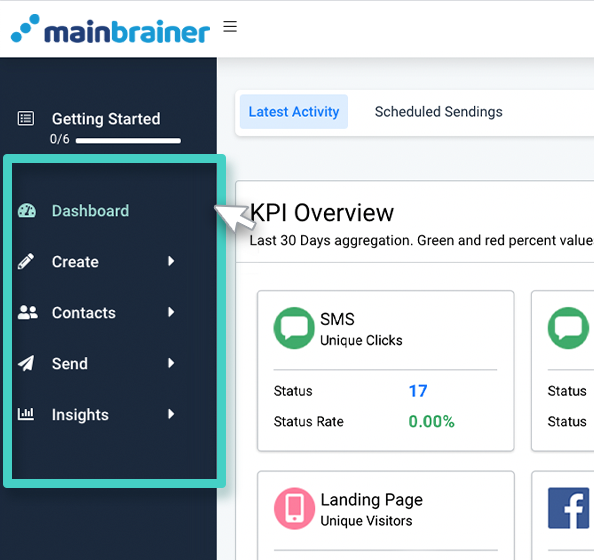
The different dropdown menu options are:
-
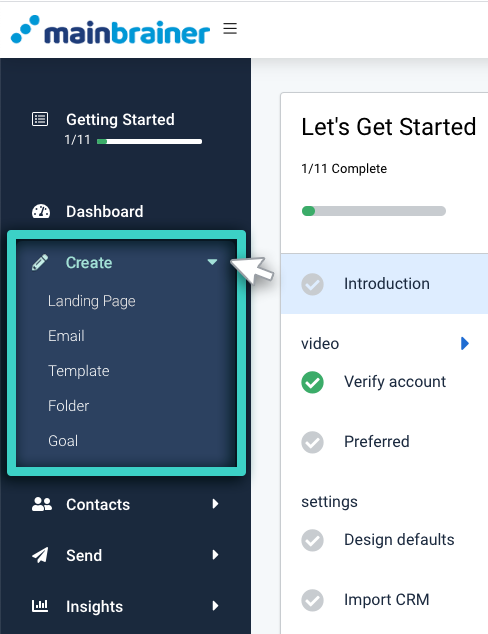
Create
In the Create menu, you will find the different types of campaigns that can be created in the platform – Landing Page and Email. It also includes options to create Templates and organizational tools – Folders and to set Goals for your campaigns.
For anything that you need to create/edit, simply expand this menu, and click the relevant menu option.
-
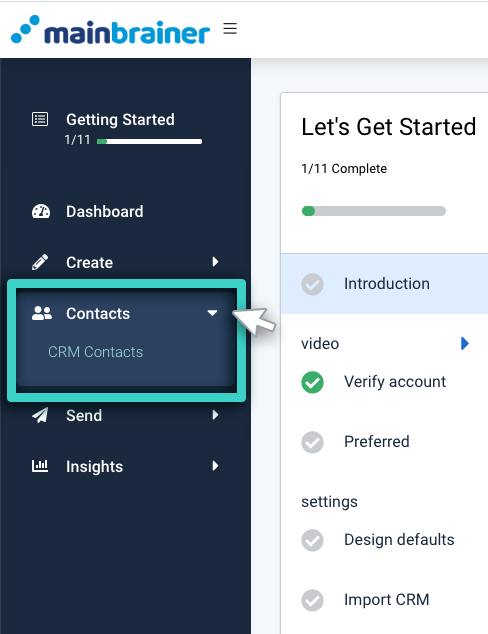
Contacts
This menu can be used to access your CRM database and review, modify or edit your Contacts, their opt-in status, and other details, etc. You can also group your contacts into Contact Lists, and create segments within your contact lists based on the desired filtration criteria.
-
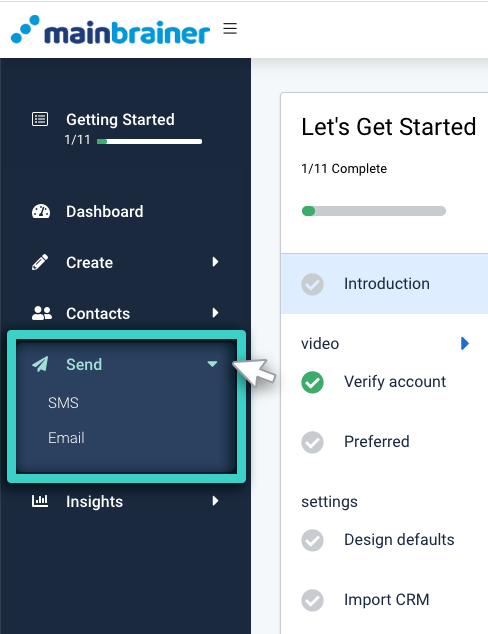
Send
In the Send menu, you’ll find the options for distributing your marketing campaigns – SMS and Email. If the campaign you intend to send has been created already, simply go to the Send menu and choose the way you wish to send it. On the subsequent screen, select the recipient(s) and the campaign that you wish to send. You can choose to send it right away or schedule the distribution for a later date and time.
-
Insights
The Insights menu houses the navigation options for performance analytics of all the campaigns sent via MainBrainer. Use the menu options to select the relevant campaign type for which you wish to view the analytics.
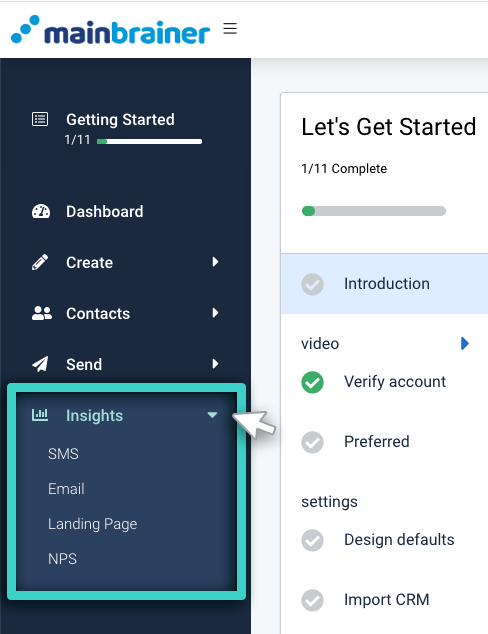
For every campaign type, there are two types of data views:
- Overview for the aggregate analytics for that campaign type.
- SMS sendings/ Email Sendings / Landing Pages for the sending-specific analytics.
As you click a campaign type in the Insights menu, the overview with aggregate data for that campaign type will be displayed by default. You can switch to viewing the analytics for a particular distribution using the tabs at the top.
2. The Get Help menu
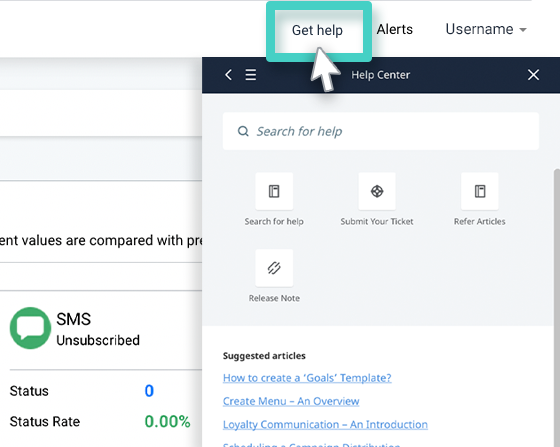
The Help Center contains a collection of articles explaining the UI and various features of our platform. While using the platform, if you need help, click the Get Help button (as highlighted in the screenshot below). As you do, a sidebar will display the following options:
- Search for help – Search for any topic and you will be redirected to the relevant article from our knowledge base.
- Submit Your Ticket – If you have further questions or concerns, you may submit a support request to contact our support executives.
- Refer Articles – Here you find all the knowledge base articles organized under relevant categories.
- Release Note – Information about our latest software release(s).
- Suggested articles – Knowledge base articles relevant to the page where you clicked the Get help button.
3. The Account Overview and Settings
The top-right corner on the screen displays your Account name, i.e. the name under which you have registered your MainBrainer account.
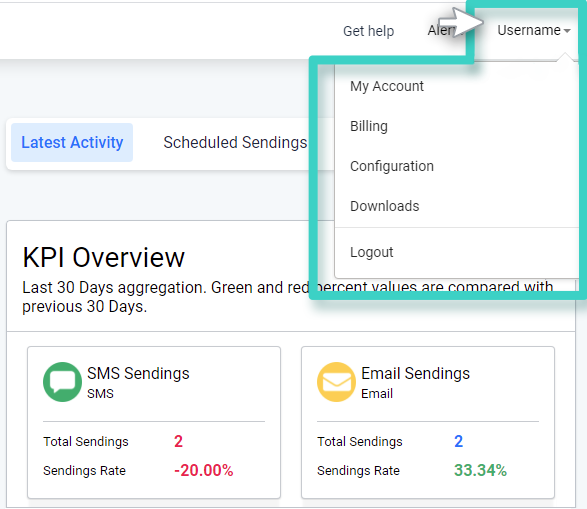
As you click the Account name and expand the menu (as highlighted in the screenshot above), you can access your Account’s various settings:
- My Account – Use this section to view/edit your account details, change your password, etc.
- Billing – The Billing section displays all your subscription details and billing-related information. Here you can view your account’s usage, upgrade or downgrade your plan, etc.
- Configuration – Use this section to customize your account’s UI, set up white label domain hosting, access our API documentation, and integrate your MainBrainer account with third-party applications.
- Downloads – This section lists all the files available for download (corresponding to all your data export requests placed in MainBrainer).
