The Billing section in your MainBrainer account displays all your subscription details and billing-related information in one place.
For example, your subscription plan, the resource usage allowed and the actual usage, your payment method, all your invoices to date, etc.
In this article, let’s take a look at this section’s UI and all the associated details.
Navigating to the Billing Section
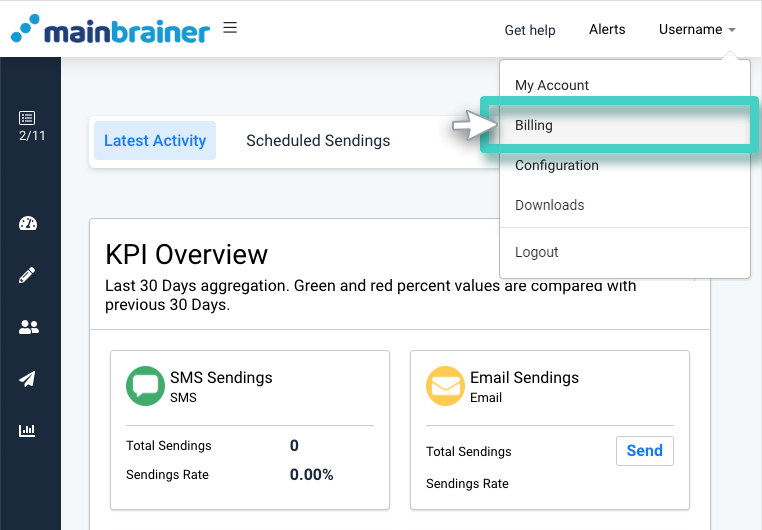
Sign in to your MainBrainer account. Next, click your Account Name displayed on the top-right corner of the screen. Then, in the subsequently displayed drop-down menu, click Billing.
The Billing Section – An Overview
The area highlighted in the screenshot below displays the name of your current Subscription Plan.
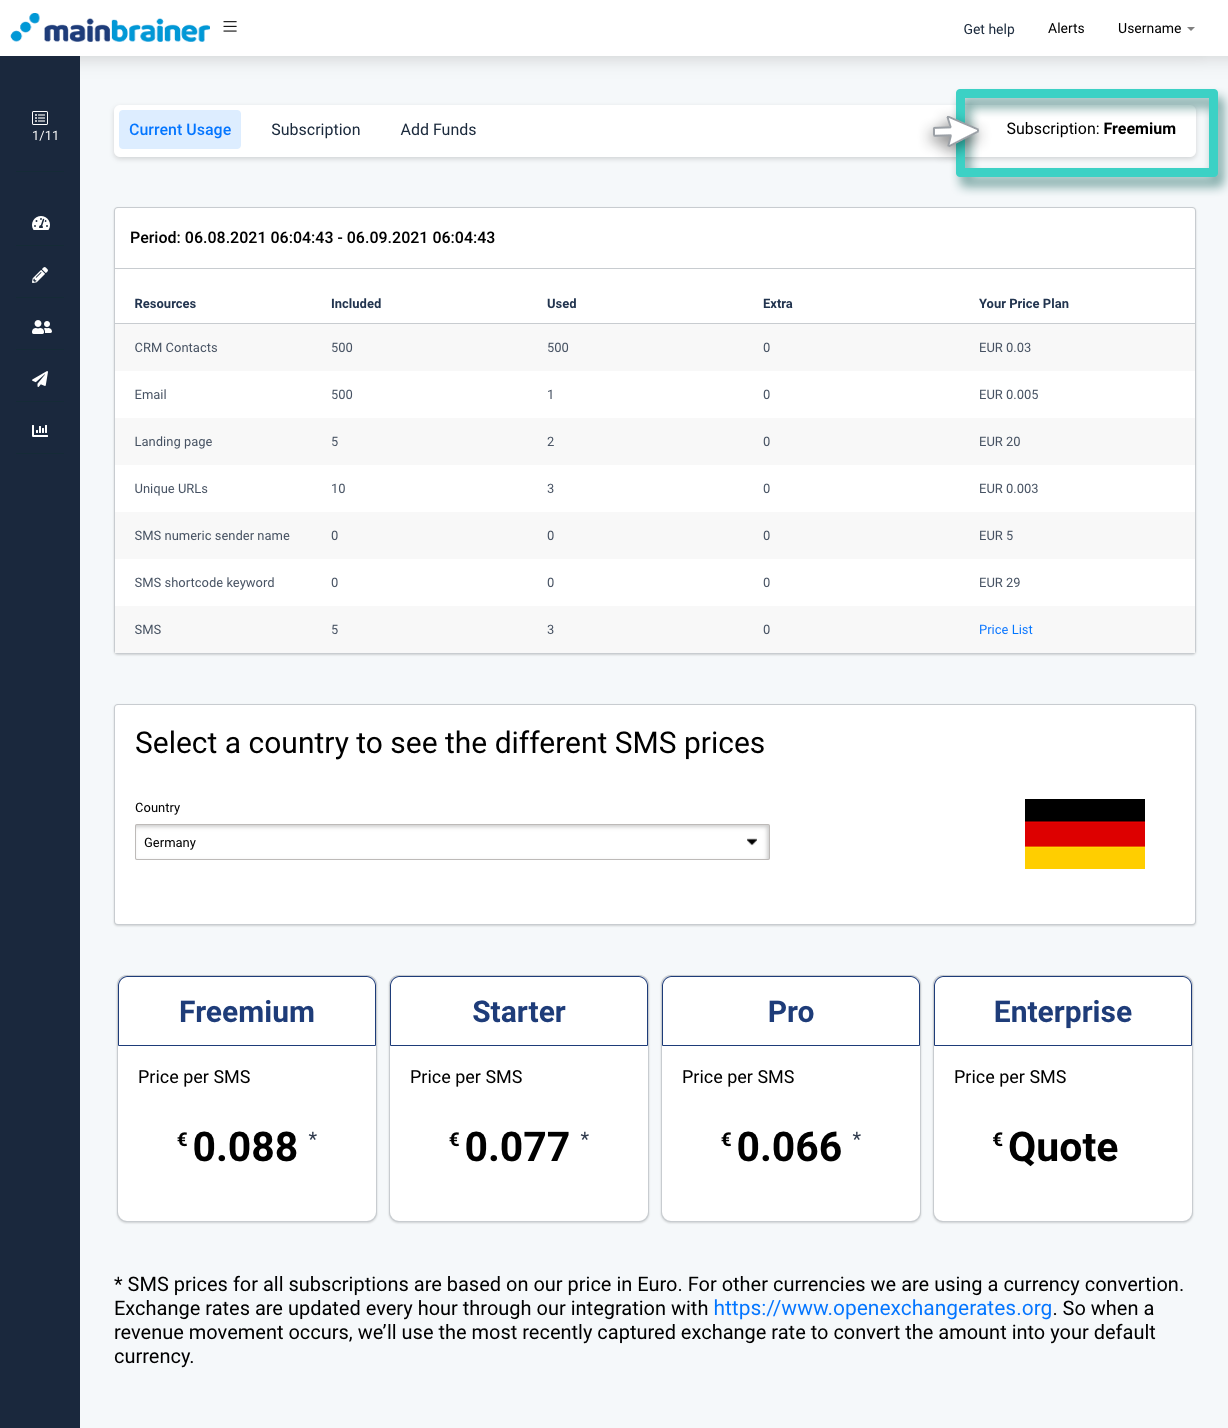
Furthermore, there are three sections – Current Usage, Subscription, and Add Funds. These are accessible via the three tabs at the top. Let’s take a look at the different sections one-by-one:
1. Current Usage
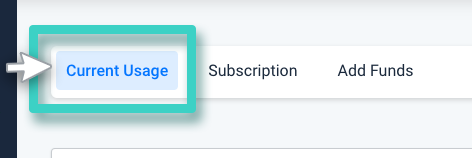
This section displays the various resource usage details for your Subscription Plan.
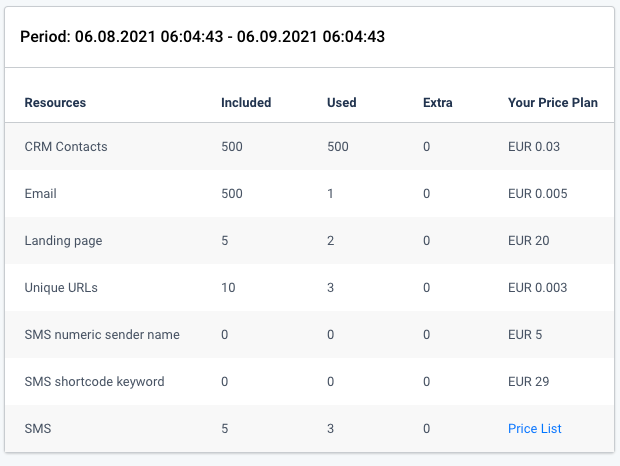
- The area shown in the screenshot below lists the different Resources available under your Subscription Plan along with their applicable pricing details (in case your usage exceeds the resource count included in your subscription plan).
- Against each Resource listing:
- The head Included displays the resource usage count included in your subscription period.
- The head Used displays the actual resource count used during your current subscription period.
- The head Extra displays the resource count used over and above the count included in your Subscription Plan. You will be charged for these extra resource units as per the corresponding pricing indicated under the head Your Price Plan.
Note: For the resources – CRM Contacts, SMS numeric sender names, and SMS shortcode keywords, the Price Plan indicates the Price Point Per Unit Per Month, that is the excess usage will be charged for on a monthly basis. Say for example, that you upload 1000 contacts more than the count included in your subscription plan. In that case you’ll be charged for those extra 1000 contacts every month (till the time those extra contacts remain in your CRM).
For the resources – SMSs, Emails, Landing Pages, Unique URLs, the Price Plan indicates the Price Point Per Unit. For example, if you send out an extra 500 Emails, you will be charged for the extra consumption in that month’s invoice only.
- SMS sending prices depend on the country where you wish to send the SMSs. Use the drop-down shown in the below screenshot to select the country for which you wish to view the applicable SMS sending rates.
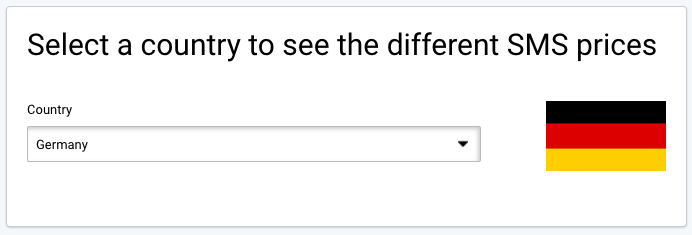
- The area shown in the screenshot below displays the SMS sending rates applicable for the specified country under the different subscription plans.

Note: Our pricing structure is defined in Euros. The prices under the Price Plan, on the other hand, are displayed in the currency per the account’s country settings. The exchange rates used for these conversions are obtained via our integration with https://www.openexchangerates.org, which performs hourly updates to reflect the most recent exchange rates.
2. Subscription
This section (the tab highlighted in the screenshot below) displays all the billing-related information for your account.
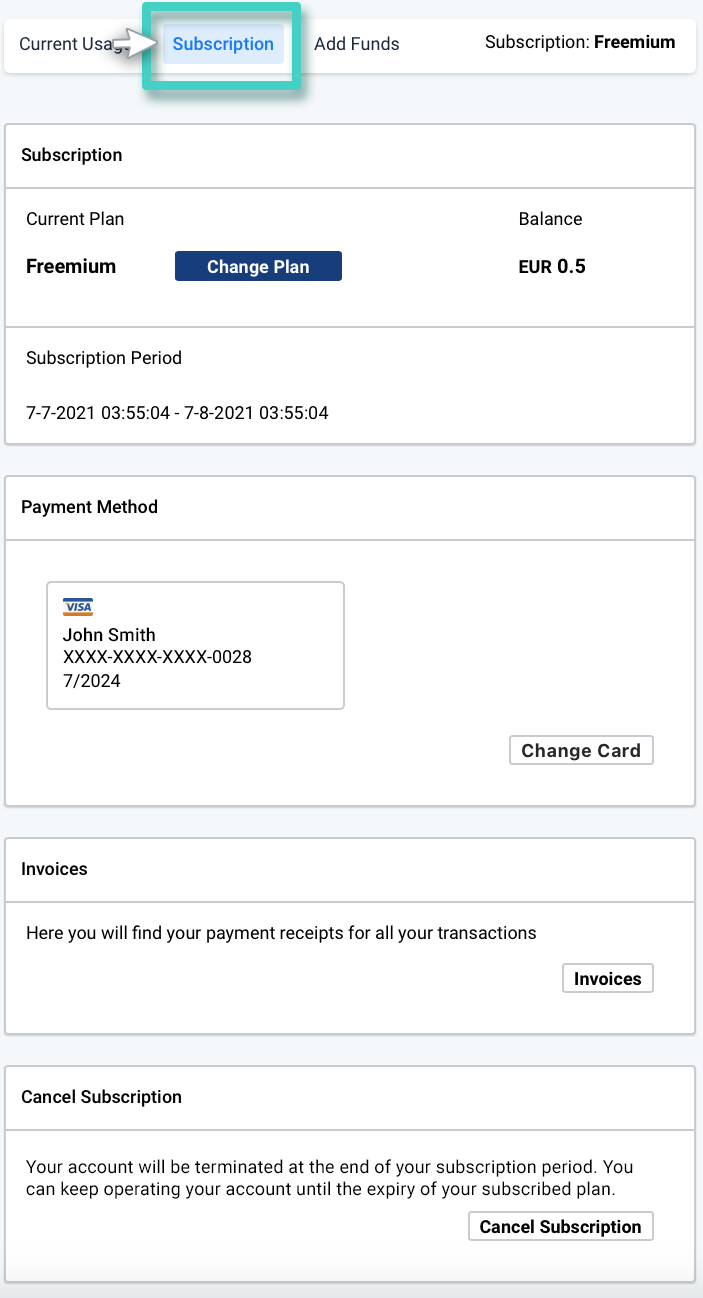
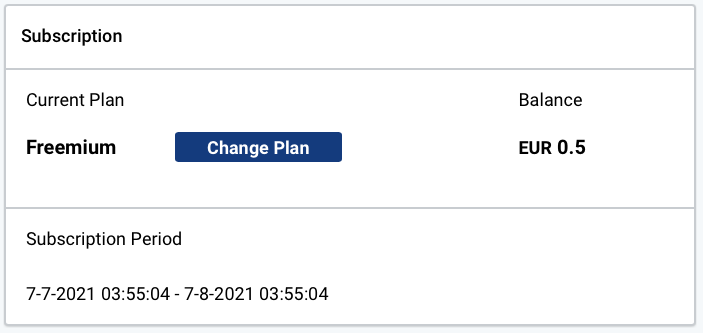
- The area shown in the screenshot below displays your current Subscription Plan, the current Subscription Period, and the Balance funds in your MainBrainer account.
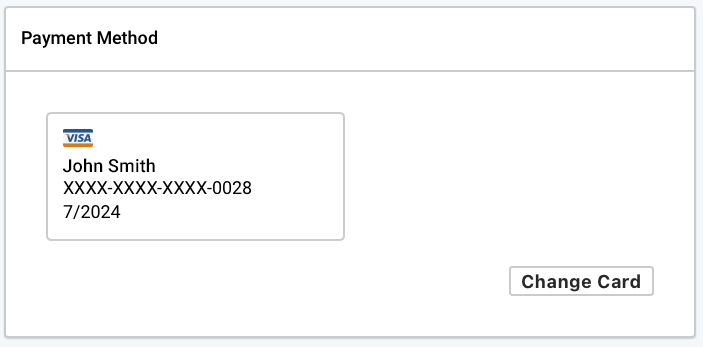
- The area shown in the screenshot below displays your current Payment Method. You can also change your Payment Method by using the Change Card button.
- The area shown in the screenshot below displays Invoices for all payments made in your MainBrainer account to date.

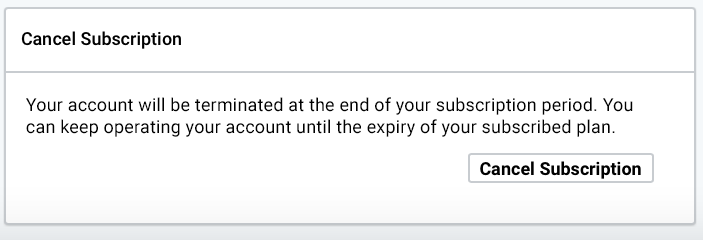
- The area shown in the screenshot below allows you to cancel your subscription at any time. Note that the subscription charges are non-refundable,i.e., if you choose to cancel your subscription in the middle of your subscription period, you cannot claim a refund for the remaining days of your subscription period.
3. Add Funds
This section displays the Current Balance amount available in your account. In case you intend to use resources in excess of your monthly permitted usage, you can add the required amount of funds to your account in advance.
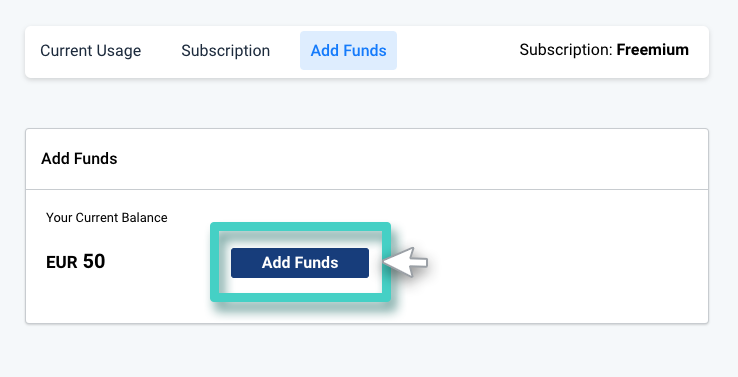
You can add funds to your MainBrainer account at any time using the Add Funds button as highlighted in the screenshot below:
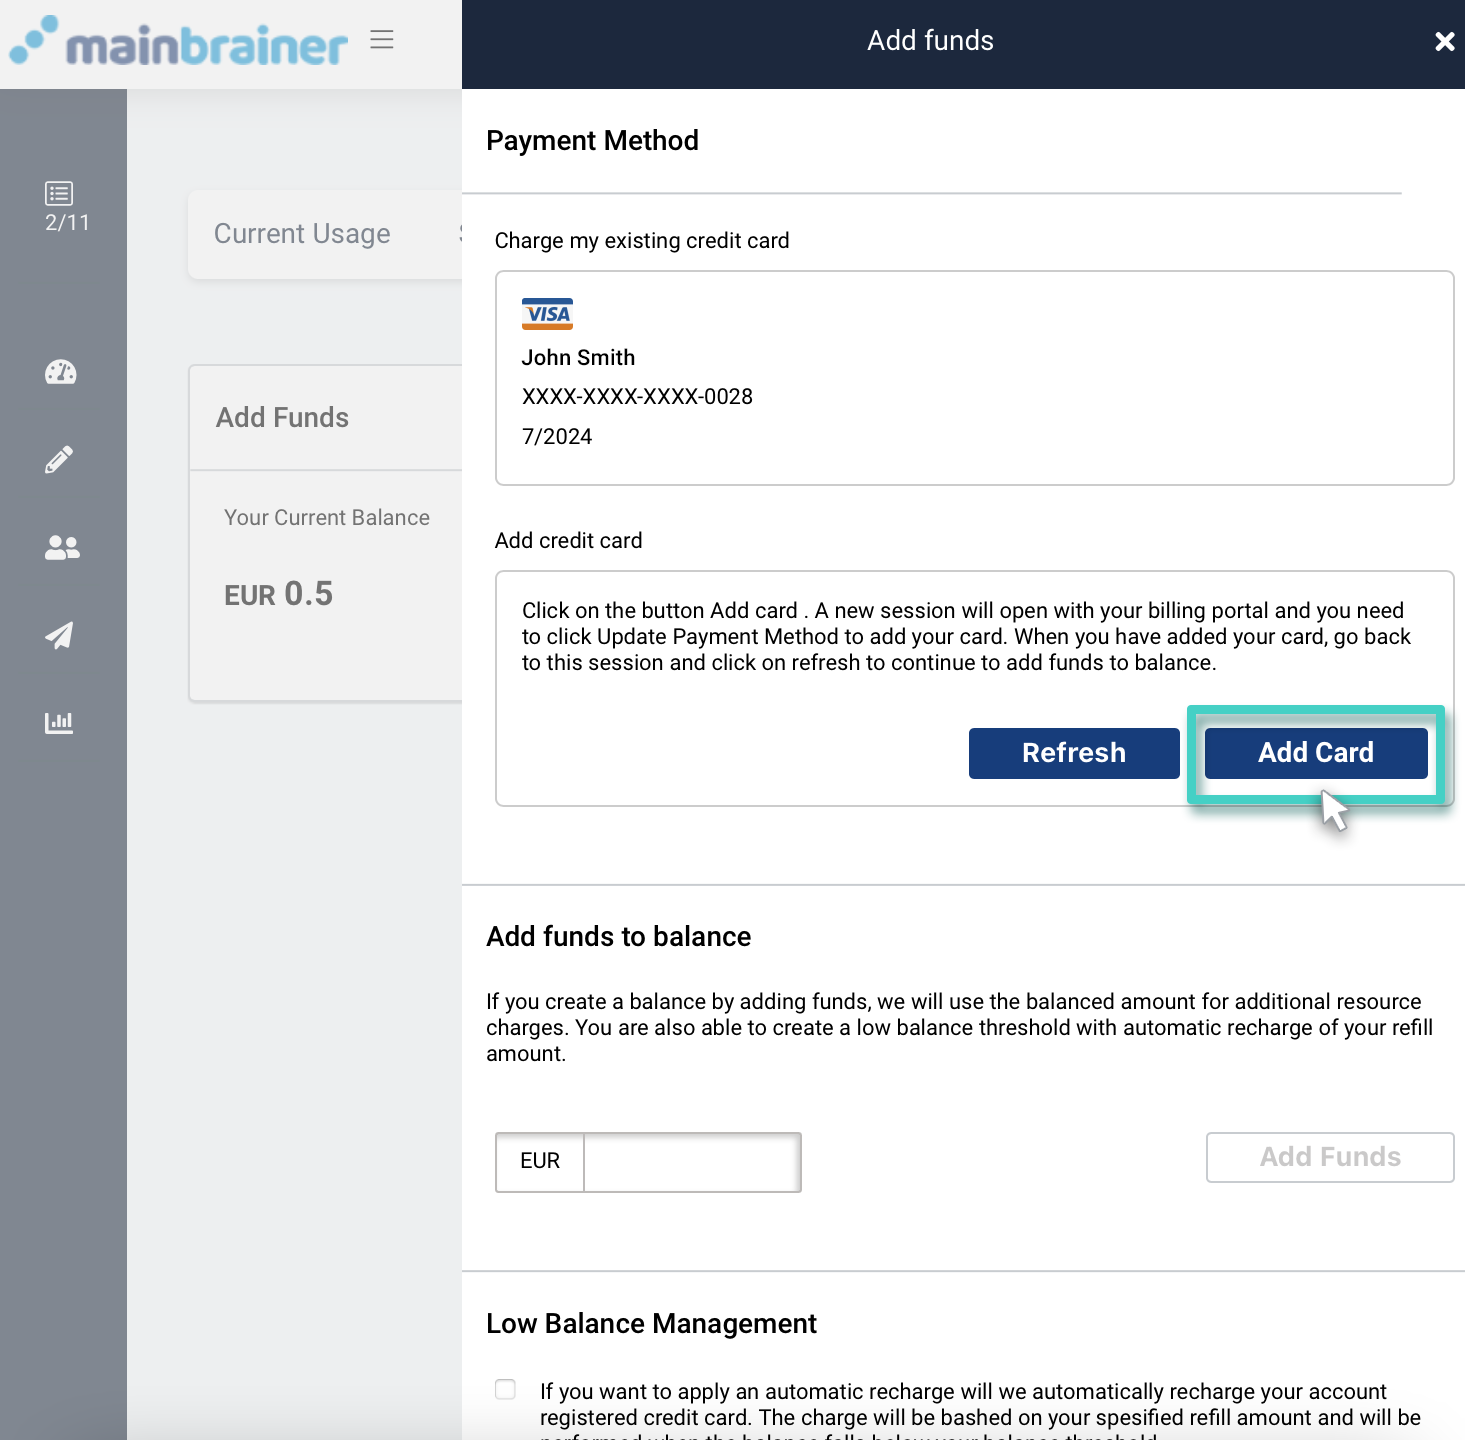
Subsequently, use the Add Card Button as highlighted in the screenshot below:
A new session will open with your billing portal, wherein you need to click on the Update Payment Method to add your card (As highlighted in the screenshot below).
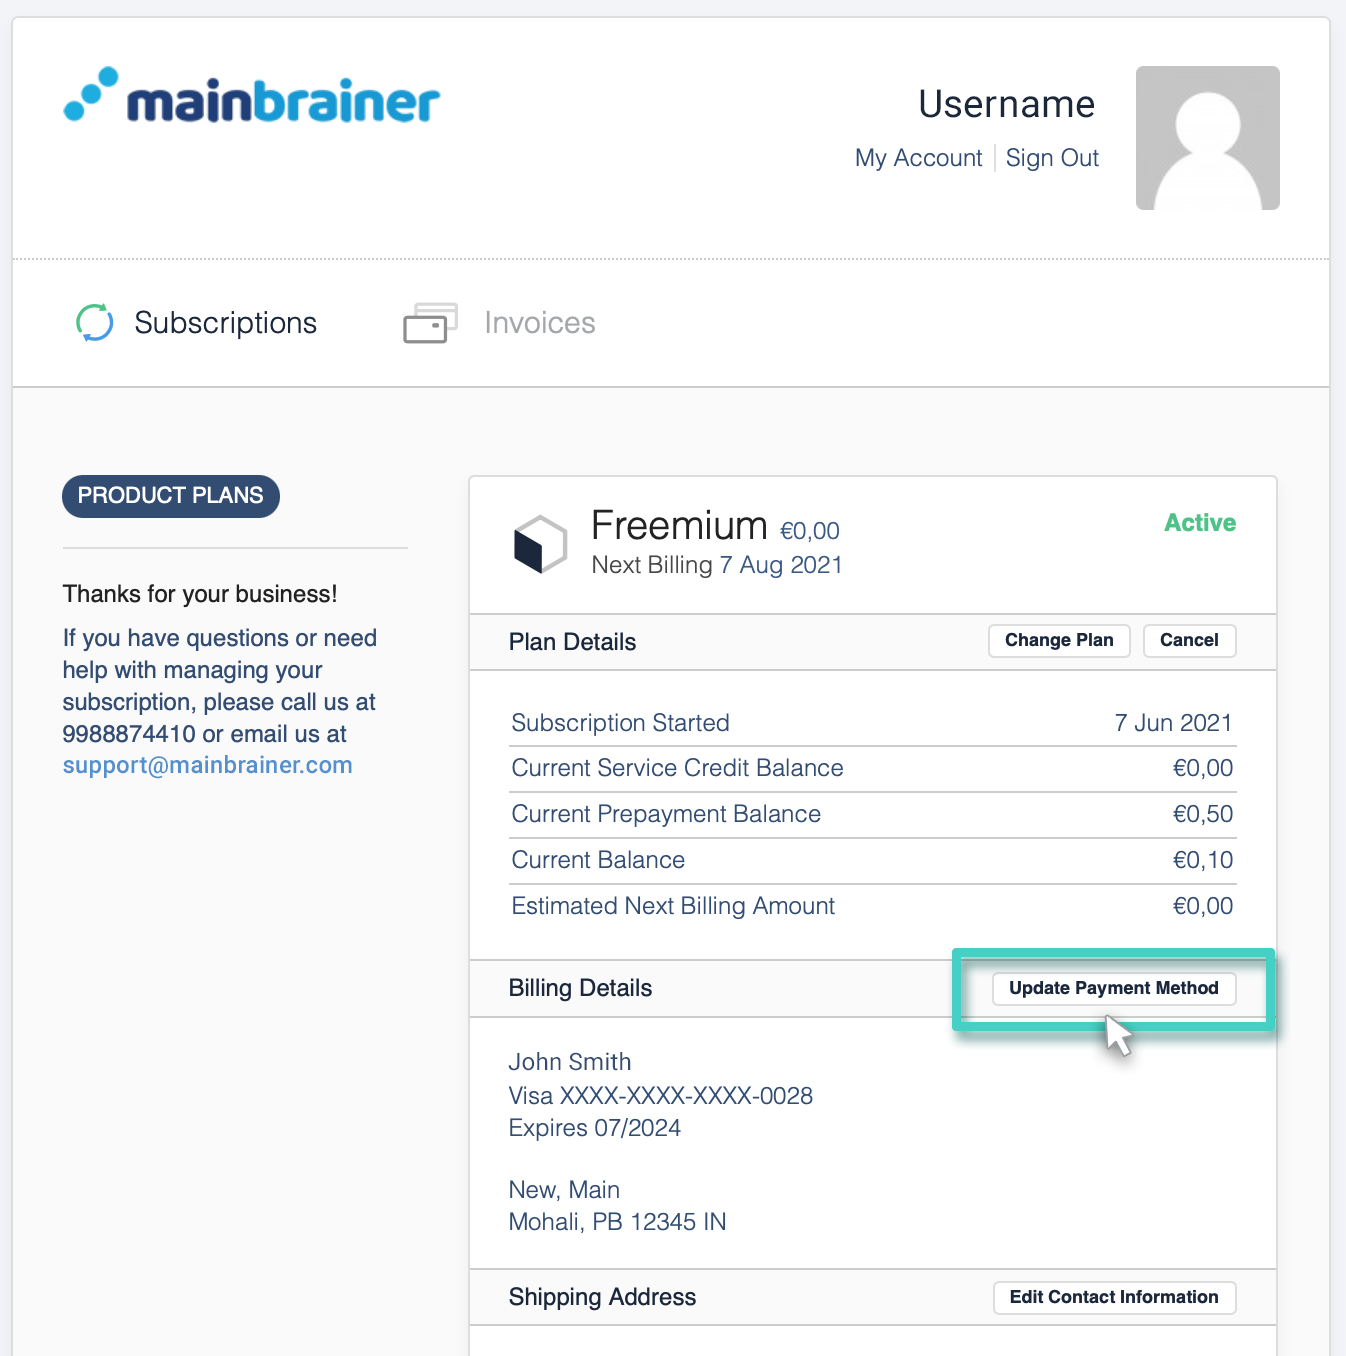
After you have added your card, go back to your MainBrainer account screen, and click on the Refresh button to update your new payment information.
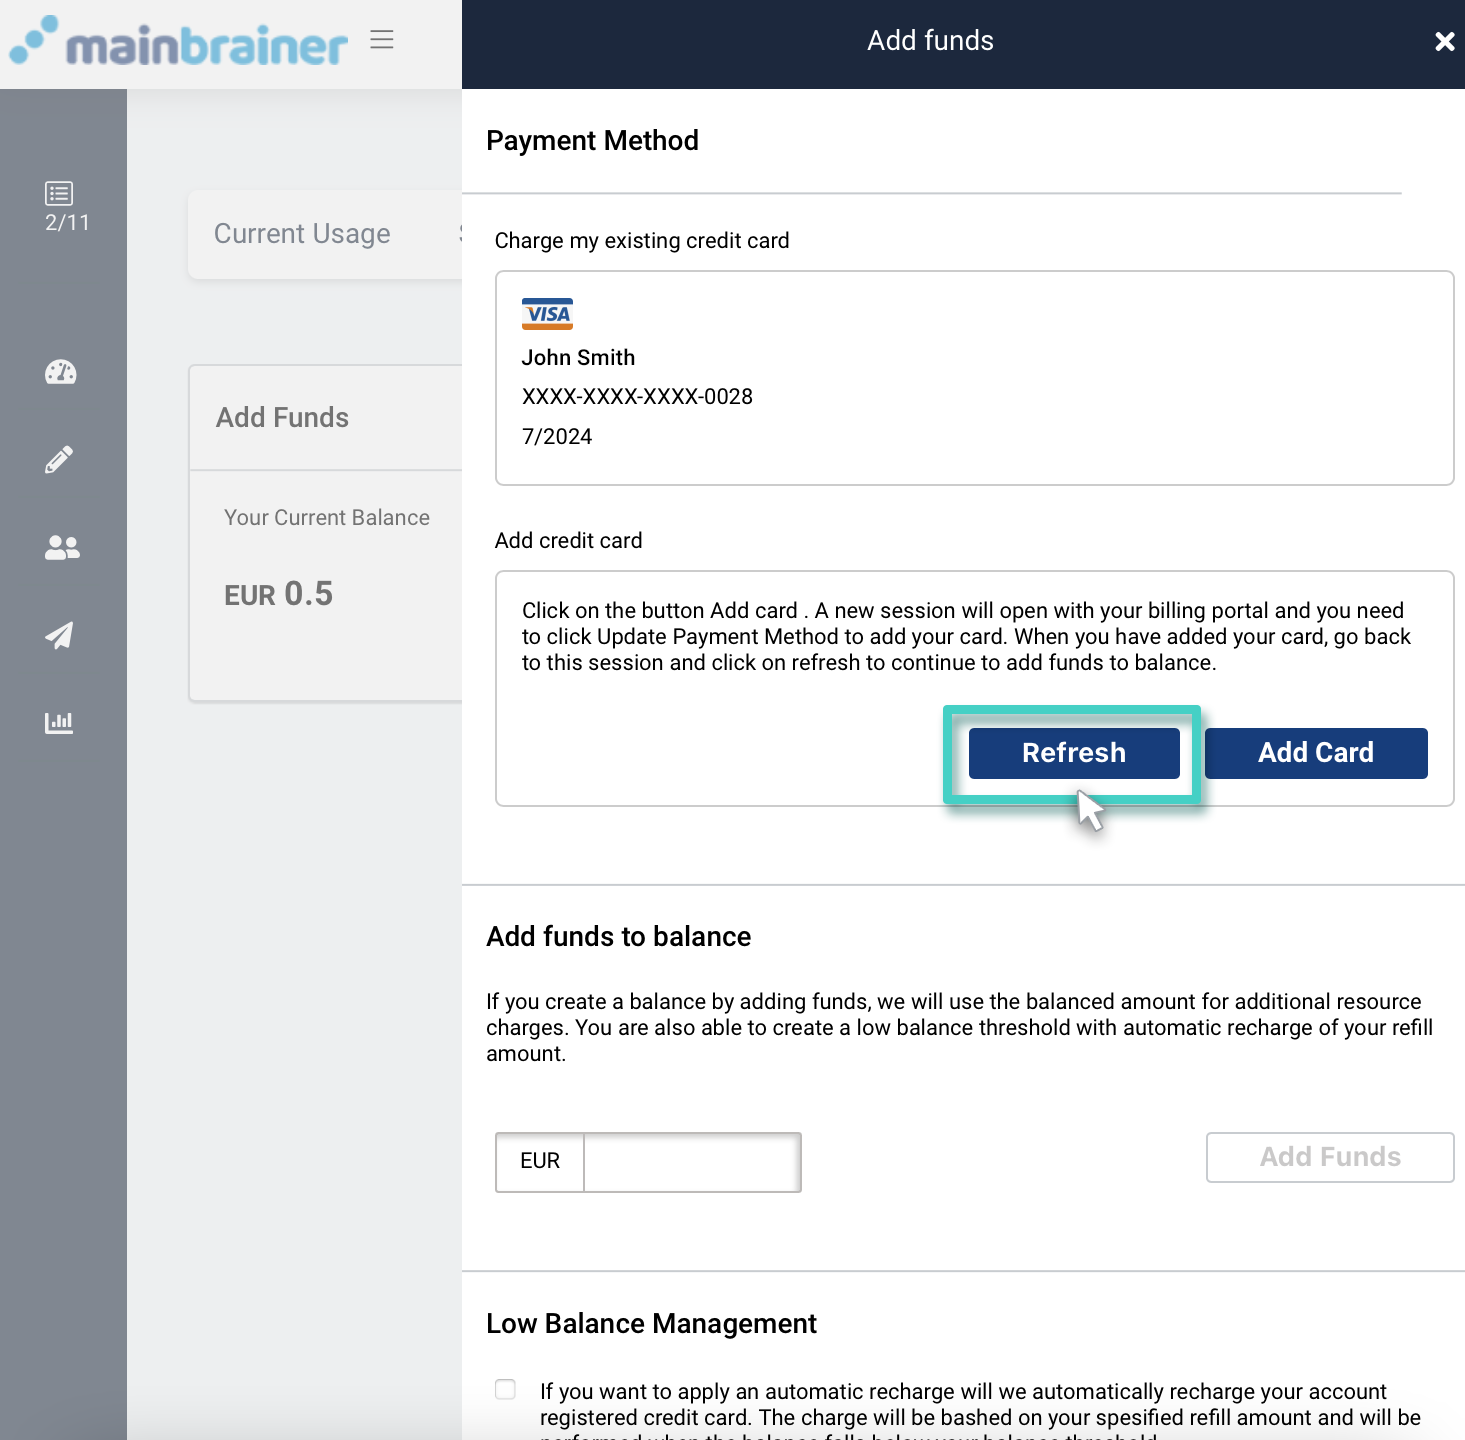
You can then proceed to continue to add funds to your account balance.
Note: The amount you choose to add must be greater than or equal to 0.50 € (or an equivalent amount in your currency).
Low Balance Management
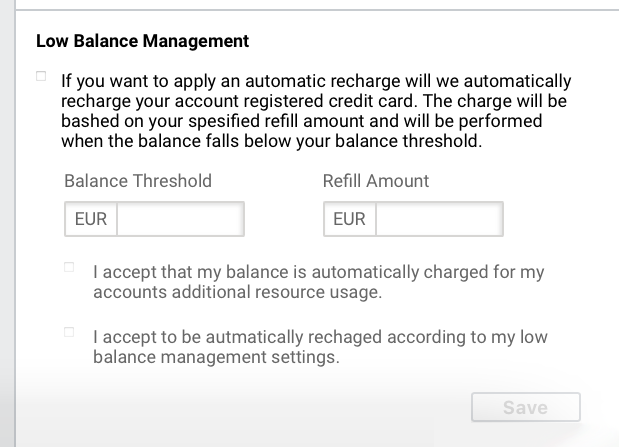
You can use this section to implement standing instructions for automatic recharge to your account in case your account balance falls below a certain threshold value. In case you choose to implement these settings, an amount corresponding to the specified Refill Amount will be auto-charged to your specified payment method whenever your account balance falls below the amount specified under the Balance Threshold. An invoice corresponding to the charged amount will reflect in the Invoices section under the Subscription tab.
