Step 1
Navigate to the desired custom field
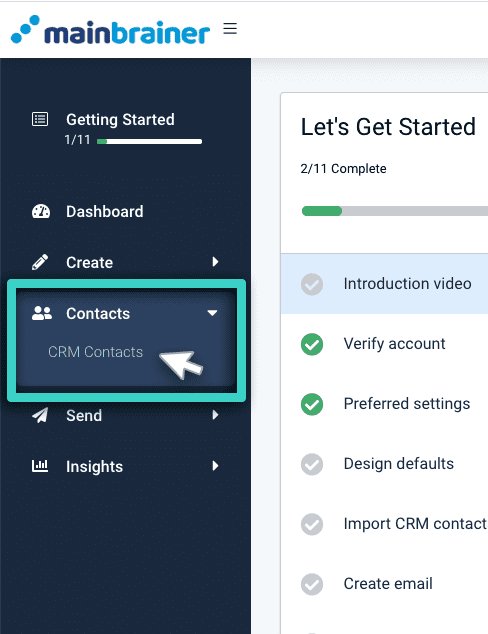
Use the Main Menu on the left to expand the Contacts menu and click CRM Contacts.
The subsequent page displays all the contacts lists created to date in your MainBrainer account.
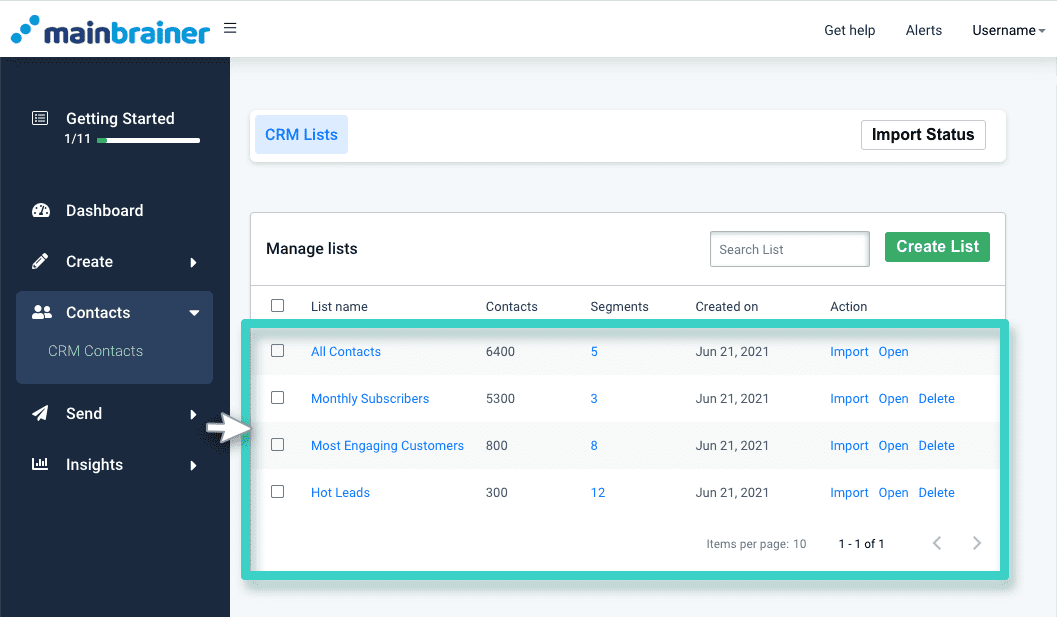
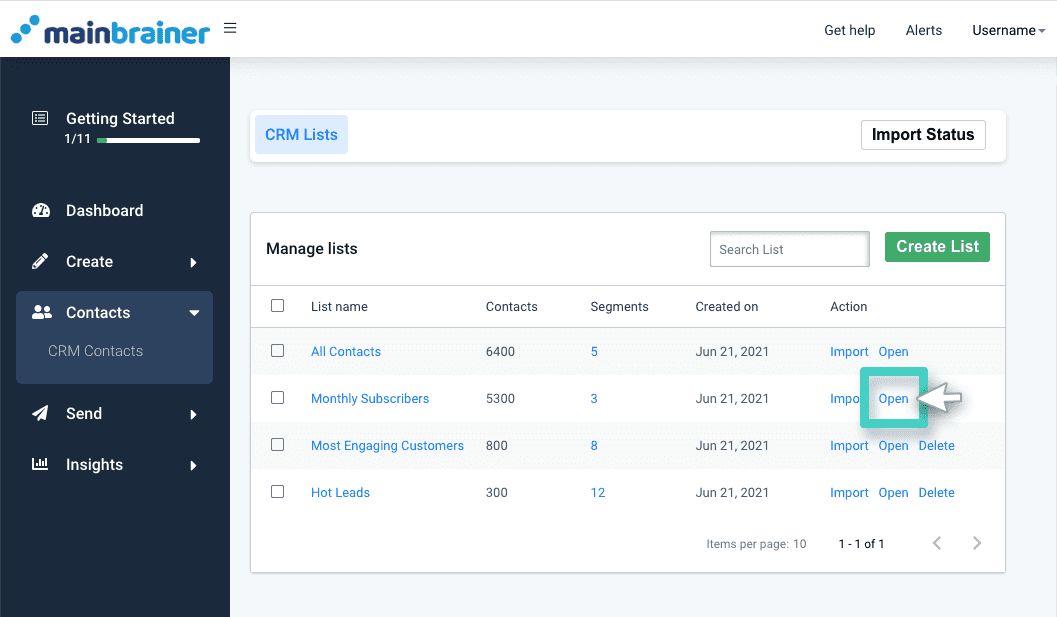
Navigate to the contact list whose custom fields you wish to view. Click the list name or the Open button to view the list data (as highlighted in the screenshot below).
Click the Custom Fields button (as highlighted in the screenshot below).
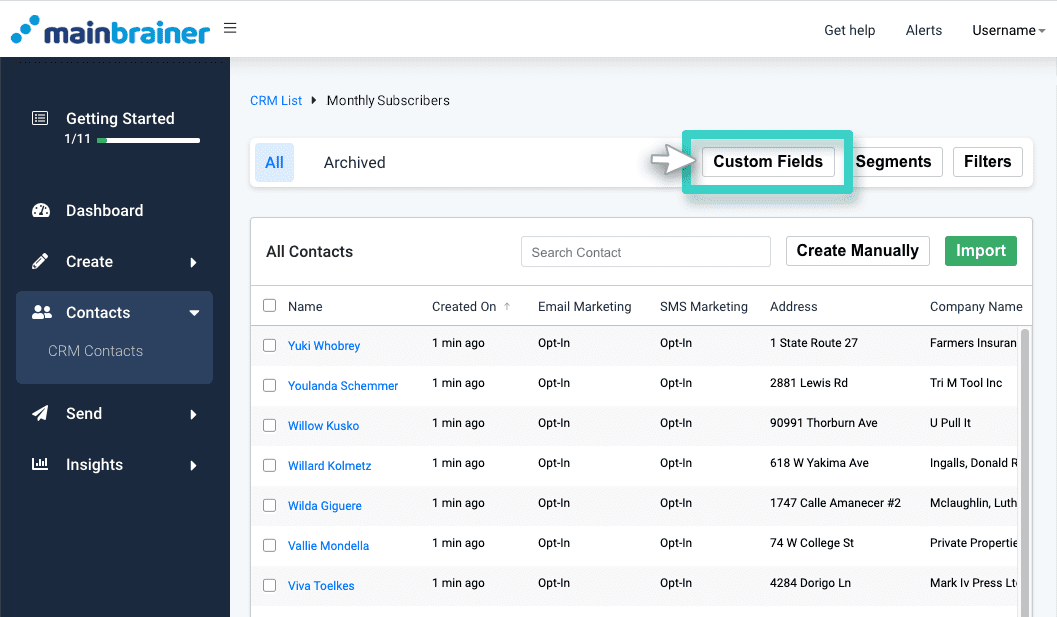
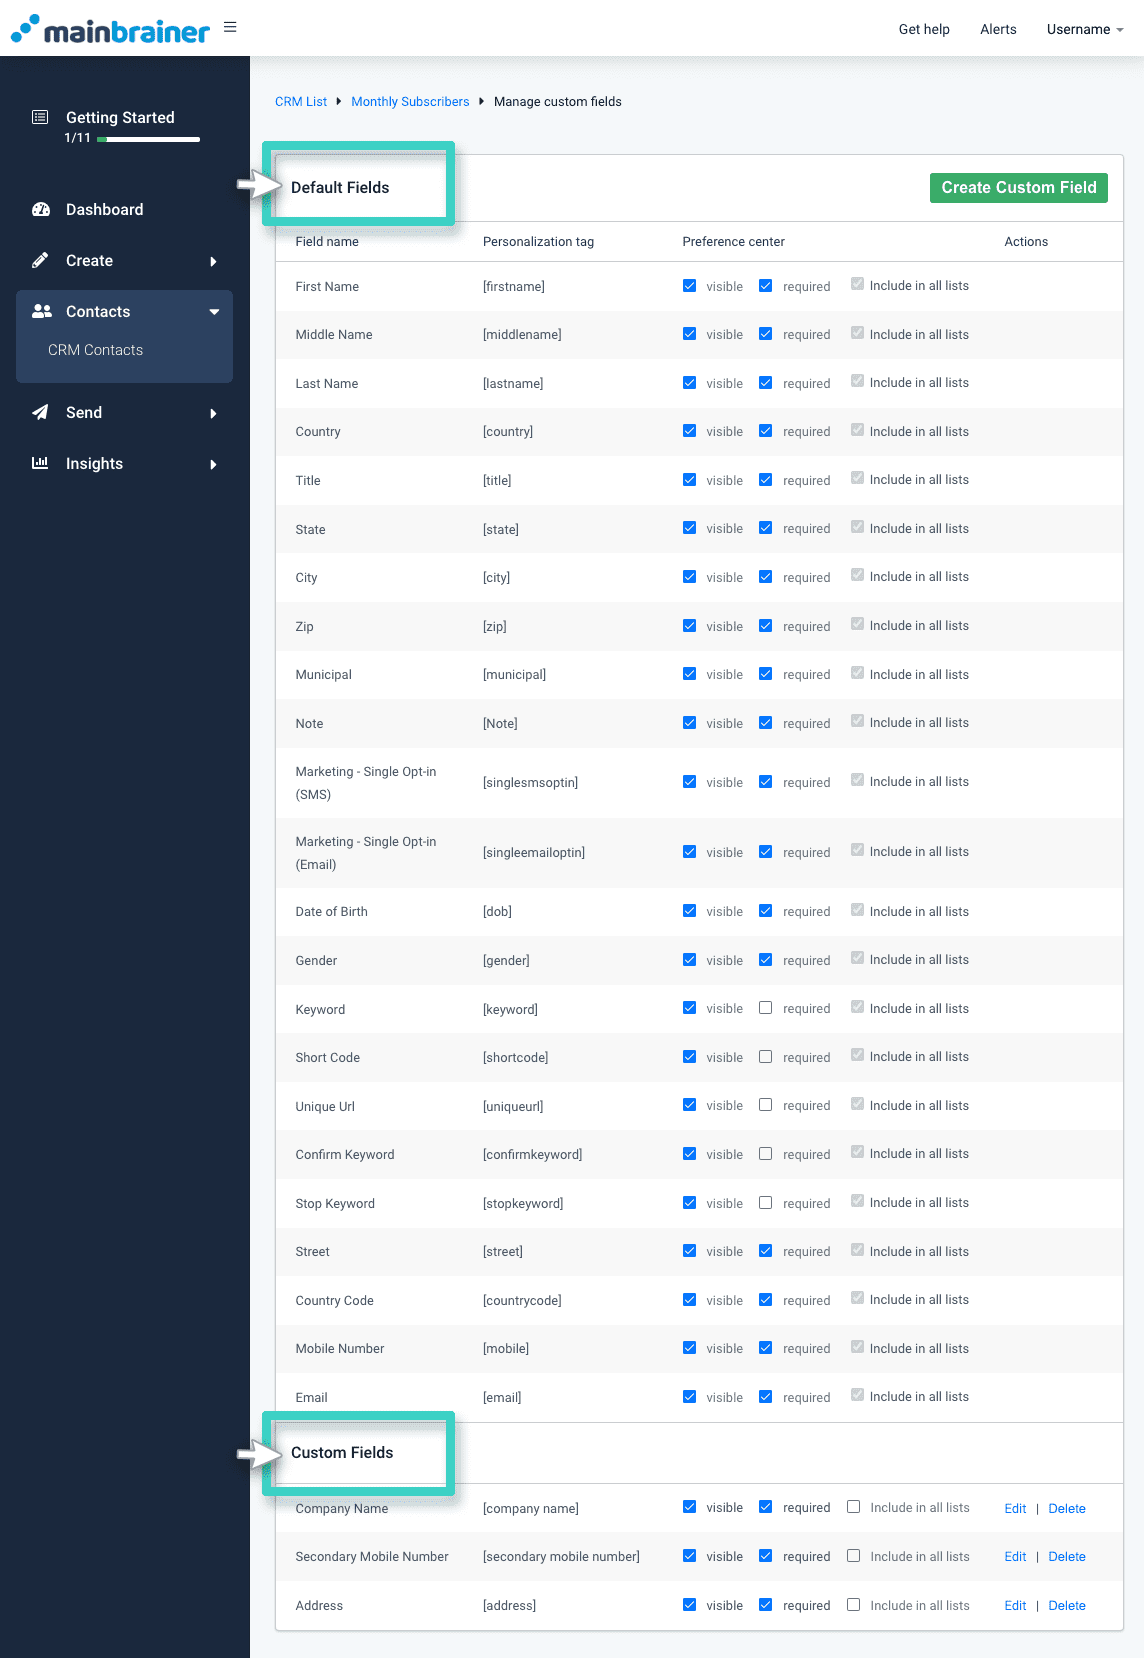
As you do, the next screen will display a list of all the CRM fields that exist in the list. The first section in the list will display the Default Fields, followed by a second section displaying the custom fields created so far.
Step 2
Edit the Custom Field Properties
The MainBrainer CRM helps you truly customize your custom fields to suit your requirements. For each custom field, you can customize if the data field is mandatory for contact addition, which lists you want the field to be a part of, etc.
As you navigate to the list of your custom fields as explained in the above steps, against each custom field, you can view the previous settings under the header Preference center (highlighted in the screenshot below).

Here’s what these settings mean:

- The Visible Checkbox – Check this box if you want to use this data field in your signup forms.
- The Required Checkbox – Check this box if you wish to make the input in the data field mandatory when used in signup forms.
- The Include in all lists Checkbox – Check this box if you wish to include the custom field in all your CRM lists.
You can, at any time:
- edit the custom field’s name or other properties (except its data type) by using the Edit button for that field (highlighted in the screenshot below)
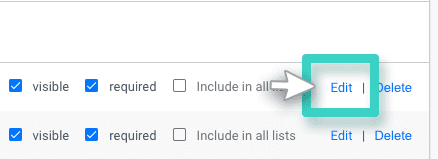
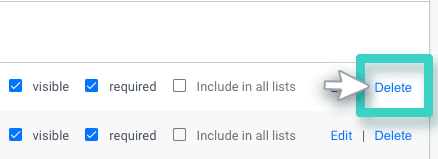
- delete a custom field by using the Delete button for that field (as highlighted in the screenshot below). Note that this will also delete the data stored under the custom field permanently.
