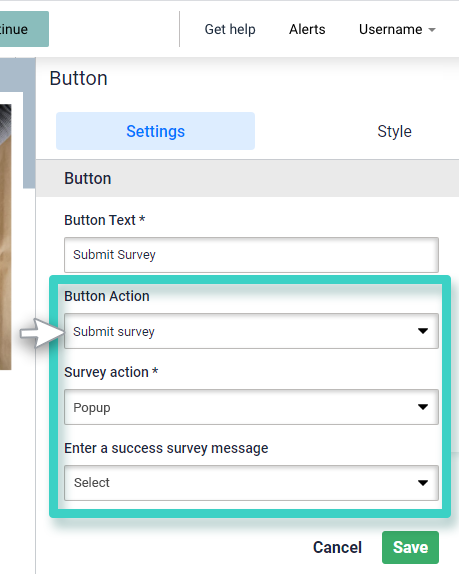
The CTA button offers its user multiple options in a survey. These options are:
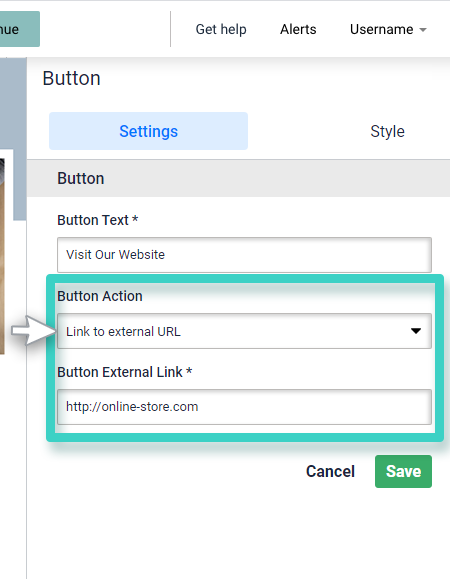
1. Redirecting the Button Clicks to an External URL
To redirect the button clicks to an external URL, use the Button Action dropdown menu to select the menu option – Link to external URL. Use the next field Button External Link to specify the external URL to which you want to redirect the clicks on your survey.
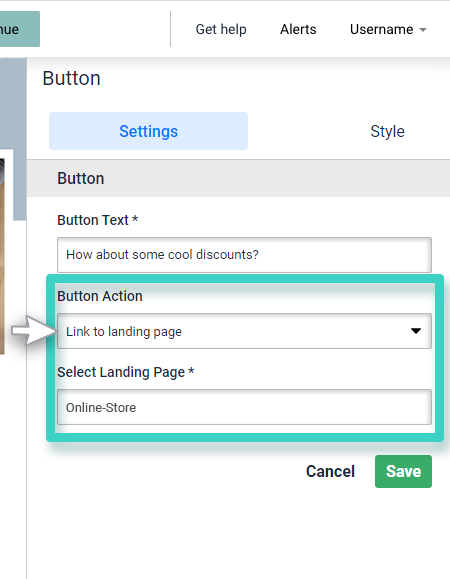
2. Redirecting the Button Clicks to Landing Page
To redirect the button clicks to a landing page, use the Button Action dropdown menu to select the menu option – Link to landing page. Use the next field Select Landing Page to specify the landing page to which you want to redirect the clicks from your survey.
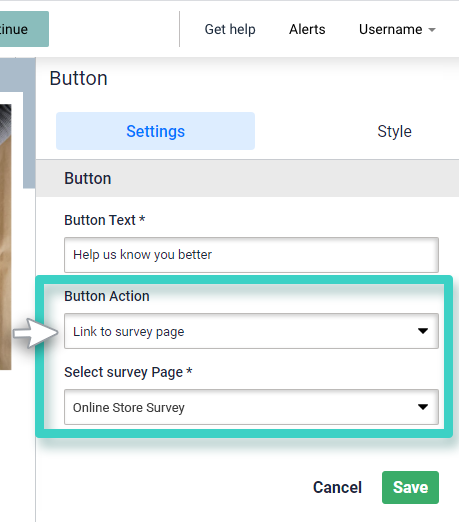
3. Redirecting the Button Clicks to another Survey
To redirect the button clicks to another survey, use the Button Action dropdown menu to select the menu option – Link to Survey Page. Use the next field Select Survey Page to specify another survey to which you want to redirect the clicks from your current survey.
4. Redirecting the Button Clicks to an Email Address
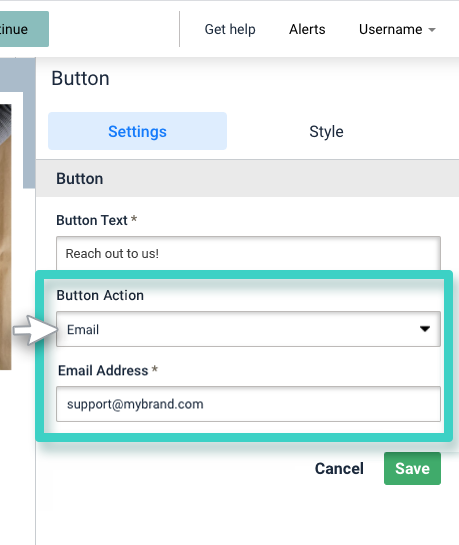
To redirect the button clicks to an Email address, use the Button Action dropdown menu to select the menu option – Email Address. Use the next field Email Address to specify the Email address to which you want to redirect the clicks on this button.
5. Opening a Pop-up on Button Clicks
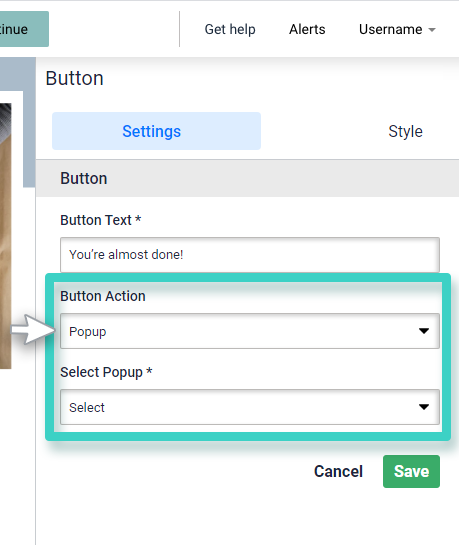
To open a Pop-up when the button on the survey is clicked, use the Button Action dropdown menu to select Popup. Use the next field Select Popup to select your desired pop-up layout design. The layout design that you select at this stage is just a starting point for your convenience. Once you select a pop-up layout, you can edit it as per your requirements in the next step.
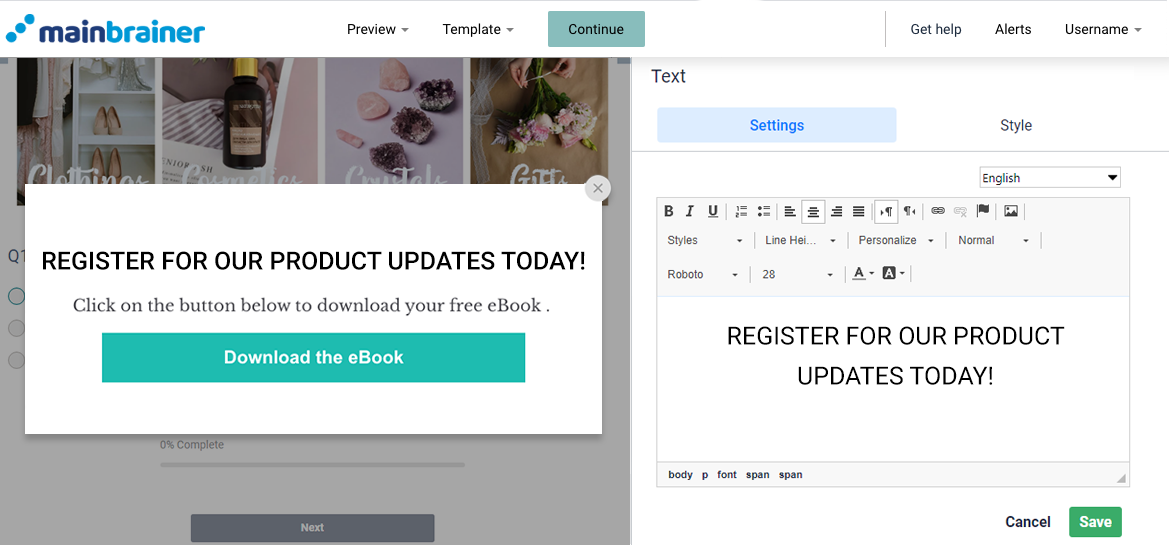
Click on the different areas of the pop-up to update the text/images, etc. In case you wish to add additional design elements to your pop-up, drag and drop the corresponding widgets onto the pop-up. Once you are done, click on Save Changes.
6. To Confirm an Opt-in Request
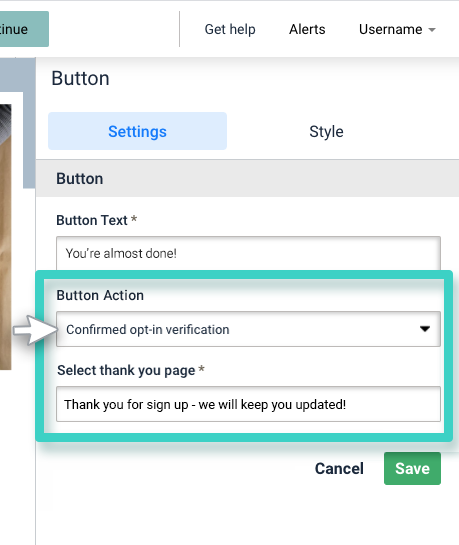
To confirm an opt-in request and redirect the clicks to a thank you page, use the Button Action dropdown menu to select Confirmed opt-in verification. Use the next field Select thank you page to select the third field to specify the landing page that you want to use as a thank you page. All clicks received on this button will be redirected to the specified thank you page.
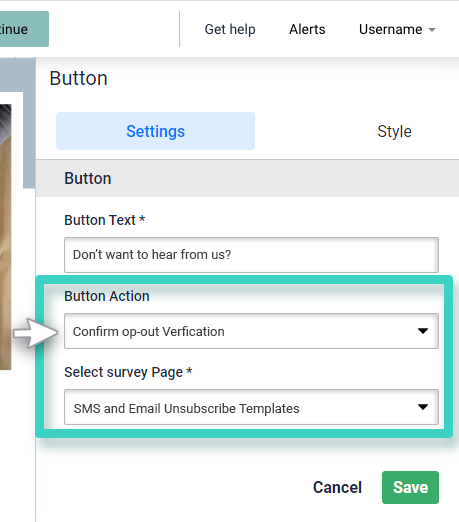
7. To Confirm an Opt-out Request
To confirm an opt-out request and redirect the clicks to the unsubscribe page, use the Button Action dropdown menu to select Confirm opt-out verification. Use the next field Select Unsubscribe page and select the third field to specify the landing page that you want as an unsubscribe page. All clicks received on this button will be redirected to the specified unsubscribe page.
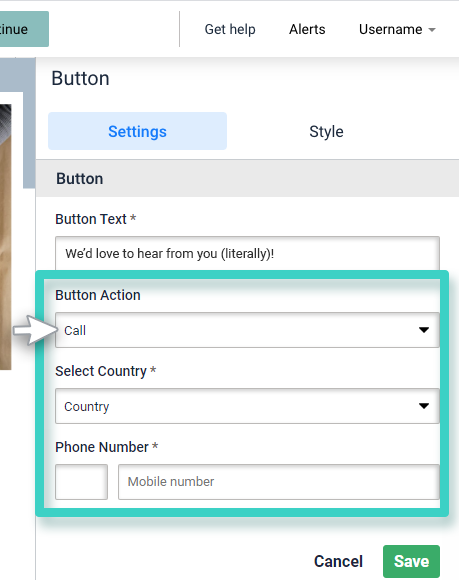
8. Redirecting the Clicks to Place a Phone Call
To configure the button clicks to place a phone call, use the Button Action dropdown menu to select Call. Use the next field Select country to select the country where you want to place a phone call. You can also type in the country code manually in the following field if you wish to. In the Phone Number field, type in the mobile number to which you want to direct the phone call requests.
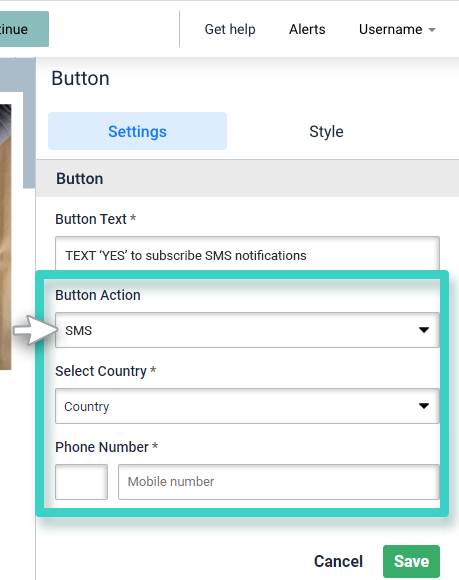
9. Redirecting the Clicks to Send an SMS
To configure the button clicks to send an SMS, use the Button Action dropdown menu to select SMS. Use the next field Select Country to select the country where you want to send an SMS. You can also type in the country code manually in the following field if you wish to. In the Phone Number field, type in the mobile number at which you want to receive the messages.
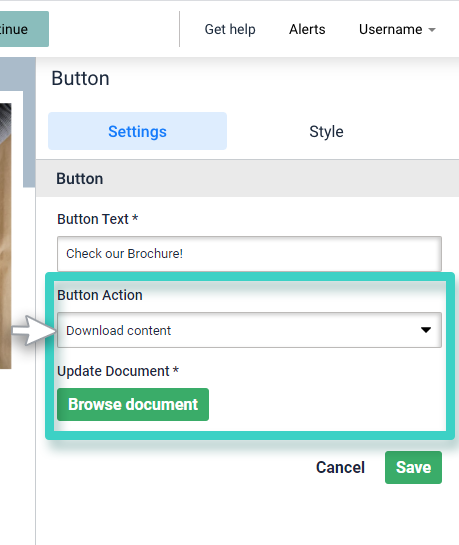
10. Configuring a File Download on Button Clicks
If you want the clicks on the button to download a file to the customer’s local system, use the Button Action dropdown menu to select Download content. Use the Browse document button to upload the relevant document. All clicks received on this button will download this document to the customer’s local system.
11. Submit Survey
To configure the Button Action to Submit the Survey, use the dropdown menu to select Submit Survey. Now define the Survey Action under the next dropdown menu. You could either make the audience stay on the same page or redirect them to a landing page or external URL; show them a Popup message , or redirect them to one of the pages in the current Survey.
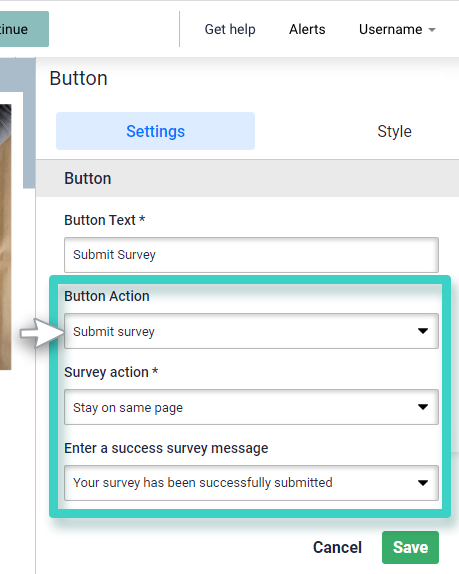
For the Popup Action, Use the next field Select Popup to select your desired pop-up layout design. The layout design that you select at this stage is just a starting point for your convenience. Once you select a pop-up layout, you can edit it as per your requirements in the next step.
