Step 1
Create a CRM Contact List
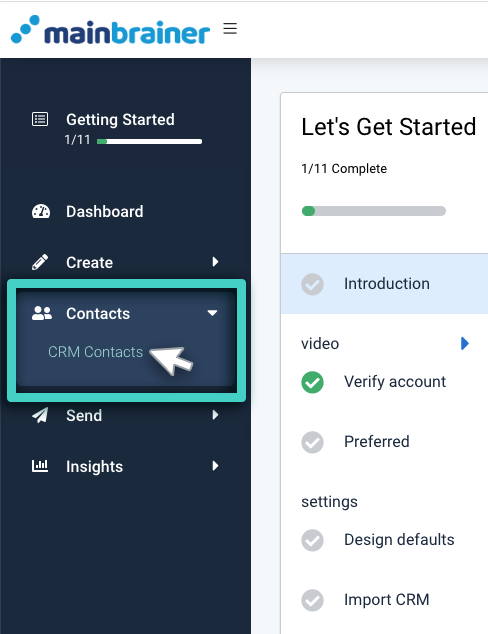
A contact list is quite simply a group of your CRM contacts. Expand the Main Menu option Contacts and click CRM Contacts.
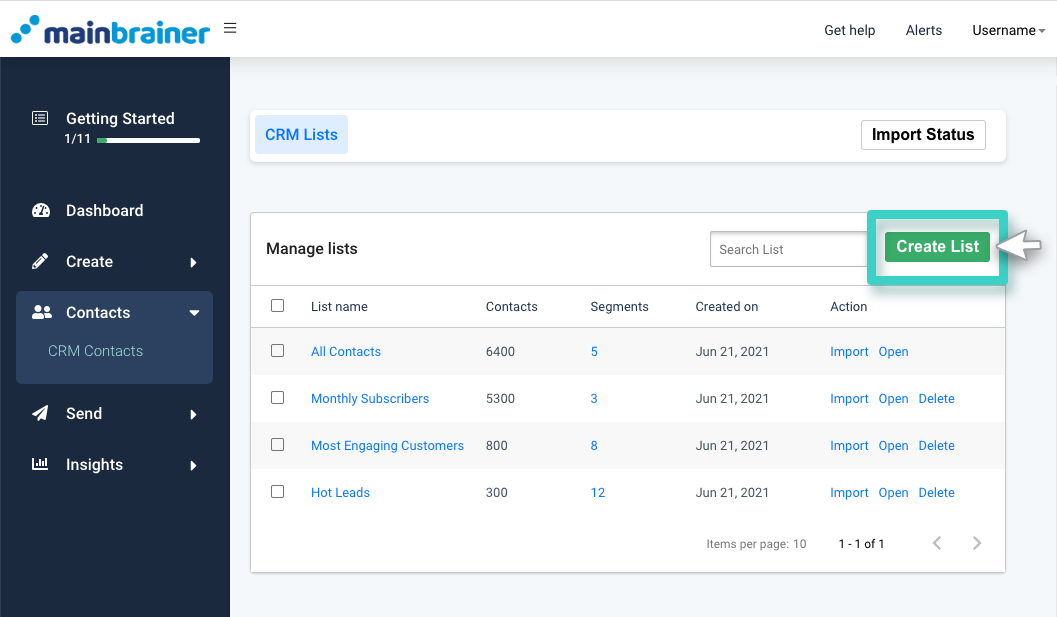
On the subsequent page, click Create List to create your first contact list in the MainBrainer CRM.
Step 2
Upload a CSV file
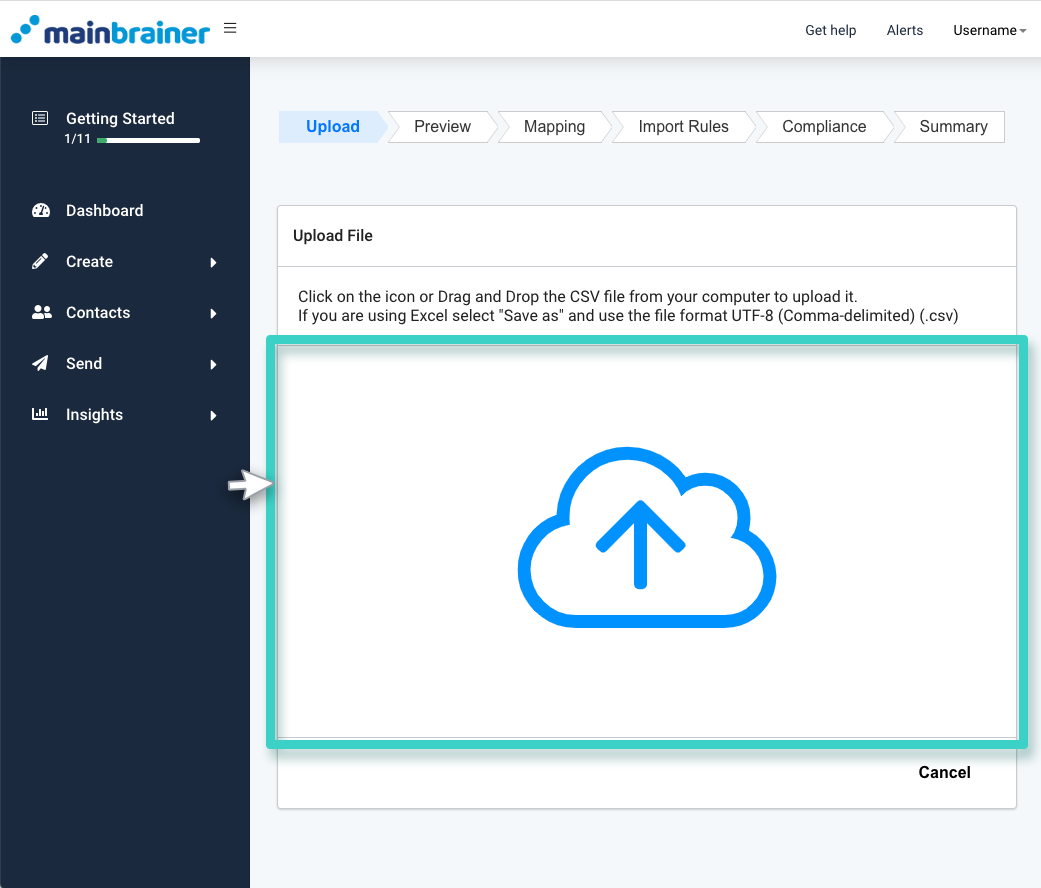
The MainBrainer CRM supports contact imports via CSV files. Drag and drop the .csv file you wish to import to the area highlighted in the screenshot below. Or, click the icon to upload the .csv file. Be sure to use the file format UTF-8 (Comma-delimited).
Step 3
Preview your Import data
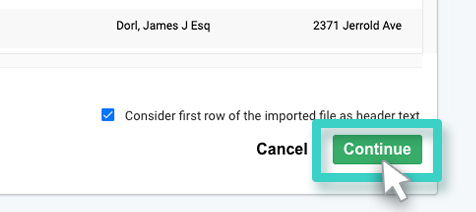
The subsequent screen will display a preview of the first 100 contacts from the CSV file that you are importing. In case the first row of the file that you are importing contains header data, remember to mark the checkbox highlighted in the screenshot below.
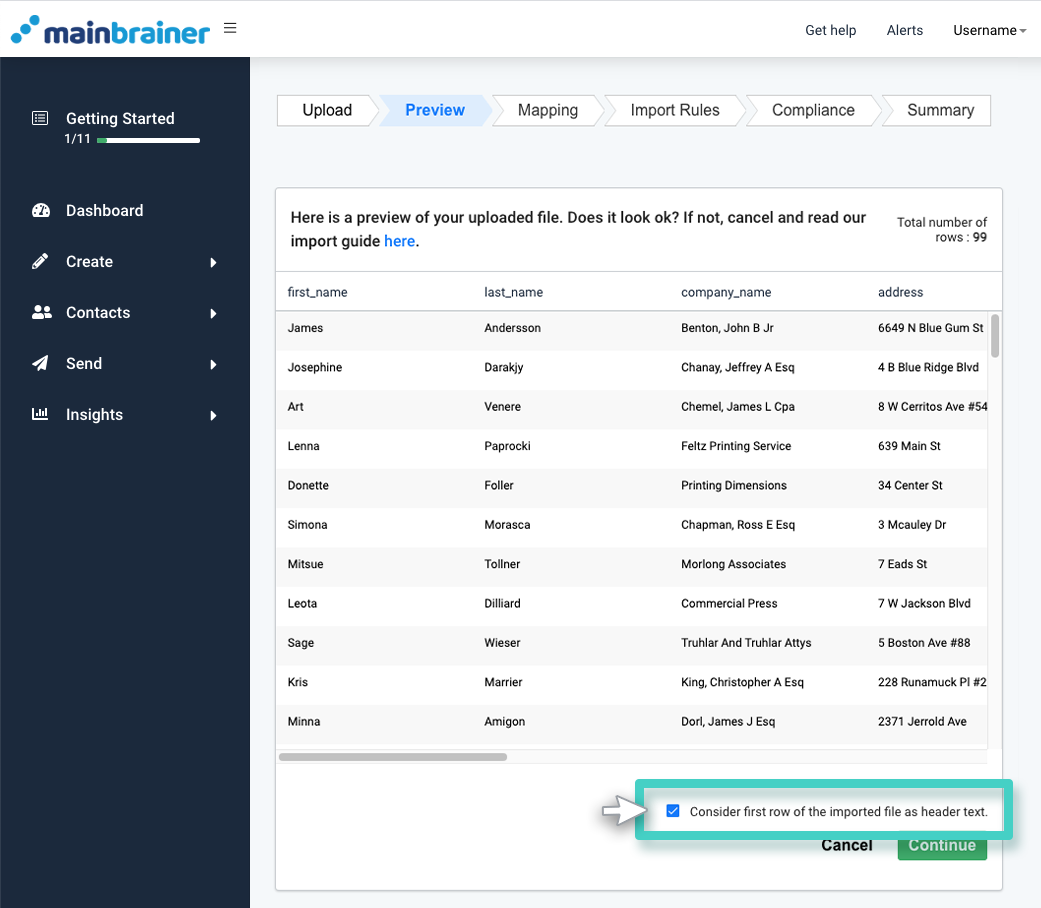
Click Continue to proceed with the import.
Step 4
Map the Imported Data to appropriate CRM columns
On the Mapping screen, you will be prompted to map the columns in your import file to the relevant field in the MainBrainer CRM. The entries under the heading Column Name represent the columns in your import file. The entries under the heading Map to field represent the fields available in the MainBrainer CRM.
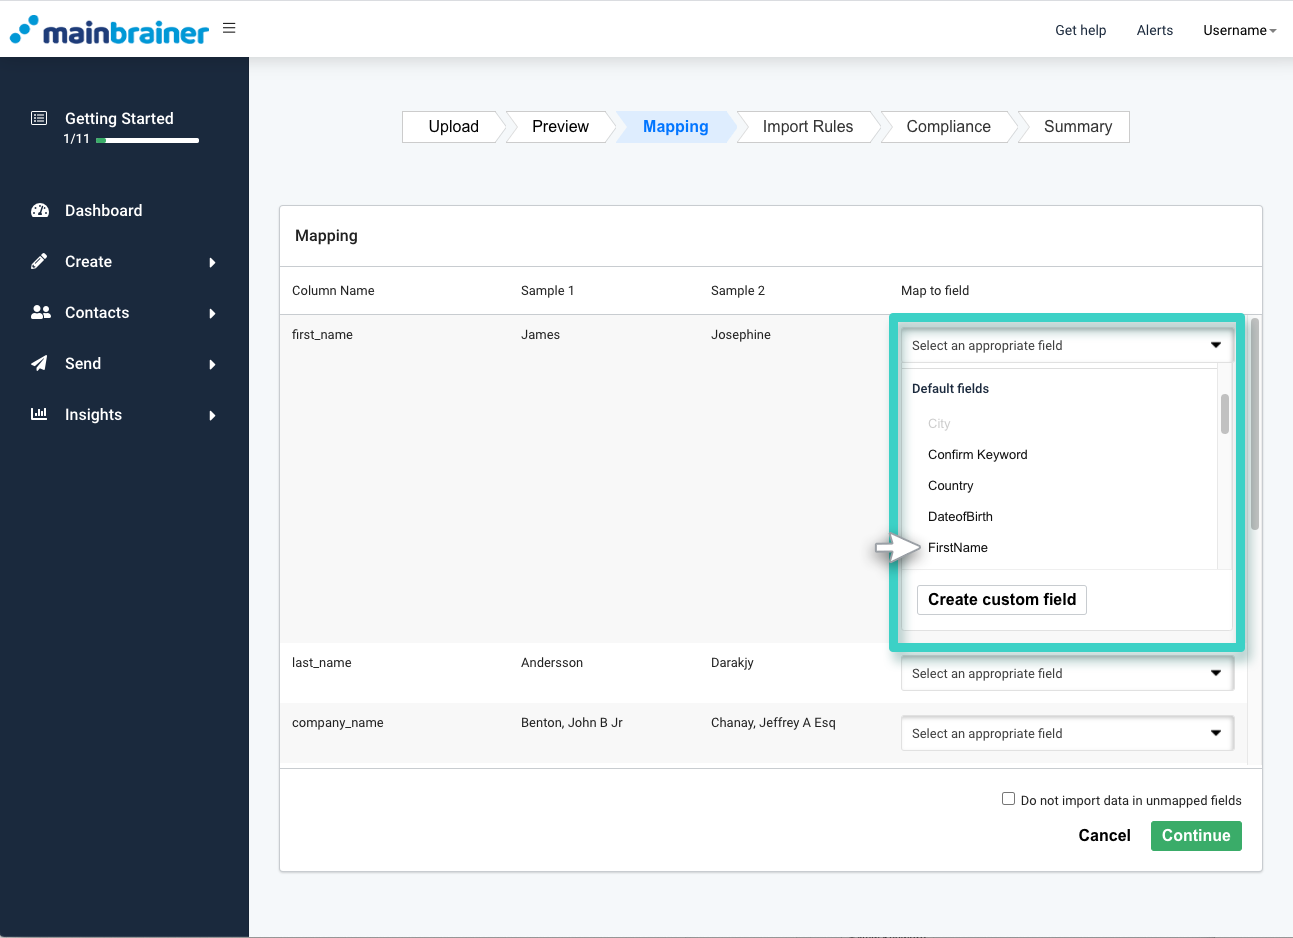
Now, you need to specify which columns in your import file correspond to the relevant field in the MainBrainer CRM. To do that, use the dropdown menu under the heading Map to Field (as highlighted in the screenshot above). The dropdown menu will display all the predefined CRM fields available for mapping. In case you wish to define a new custom field to map the field to, click the Create custom field button to create a new custom field. If you wish to skip the import of any column, use the option Don’t import this column in the dropdown menu.
If there are multiple columns of data in your import file that you do not want to import, you can skip mapping those fields and mark the checkbox Do not import data in unmapped fields (as highlighted in the screenshot below) to skip their import.
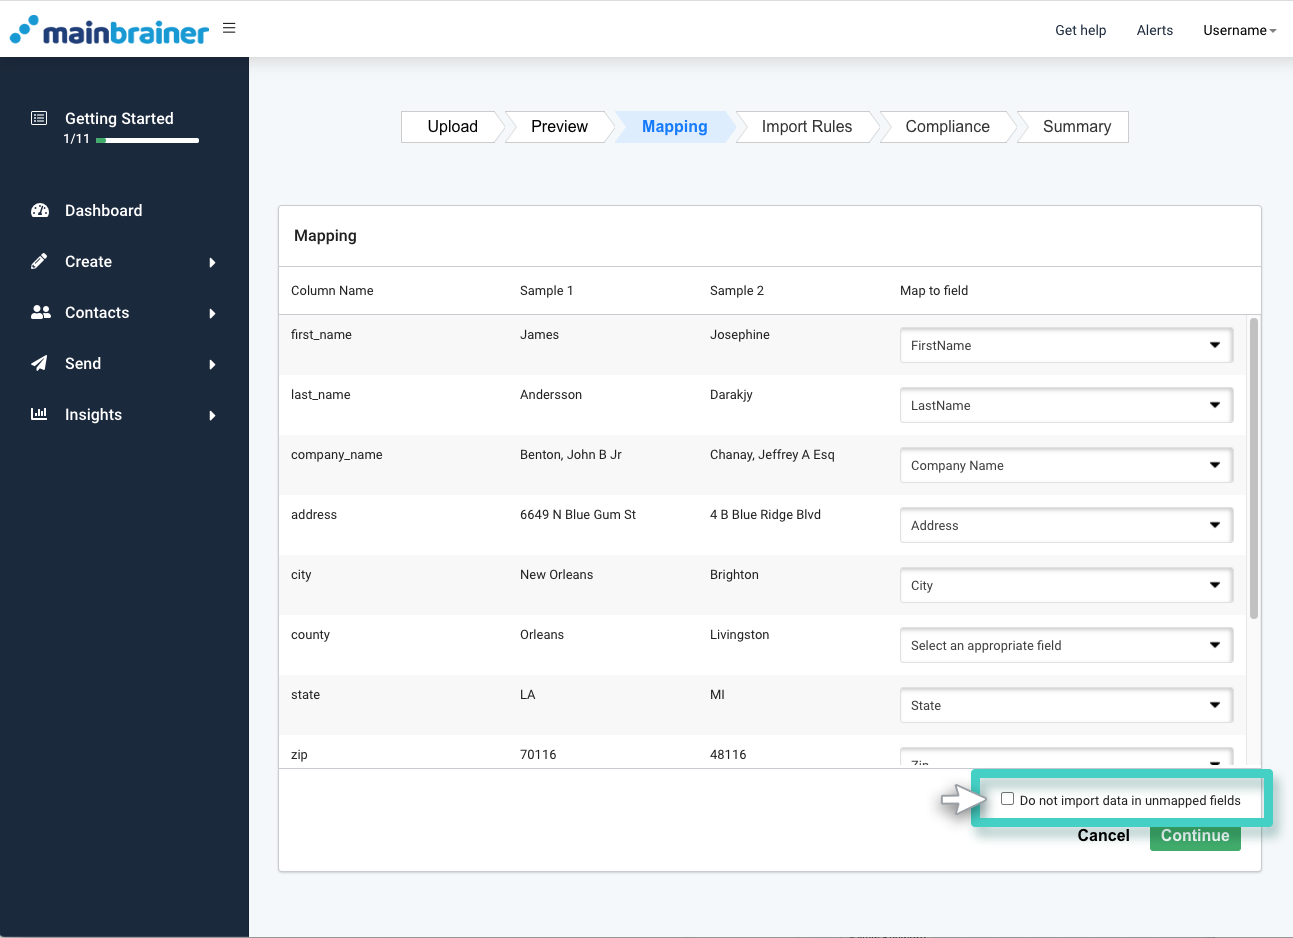
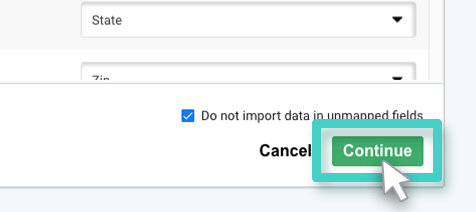
Click Continue to proceed.
If you map the Email address/mobile number field, you will also need to specify the respective opt-in/opt-out status. In case you don’t, you will be prompted to do so on the next screen.
By default, the values for the opt-in status fields (i.e., the fields – SMS Marketing and Email Marketing) need to be passed as:
- True/Yes for contacts who have opted in, and
- False/No for contacts who have opted out.
Note: We understand that the data you wish to import might contain the opt-in status with different terminology, for example, OptIn for contacts who have opted in and OptOut for those who have opted out. In such cases, you can edit the field settings of the CRM’s opt-in status fields in accordance with your data.
Step 5
Specify the Import rules
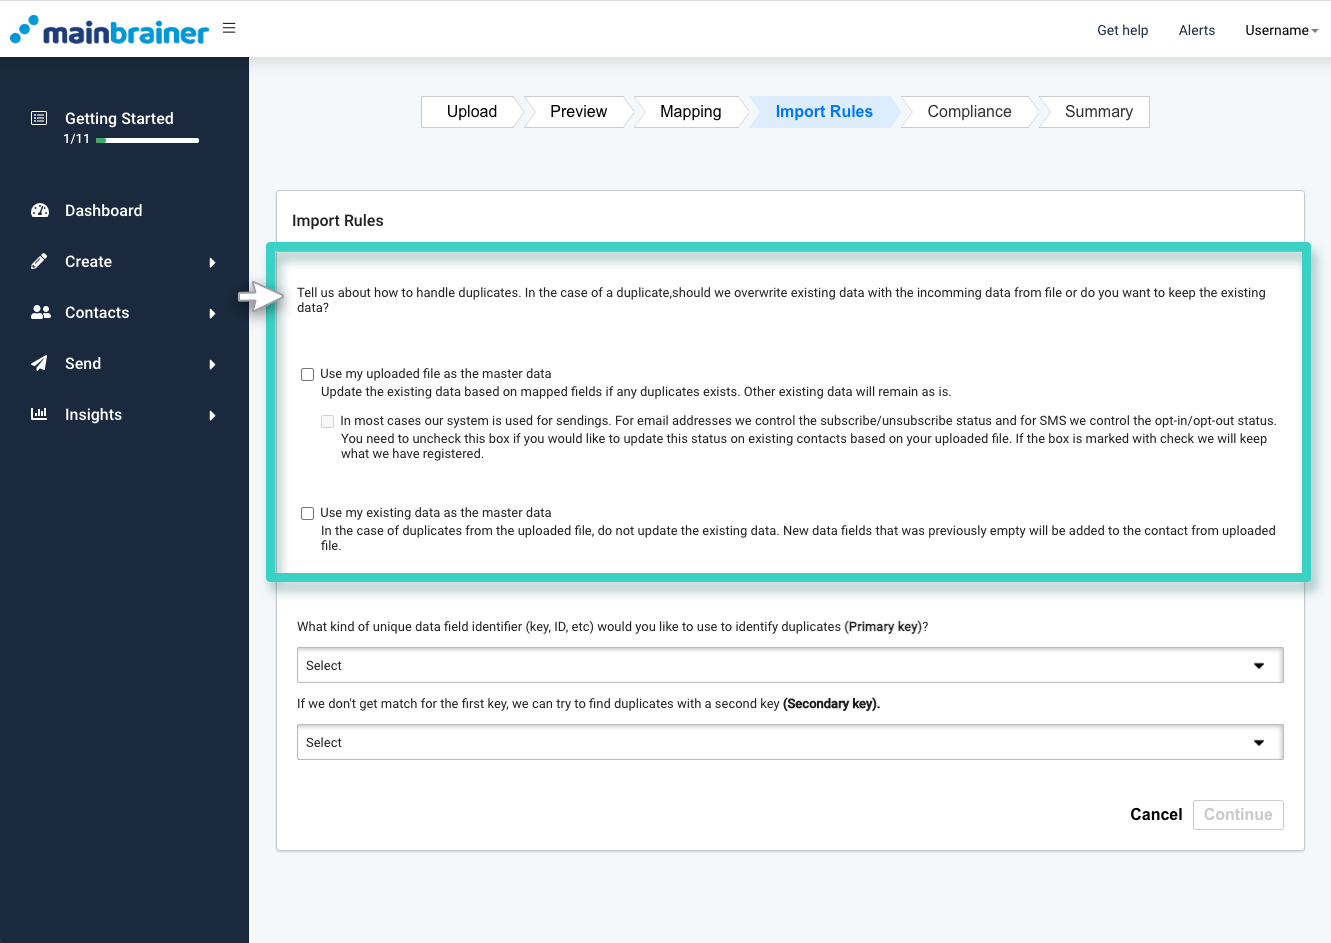
On the subsequent Import Rules screen, you’ll need to specify the import rules, i.e. directions on how you would like to identify and handle duplicates.
-
Use my Uploaded File as the Master Data
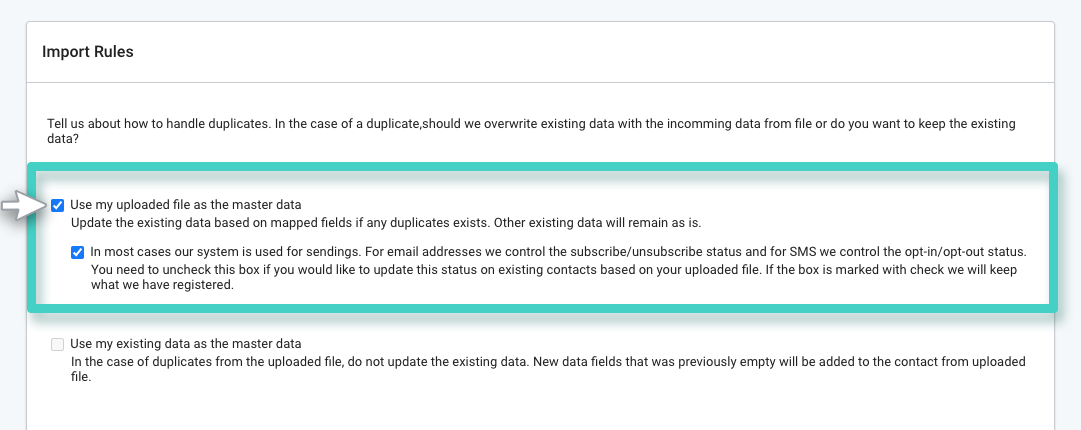
Check the box highlighted in the following screenshot if you want to treat the file being imported as the master data. If you do so, any duplicate data in the CRM will be updated with the imported data.
-
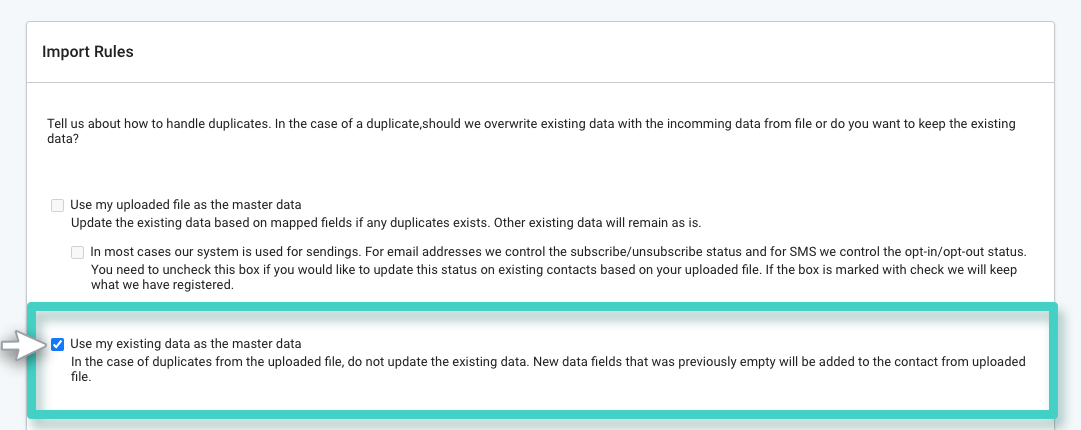
Use my Existing Data as the Master Data
Check the following highlighted box if you want to treat the pre-existing data in the CRM as the master data. If you do so, any duplicate data in the import file will not be updated in the CRM. New data fields if any (that is, the fields which previously did not contain any data in the CRM) will be added to the CRM.
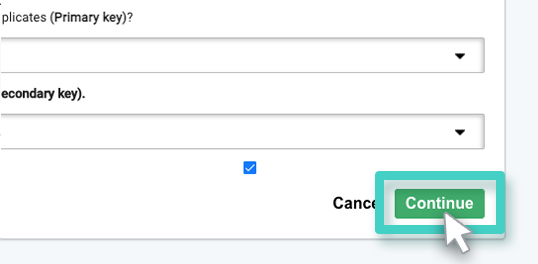
Next, you’ll need to specify the field(s) you wish to use as primary and secondary keys to identify duplicates during the import.
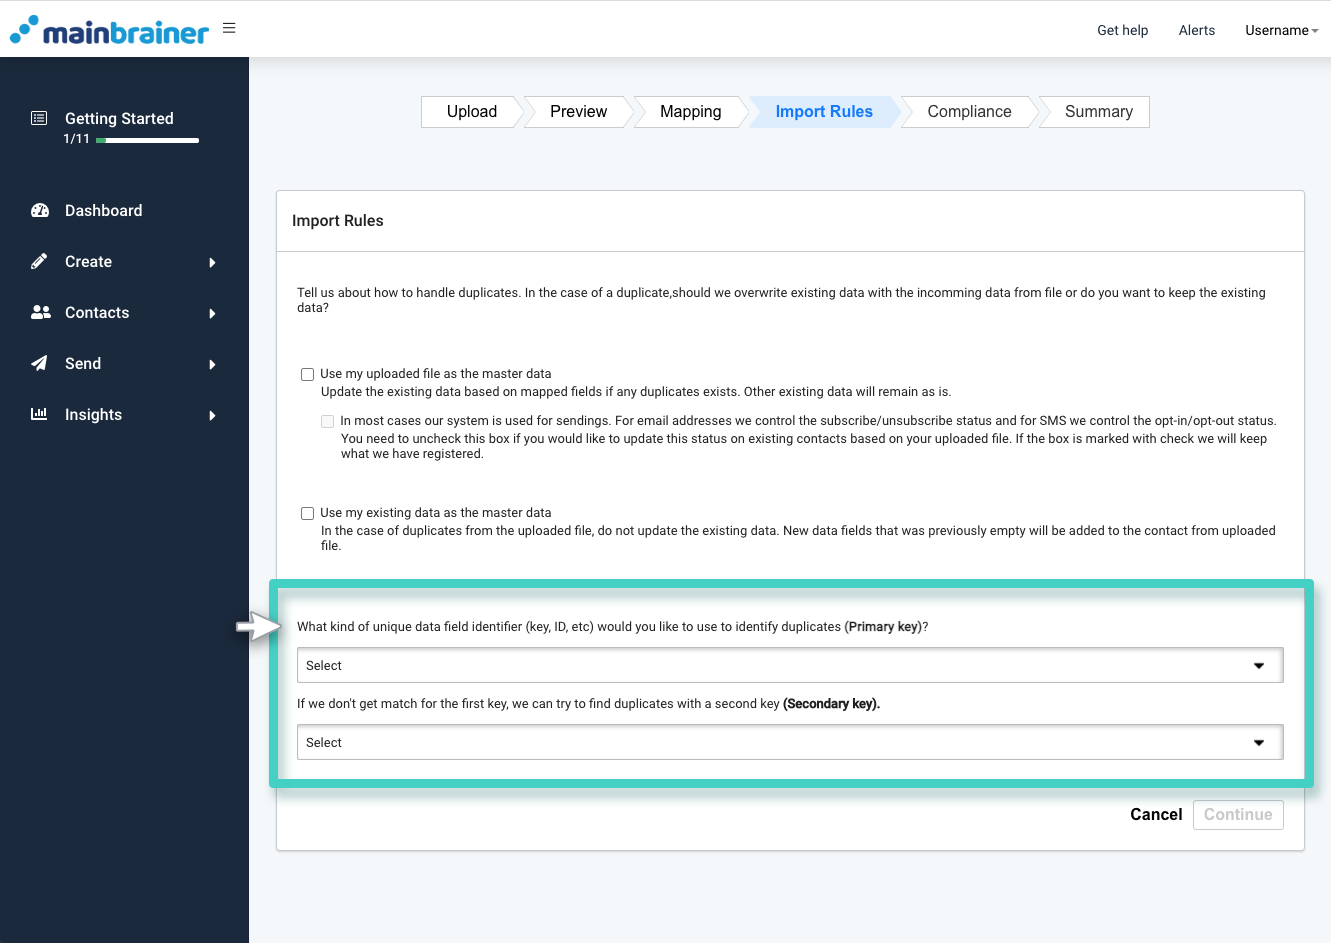
Primary key – The field chosen as the Primary key will be used to identify if a record is a duplicate at the time of import. Use the drop-down menu to select Email Address, Mobile Number, or System ID as the primary key for the import. You can also select No identifying field if you wish to import the data as it is without checking for duplicates. It is mandatory to make a selection to execute an import.
Secondary key – You may also specify a secondary key for determining duplicate entries. In case you specify a secondary key, it will be used for determining duplicates if no matches are found with the primary key.
Click Continue to proceed.
Step 6
Accept Compliance Conditions
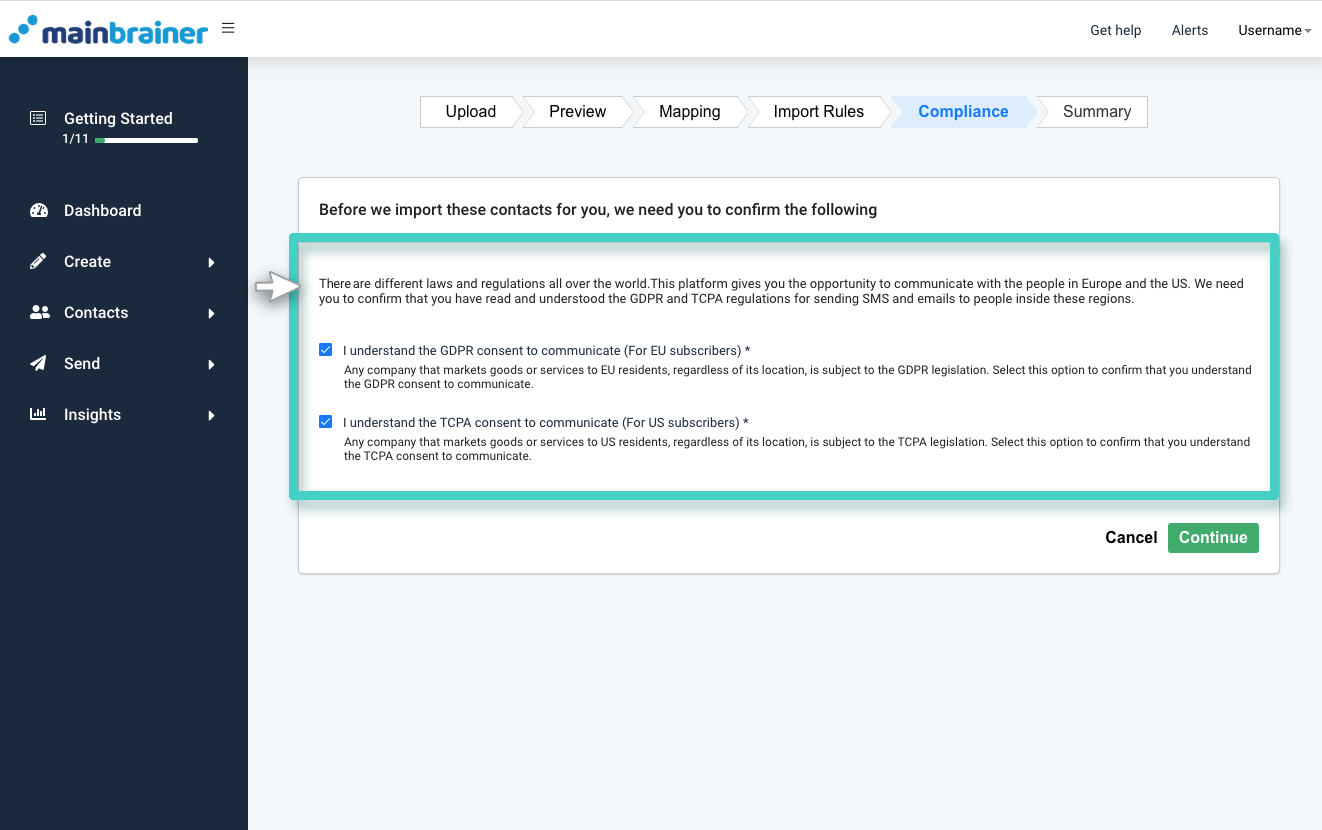
On the Compliance screen, you need to confirm that you have read and understood the GDPR and TCPA regulations for sending SMS and Emails to people in the EU and the USA.
Step 7
Review Import Settings
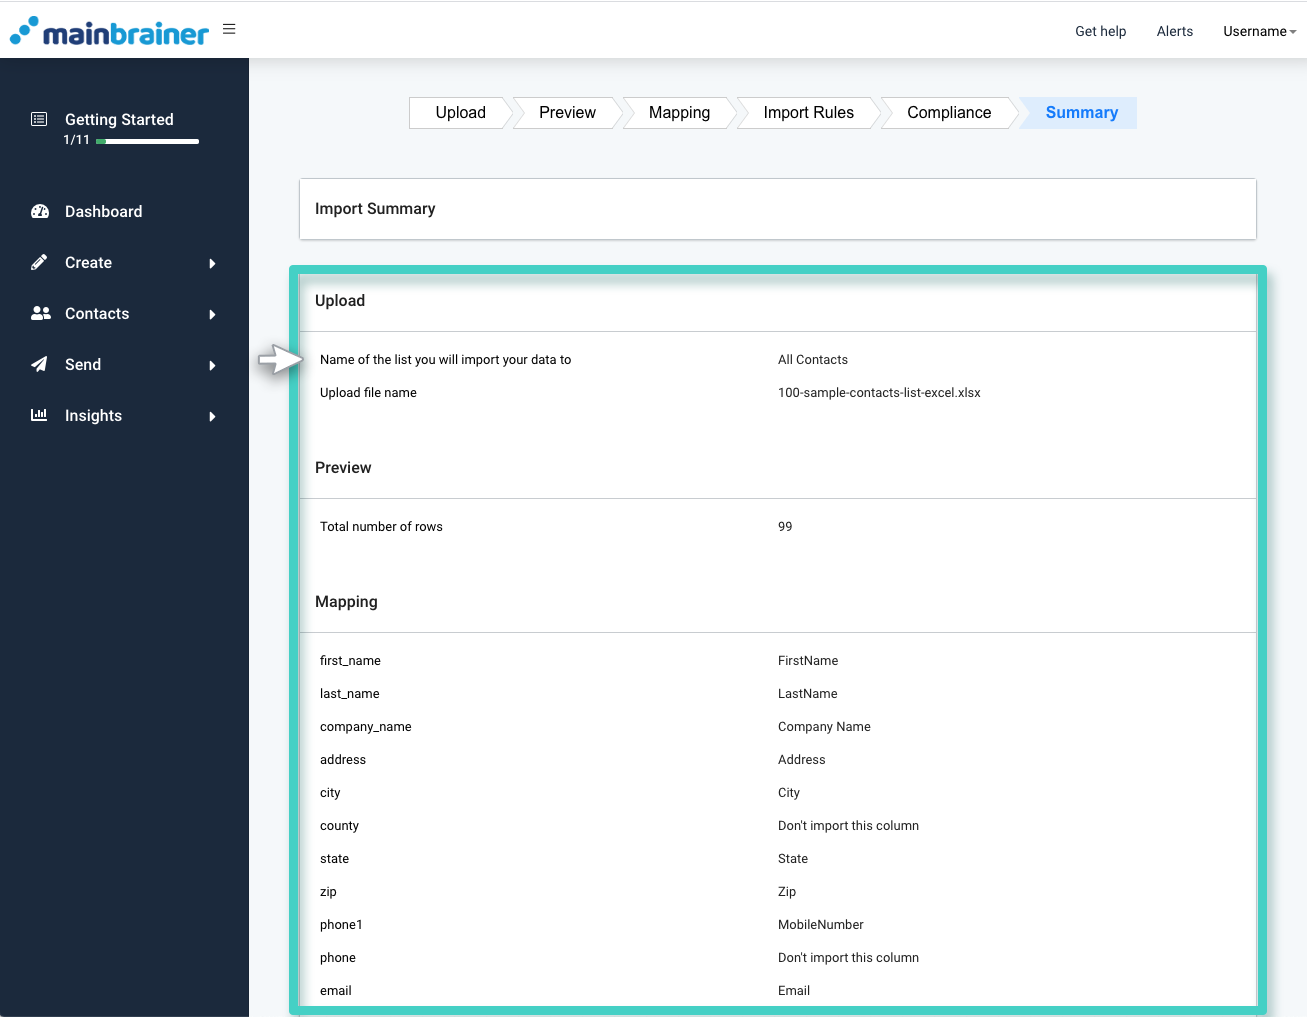
The next screen will summarise all the settings you have chosen for the import. Review the settings and then click the Import button to import the list.
As the import starts, it will be displayed under the Draft tab (as highlighted in the screenshot below):
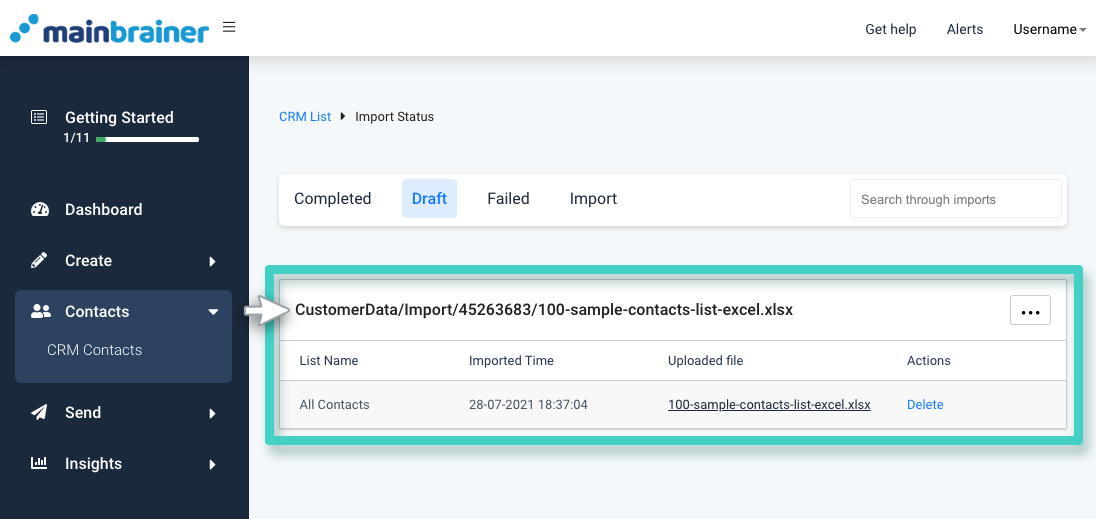
Once the import is successfully completed, it will be visible under the Completed tab. In case the import failed, it would be visible under the Failed tab along with the reasons for the failure.
