The signup form widget helps you add a signup form to the survey. The data captured via this signup form is auto-updated in the CRM in accordance with MainBrainer’s data import rules.
How to Use a Signup Form Widget in a Survey?
Step 1 – Navigate to the Survey Creator
Open the Survey Creator to start creating your survey.
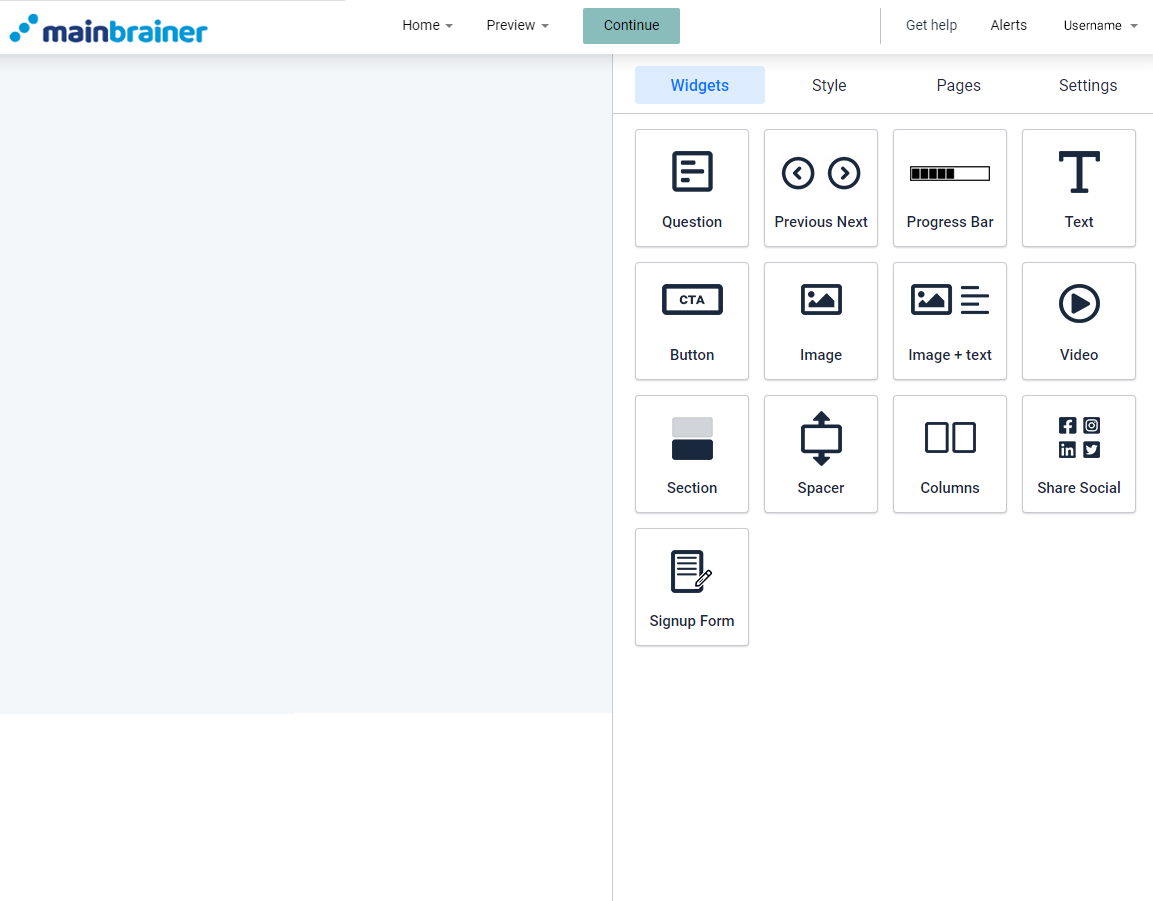
Step 2 – Add a Signup widget to your survey
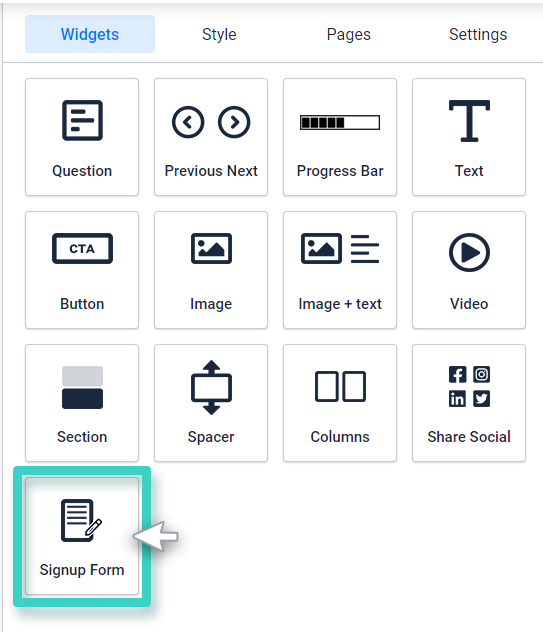
To add a signup form to your survey, drag and drop the Signup widget to the work area.
Step 3 – Define the customer signup rules
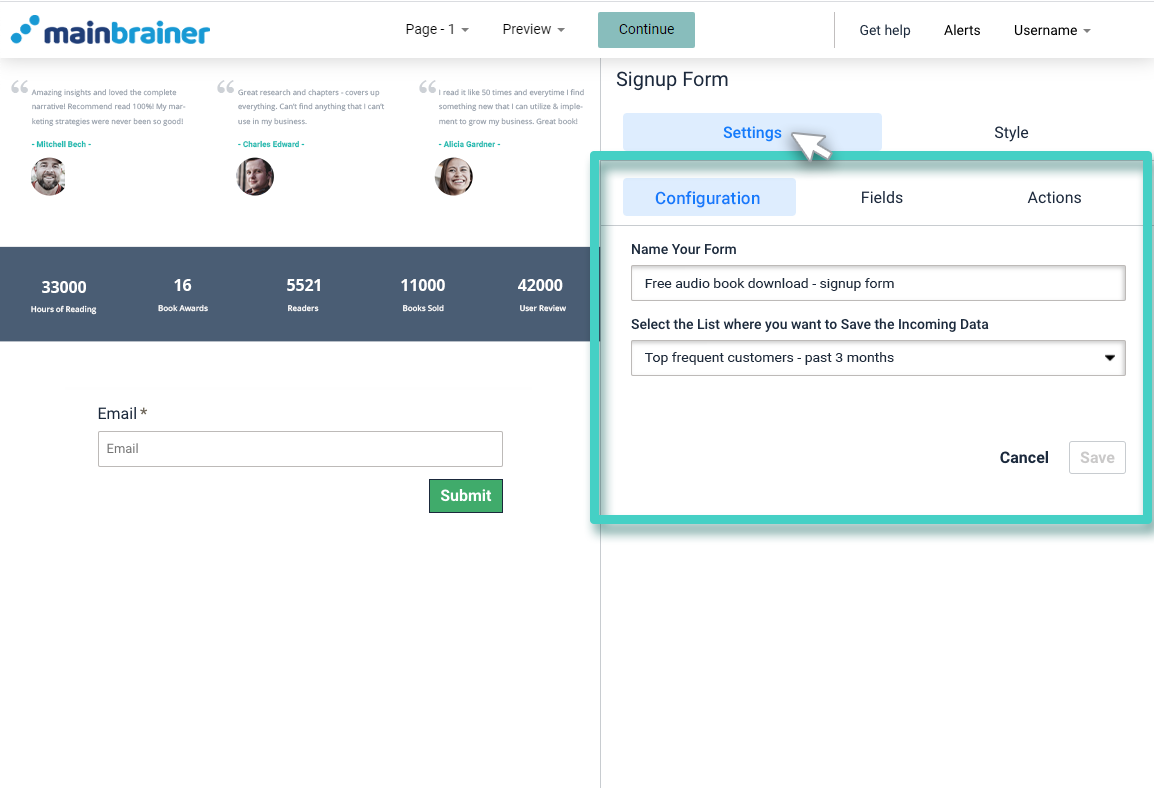
Once you drop the widget in the work area, you’ll see the widget settings on the right side.
Use the various options available under the Settings tab to define the customer signup rules. That is; the rules based on which you would like the customers who sign up via this form to be added to the CRM.
Step 4 – Style the Signup widget
You can edit the appearance of your signup widget using the options available under the Style tab.
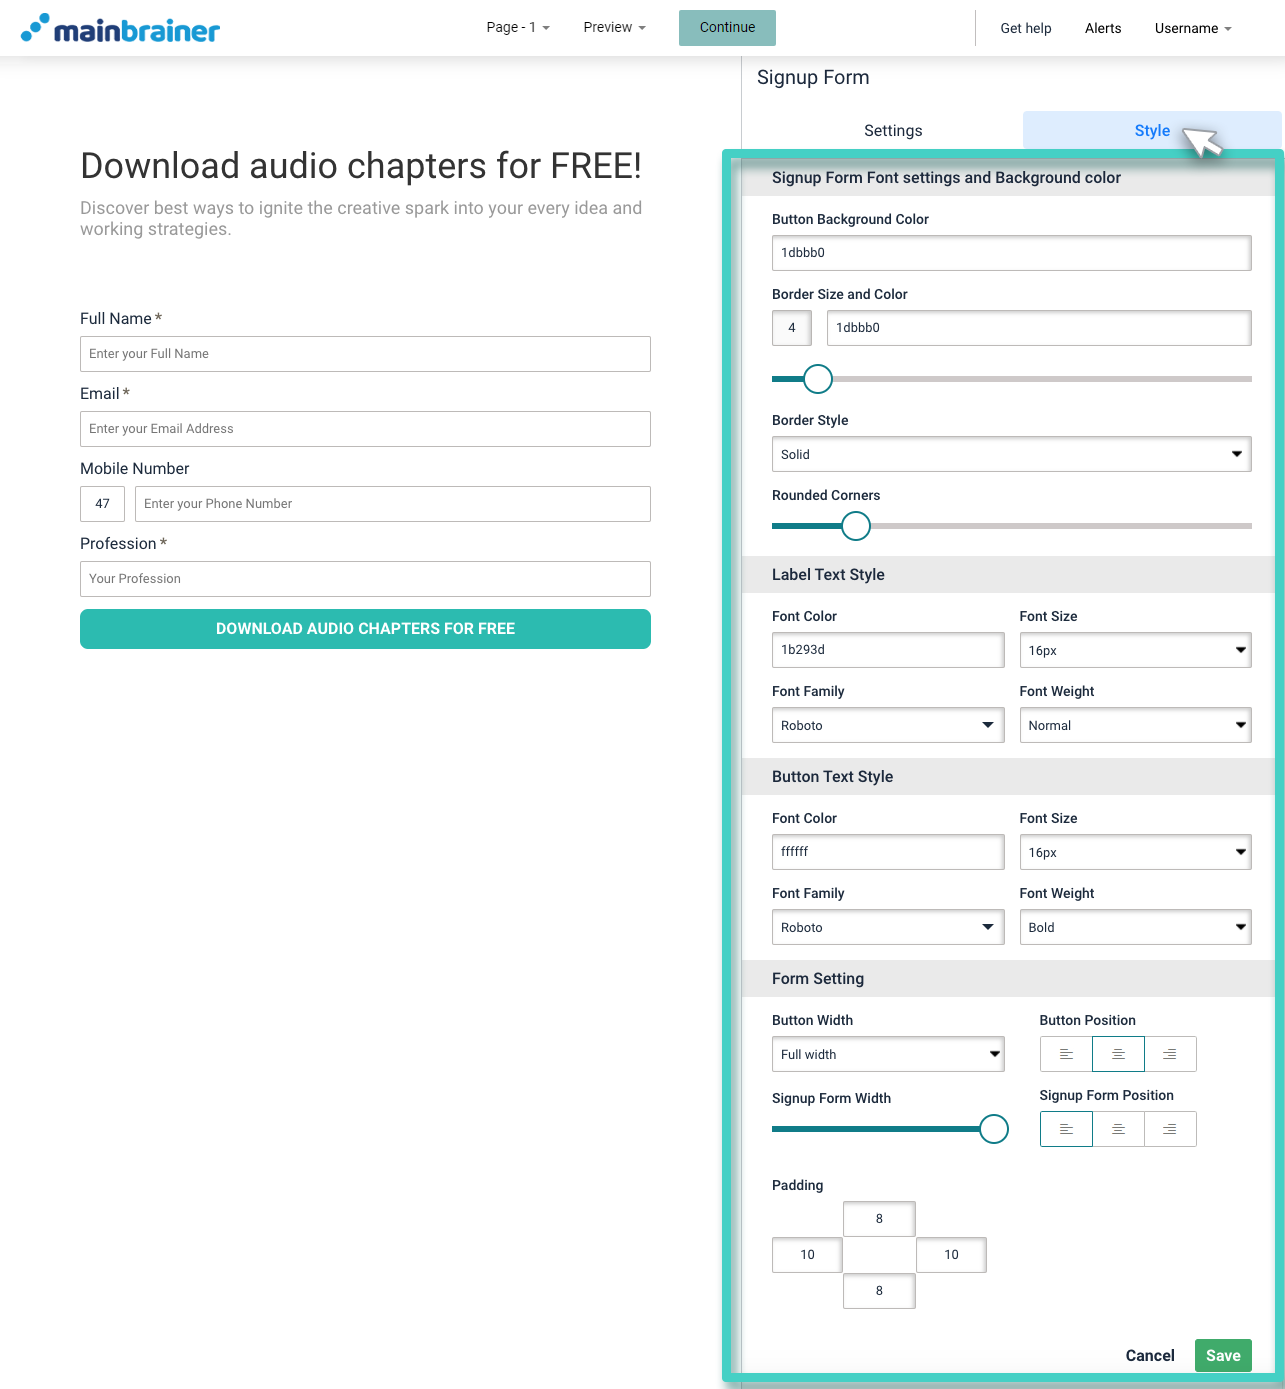
Herein, the different design options available are:
4.1 Signup Form Font settings and Background color
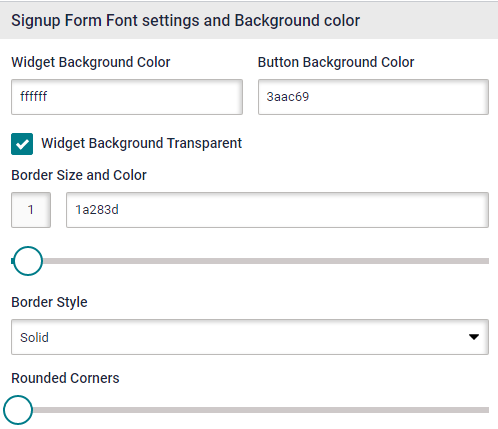
- Button Background Color to change the color of the Submit button background
- Border Size and Color to change the size and color of the button border (use the sizing bar to adjust the thickness of the border)
- Border Style to change the type of button border – solid, dotted, etc.,
- Rounded Corners sizing bar to add rounded corners to the button.
4.2 Label Text Style
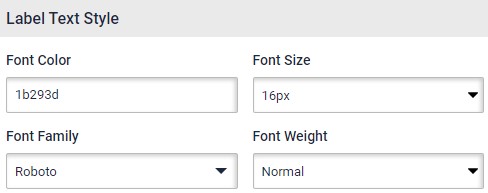
Use the options available under the Label Text Style section to edit the font style, color, font family, and font-weight of the field labels.
4.3 Button Text Style
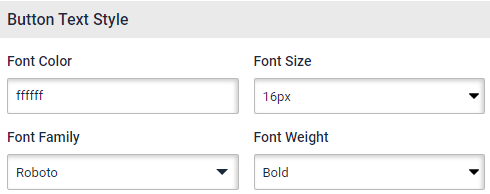
Use the options available under the Label Text Style section to edit the font style, color, font family, and font-weight of the field labels.
4.4 Form Setting
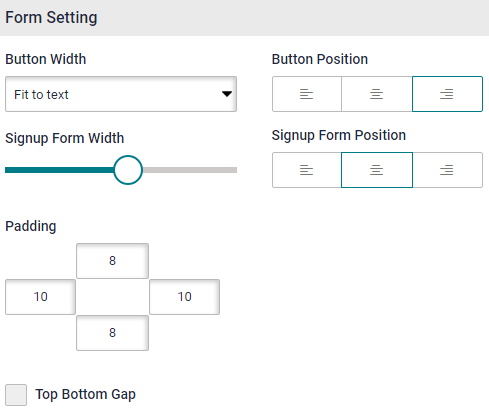
- Button Width to adjust the width of the button
- Button Position to change the alignment of the button in the design
- Signup Form Width to adjust the width of the signup form
- Signup Form Position to change the alignment of the form in the design
- Padding to enter the desired padding measurements. Padding refers to the gap between the text entered in the button and the button boundary.
Click Save and that’s it!
