Step 1
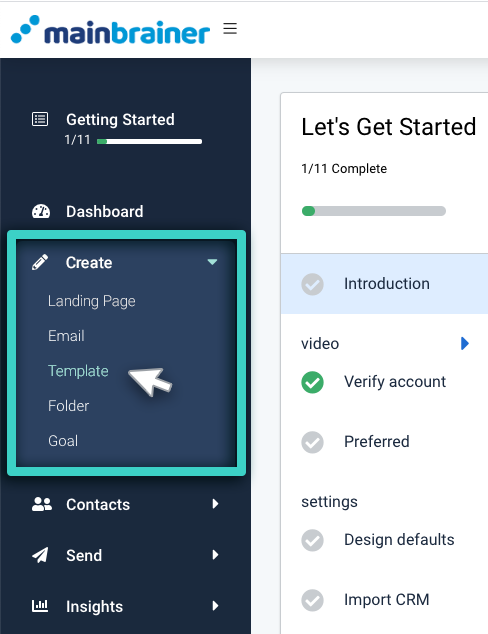
Use the Main Menu on the left to expand the Create menu and click Template.
Step 2
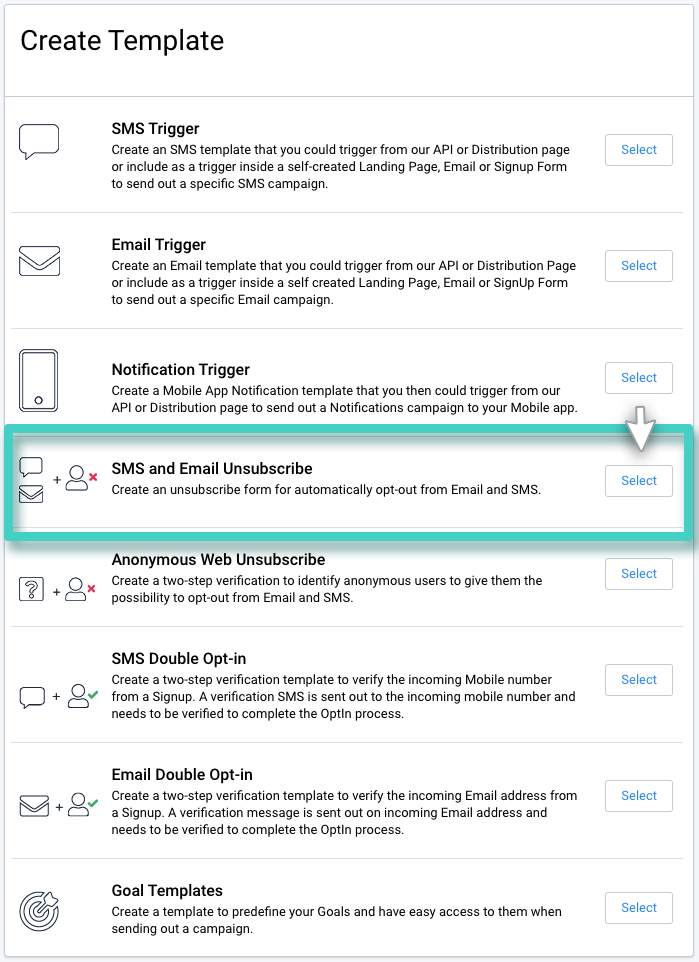
The subsequent screen lists the various Templates that can be created in MainBrainer. Select the SMS and Email Unsubscribe Template option (as highlighted in the screenshot below).
Step 3
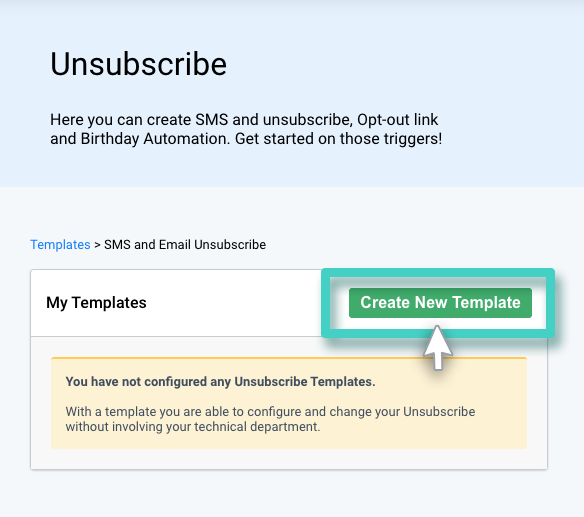
The subsequent page lists all the Unsubscribe Templates created so far. You can edit a previously saved Template by using the Edit button displayed against each listing, or you can create a new Template from scratch by using the Create New Template button (as highlighted in the screenshot below).
Step 4
Type in a relevant Template name and description, and click Continue. The Template name and description are only for your reference purpose. It is not visible to your customers in any way. Feel free to make it as descriptive as you want, as it would make Template identification easier in the future.
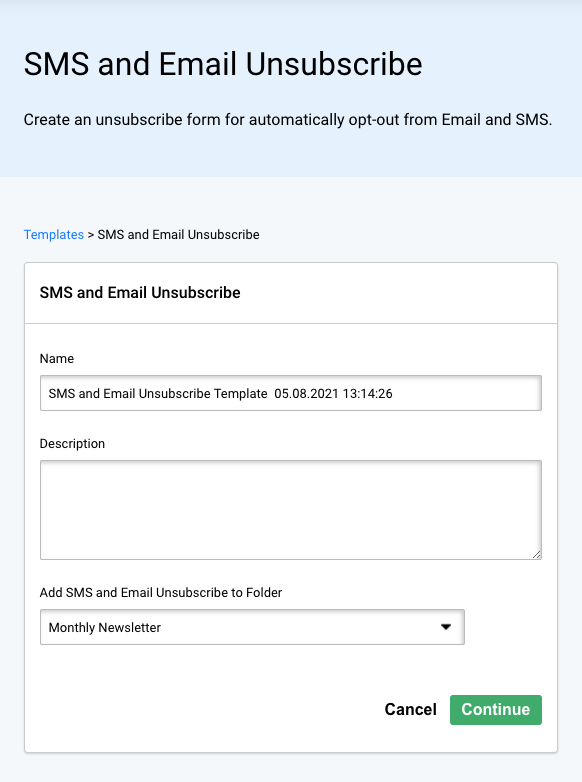
If you choose not to enter a Template name, the platform assigns a default name to the Template with the following structure:
<SMS and Email Unsubscribe Template Creation date Creation time>
For example: SMS and Email Unsubscribe Template 30.07.2021 10:00:00
Step 5
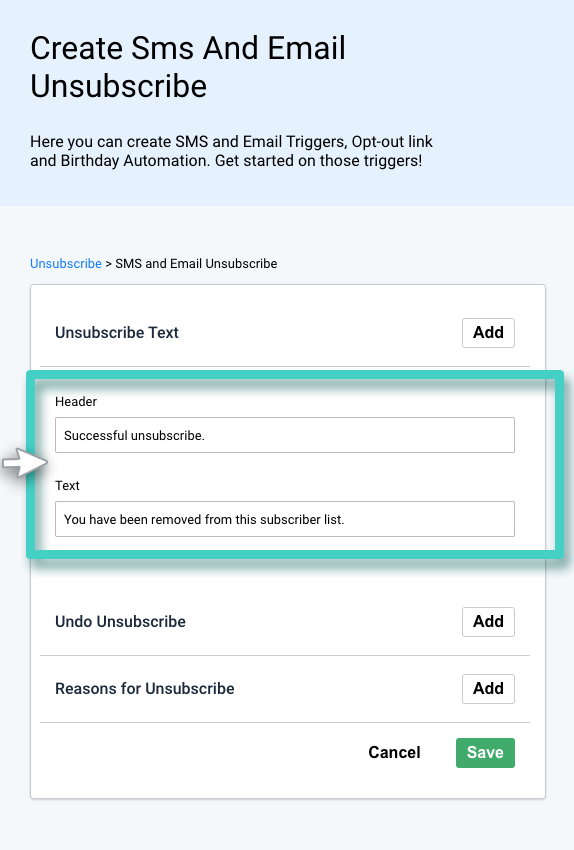
Use the area highlighted in the screenshot below to enter the text that you want to display on the webpage that confirms the unsubscribe action.
Step 6
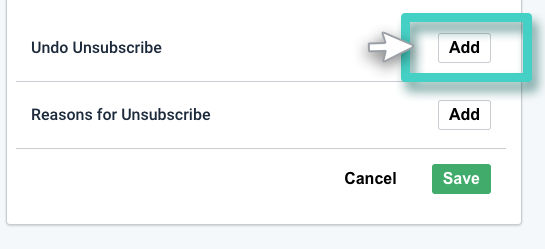
In case you want to add an undo option for users who might have unsubscribed accidentally, click the Add button (as highlighted in the screenshot below).
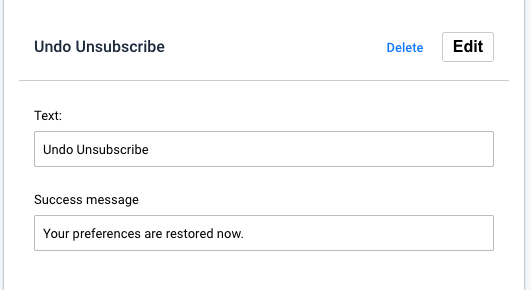
Subsequently, use the section shown in the screenshot below to add an Undo unsubscribe button to the webpage. Use the field Text to specify the text for the undo button. Use the next field – Success message, to specify the text that you want to display after the unsubscribe action is successfully undone.
Step 7
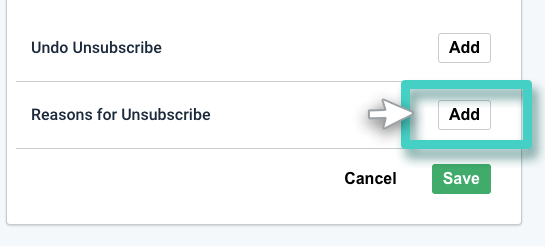
Use the Add button (as highlighted in the screenshot below) to add a feedback section to the webpage. Adding this section is optional, but highly recommended.
Use the section highlighted in the screenshot below to customize the feedback section as per your preferences:
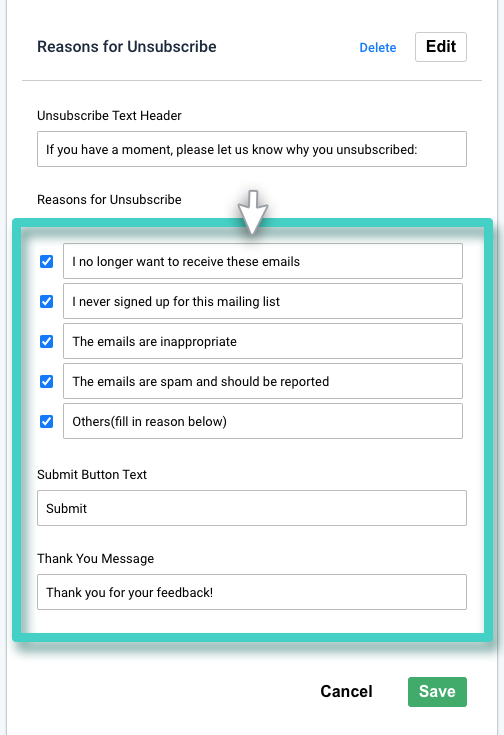
- Unsubscribe Text Header – Use this field to add header text for the feedback section.
- Reasons for Unsubscribe – Use the checkboxes to select the number of fields that you would like to add to your feedback section. You can edit the text of these fields as you prefer. Note that the first four fields are select-only. On the other hand, the fifth field will open a text box for the user to type in a custom answer.
- Submit Button Text – Use this field to edit the text that appears on the Submit button.
- Thank You Message – Use this field to specify the confirmation text that you want to be displayed when a user submits the form.
Click Save when done.
