Step 1
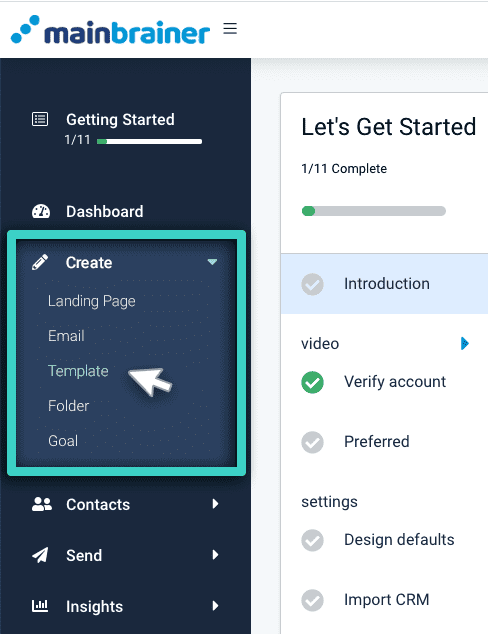
Use the Main Menu on the left to expand the Create menu and click Template.
Step 2
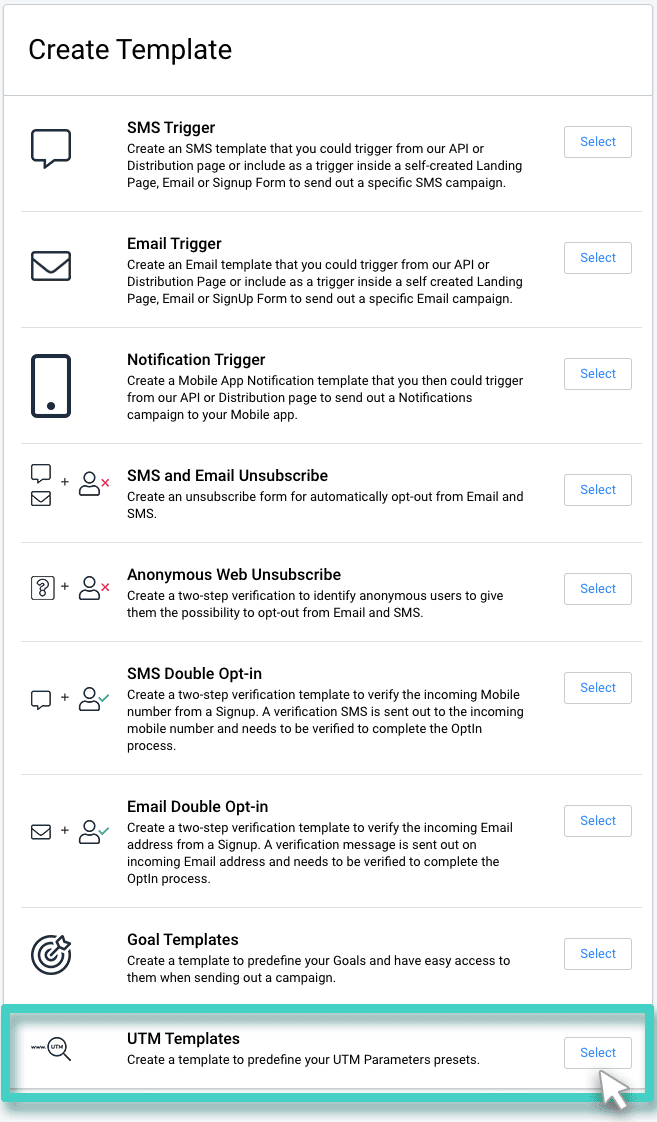
The subsequent screen lists the different types of Templates that can be created in MainBrainer. Scroll down the list and click UTM Templates (as highlighted in the screenshot below).
Step 3
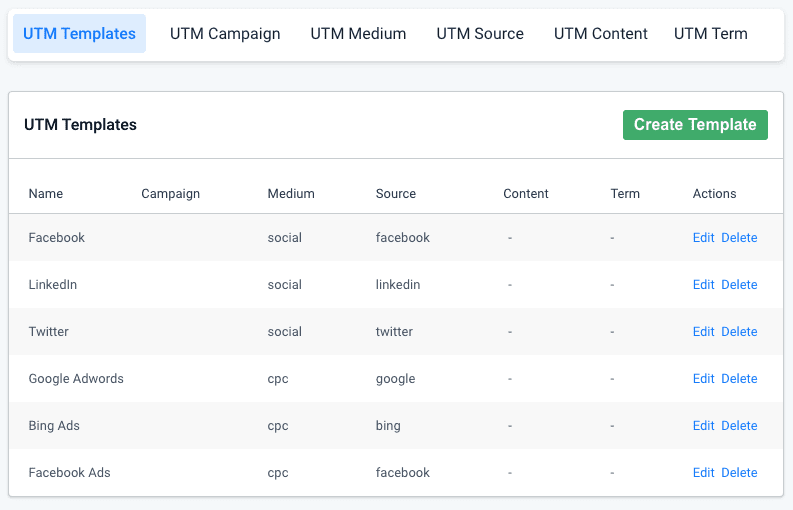
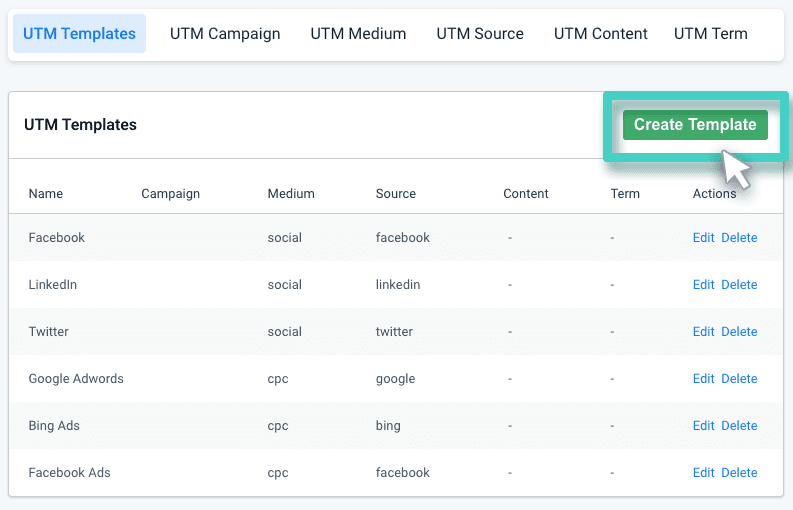
The subsequent screen displays a list of default UTM Templates. Please feel free to use any of these Templates that are compatible with your tracking goals.
Creating a Custom UTM Template
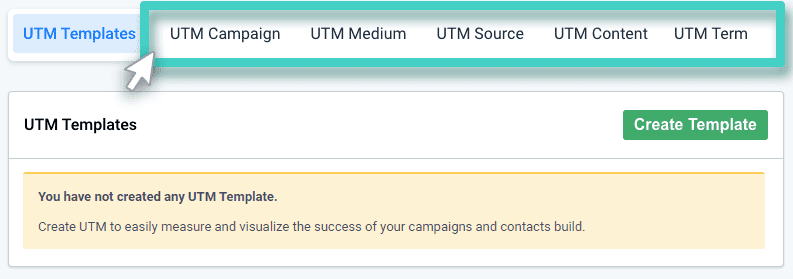
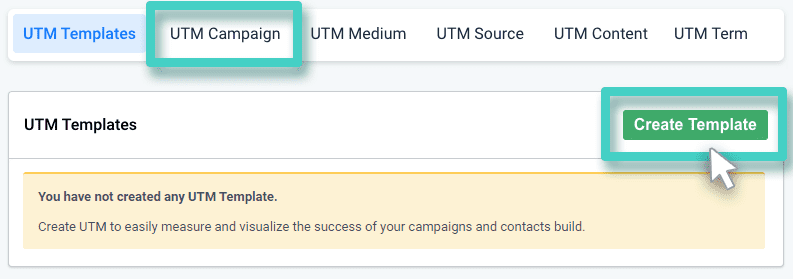
In case you wish to create a custom UTM Template from scratch, you’ll need to create the relevant UTM parameters first. As highlighted in the below screenshot, you’ll see different tabs corresponding to the different UTM parameters that need to be set. Navigate to each tab and define the parameters as per your tracking requirements.
Note: While we highly recommend that you use all the five parameters in your UTM Code, it is optional to add the parameters – UTM Campaign, UTM Content, and UTM Term. It is mandatory to define the parameters – UTM Medium and UTM Source in your UTM Template.
Step 1
Add the desired UTM parameters
Let’s take the example of the parameter – UTM Campaign. Click Create UTM Campaign to create the relevant Campaign parameter.
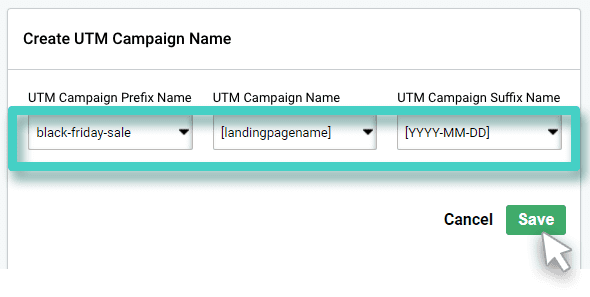
Here, you’ll have the option to choose the campaign name and add a prefix/suffix to customize the parameter as per your requirements. Scroll down the page to create the desired prefix, suffix, and campaign name.
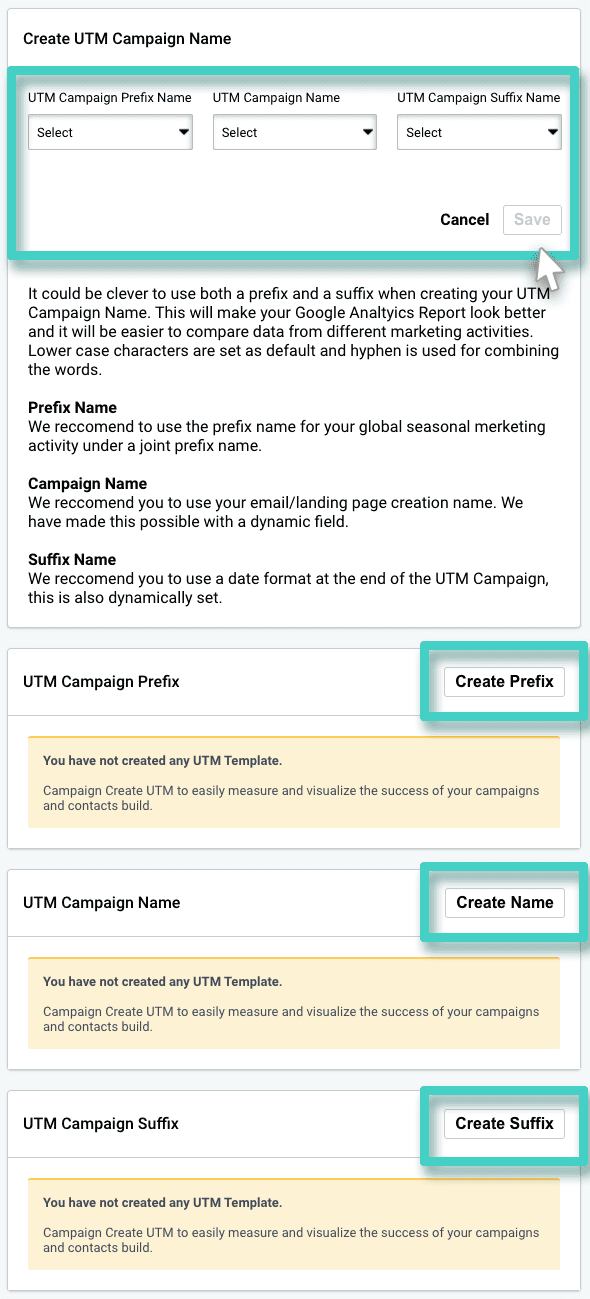
Note: When creating the prefix, suffix, and campaign name, any text you add will be auto-converted into the lower case, and a hyphen will be used as a word separator.
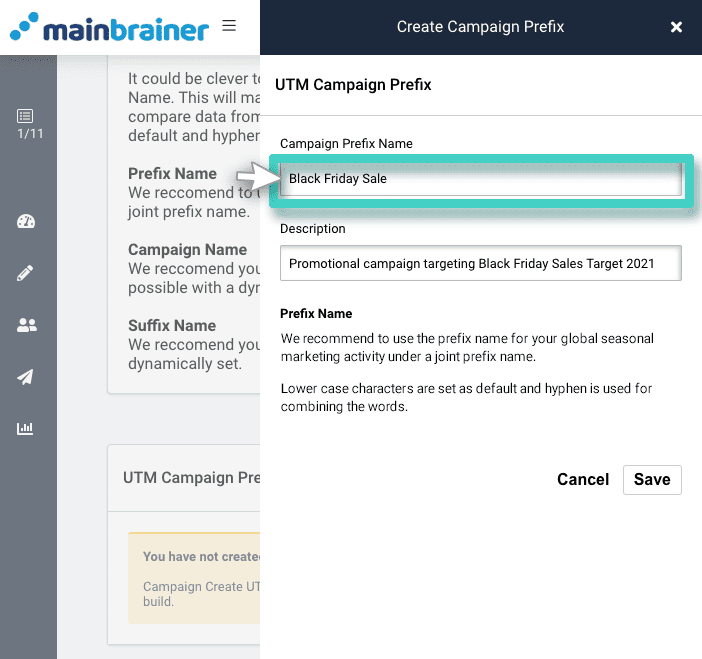
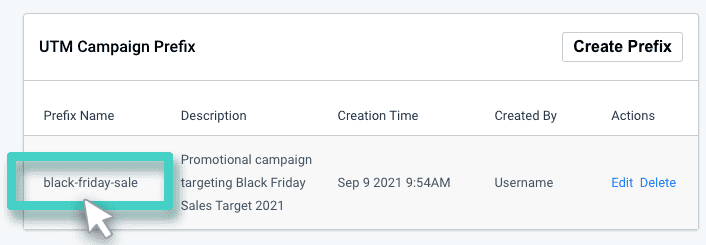
Once you have added the desired prefix, suffix, and campaign name, scroll up on the page to the section highlighted below and create the desired UTM Campaign parameter:
Notes:
- If you choose to use the default option [landingpagename] for the campaign name, it will be auto-populated dynamically with the landing page’s name when generating a URL.
- Similarly, if you choose the default date options available as suffixes, the date will be dynamically updated to reflect the date on which you generate the URL.
Step 2
Create a custom UTM template
Once you create and save all the UTM parameters that you need for your UTM code, click the Create Template button (as highlighted in the screenshot below):
Type in a relevant Template name and description. This description is purely for your reference purpose. Your customers will not see this, so make it as informative as you want. It will make Template identification easier in the future. Click Continue when done.
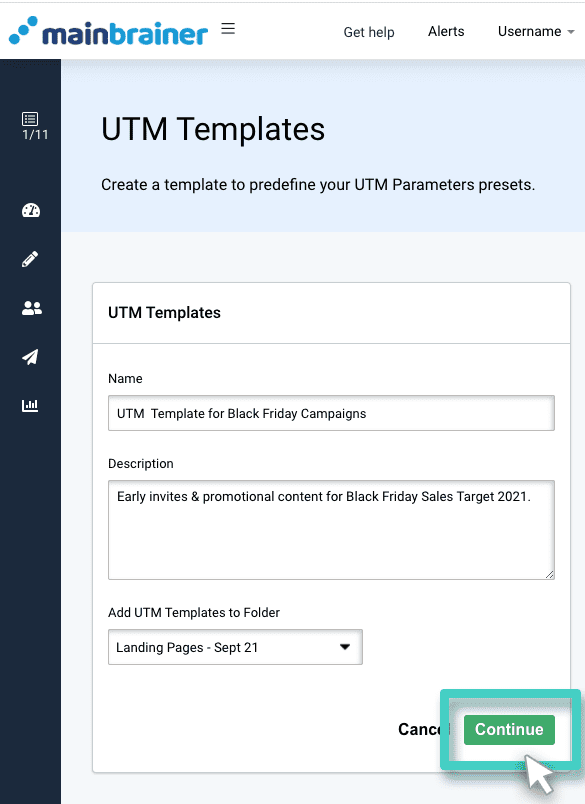
If you choose not to enter a Template name, the platform assigns a default name to the Template with the following structure:
<UTM Templates Creation date Creation time>
For example: UTM Templates 30-07-2021 10:00:00
Use the highlighted dropdowns to select the desired UTM parameters, and click Save.
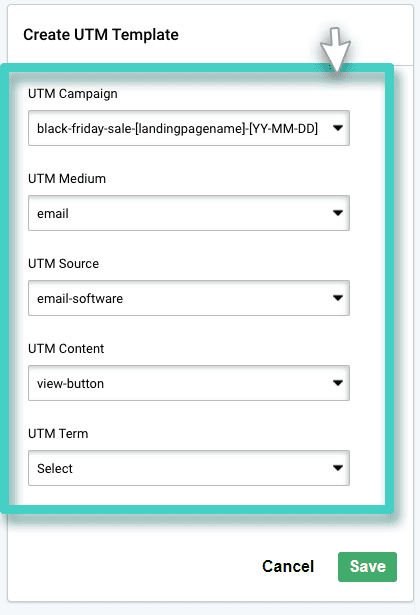
And that’s it! You have successfully created a UTM Template. You can now generate a URL with UTM tracking for your Landing Pages.
