The text widget helps you add text (including special characters and emoticons) to your survey and format it as per your design needs.
How to Use a Text Widget in a Survey?
Step 1 – Navigate to the Survey Creator
Open the Survey Creator to start creating your survey.

Step 2 – Add a Text Widget to Your Survey
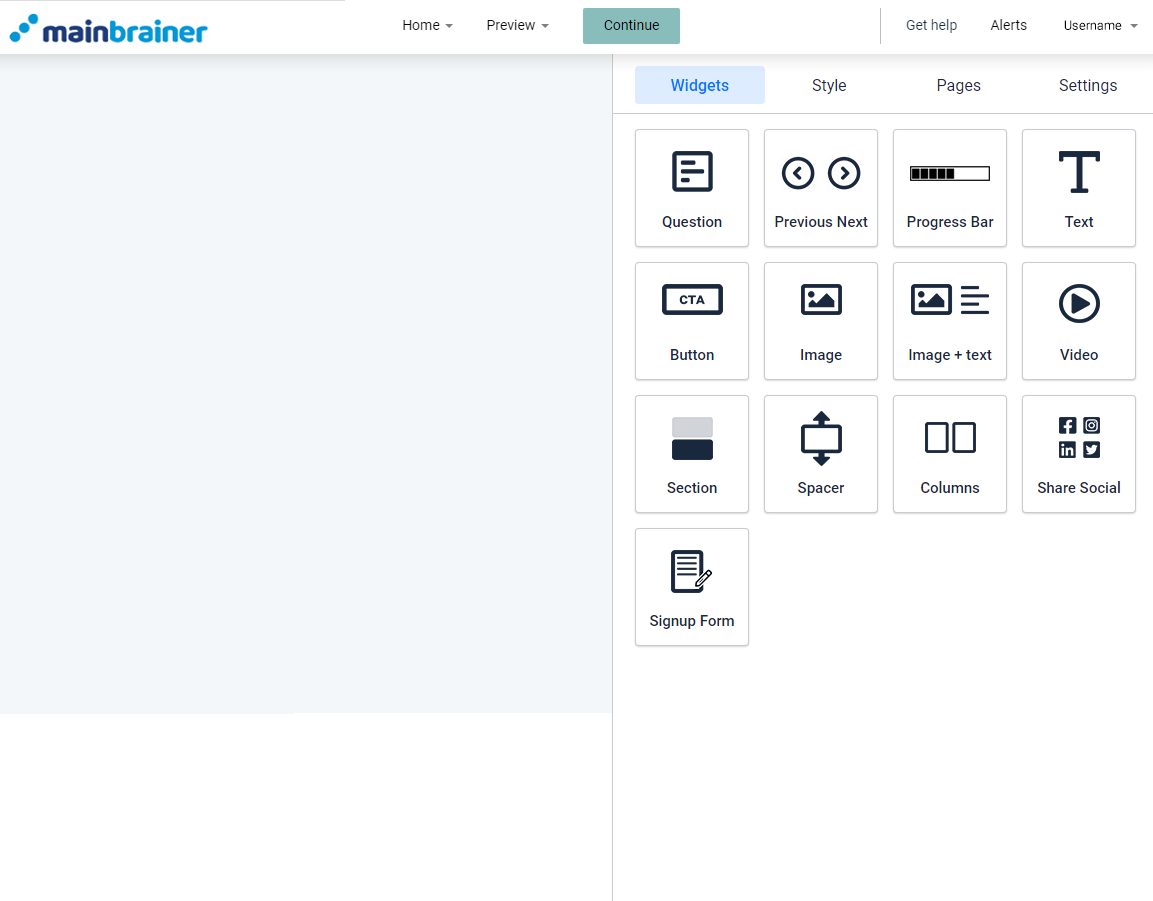
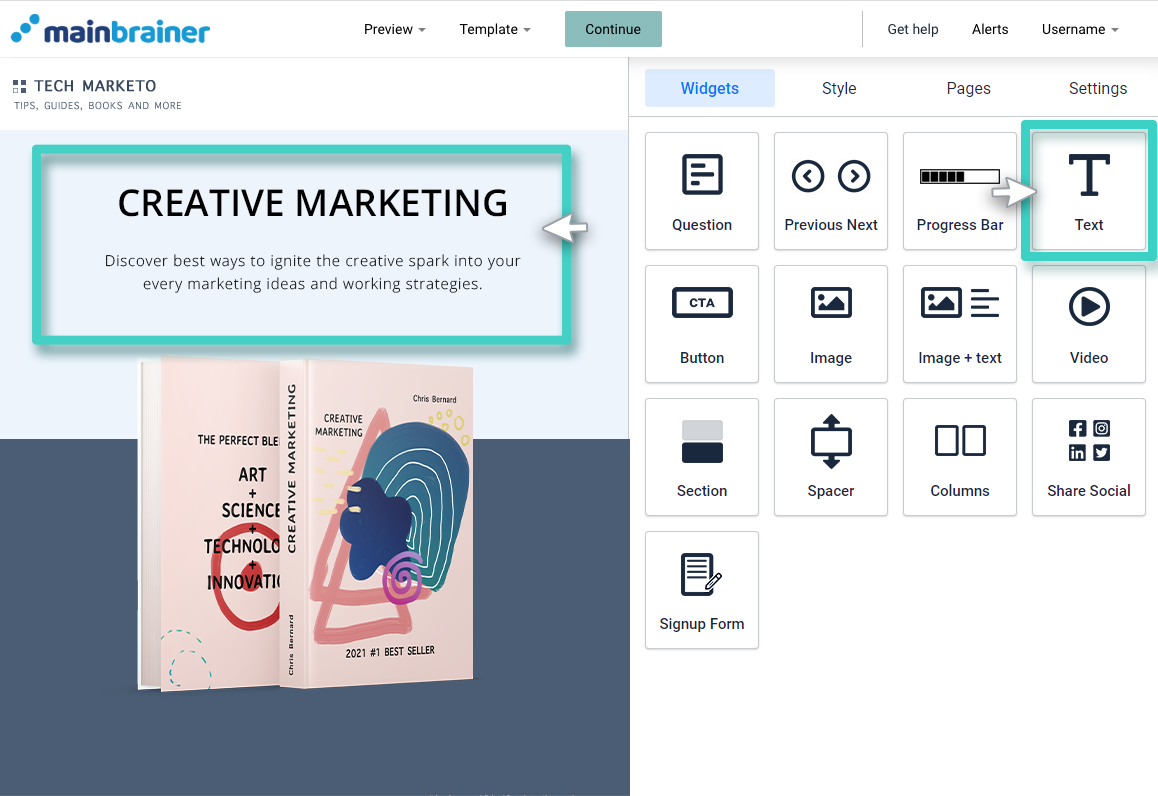
To add text to your survey, drag and drop the text widget to the work area.

Step 3 – Type in the Relevant Text
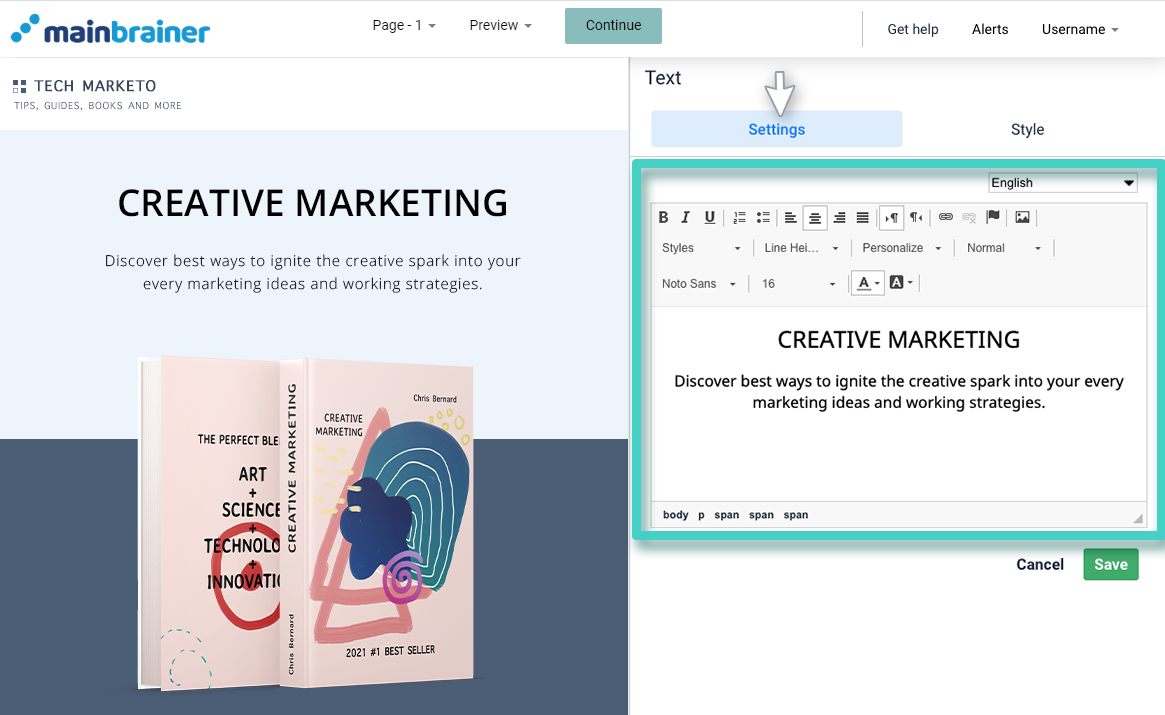
Once you drop the widget in the work area, you’ll see the widget settings on the right side.

You can type the text in the typing area. All the formatting options that you might need, for example, text color, size, style, background color, alignment, etc., are available as different text editor tools.
Here’s a closer look at our text editor tools:
3.1 Tools in the first row:
- Source (to toggle the text editor view from visual to code and vice-a-versa)
- Bold
- Italic
- Underline
- Numeric Bullets
- Symbol Bullets
- Left, Center, Right, and Justified aligning
- Text direction from left-to-right and right-to-left
3.2 Tools in the second row
- Link (hyperlink options) and Unlink
- Anchor
- Inserting Image
- Text formatting styles dropdown
- Personalize tags (like First Name, Last Name, Email, etc)
- Normal, Paragraph, Heading & more formatting styles
3.3 Tools in the third row
- Font
- Font-size
- Font color
- Font background color
Step 4 – Style Your Text Widget
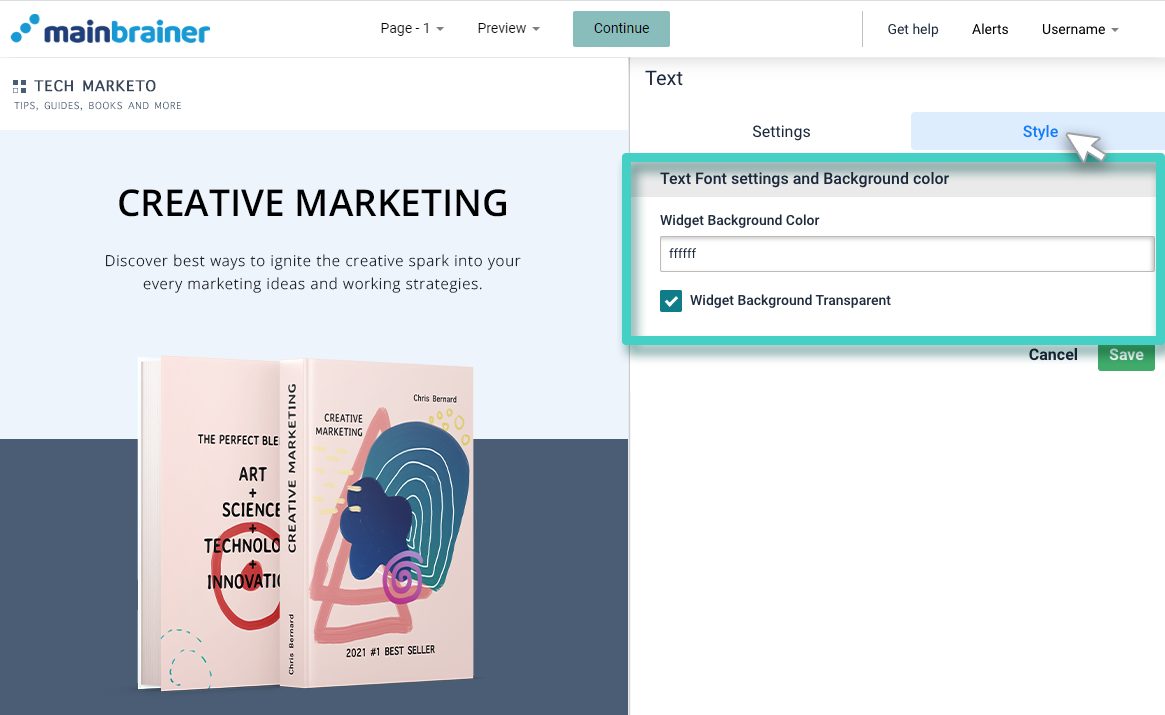
If you wish to change the color of the entire text added in the widget, you can do so by using the Widget Background Color field under the Style tab.

Click Save and that’s it!
You have successfully added a text block to your survey!
