Step 1 – Navigate to the SMS Sending Screen
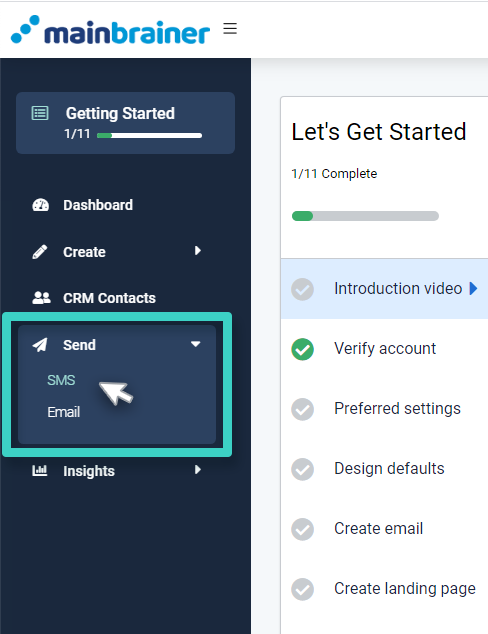
Using the Main Menu on the left, expand the Send menu and click SMS.
On the subsequent screen, enter a name and description for this sending. Enter a relevant name and description, something that will make the sending identification easier in the future. This name and description will also be used to display the list of scheduled sendings on your dashboard.
If you choose not to enter a name for the sending, MainBrainer assigns a default name to the SMS Sending with the following structure:
<SMS Sending date Sending time>
For example: SMS 30.07.2021 10:00:00
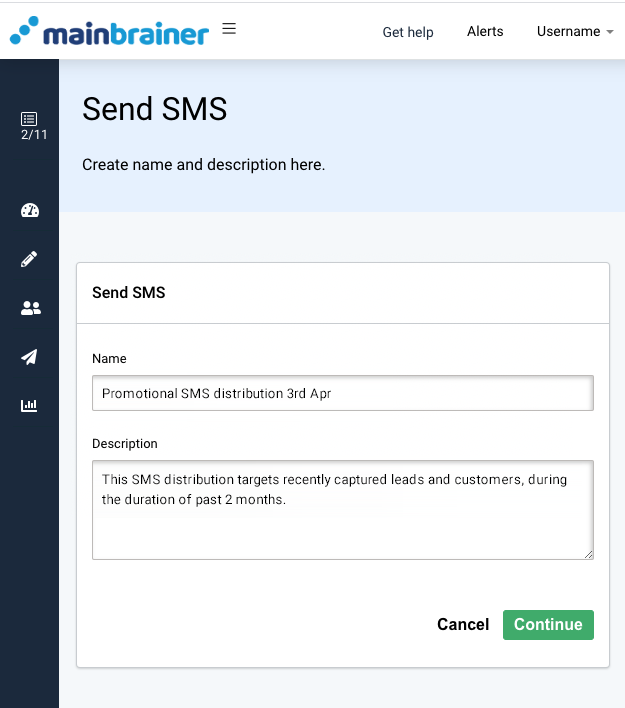
Click Continue and proceed to Select Recipients.
Step 2 – Choose Your SMS Recipients
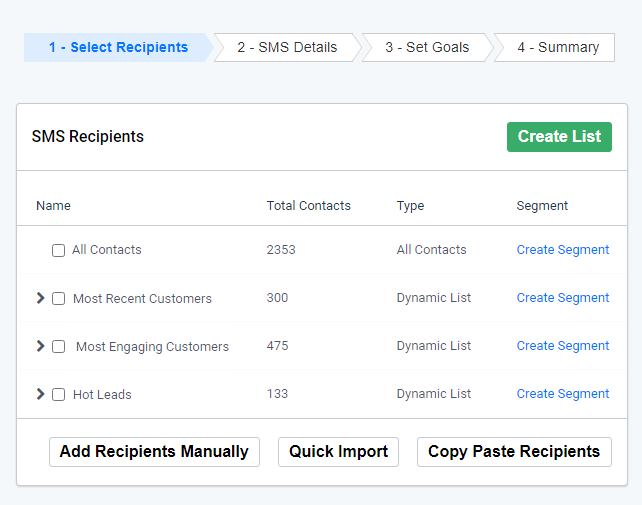
The SMS Recipients Section displays all the contact lists created in your account to date along with their constituent segments. Use this section to select the contacts you would like to send the campaign to.
Step 3 – Compose Your SMS
Use the area shown in the screenshot below to enter the SMS content and sender details:
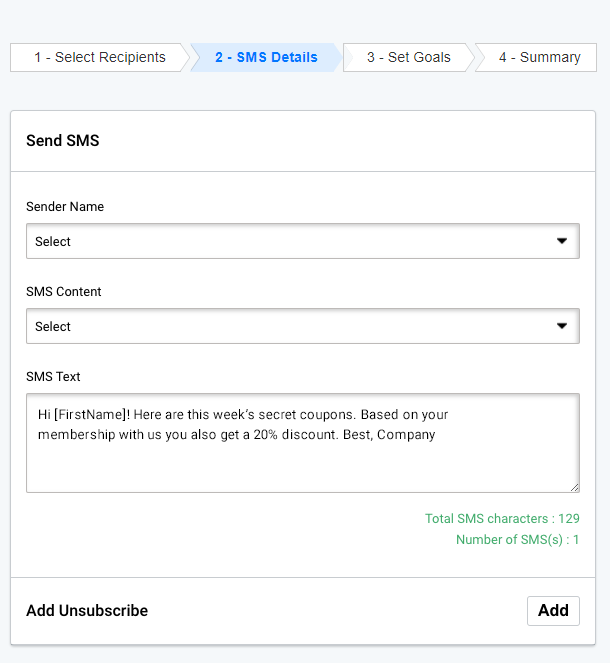
In this section, use the fields:
- Sender Name to select the sender name for this campaign sending. This name helps the SMS recipients identify who the sender of the SMS is. Use the option Create New from the dropdown menu to create a new sender name.
- SMS Content to select the type of content that you want to send in this sending.
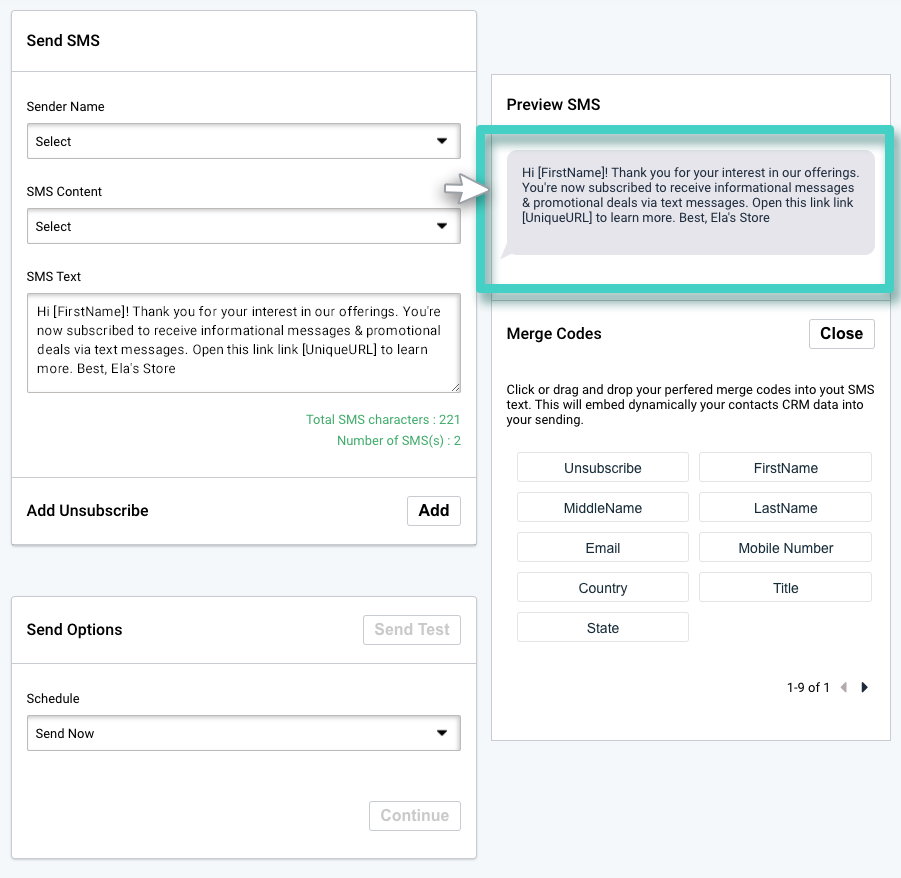
In the subsequent fields as you type-in/ select the SMS content a preview area opens on the right side (as highlighted in the screenshot below). This area displays the SMS as it would appear in your recipients’ inbox.
-
Merge Codes
A list of available merge codes is displayed on the right side (visible under the Preview SMS section as shown in the screenshot above).
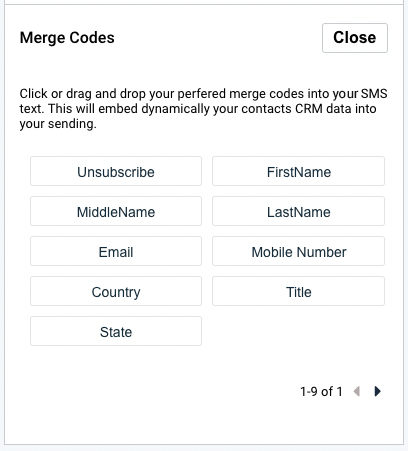
Merge codes allow you to add dynamic content to your SMS text. Drag and drop the required merge code(s) into the SMS text field as required. The merge codes will get dynamically replaced by the corresponding CRM data at the time of SMS sending.
Note: The list of available merge codes depends on the list of SMS recipients chosen in Step 2. Only the merge codes corresponding to the common data fields of these lists would be available for use.
-
Add Unsubscribe
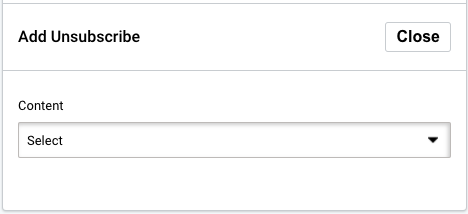
Click Add if you wish to add an unsubscribe option to your SMS. In the menu that subsequently opens up (see screenshot below), specify if you would like to add the link to an Unsubscribe Form or if you would like to add an Unsubscribe SMS Shortcode to the text.
Step 4 – Send Options
Now that you have composed the perfect SMS, click the Send Test button to send yourself a test SMS and double-check all the details.
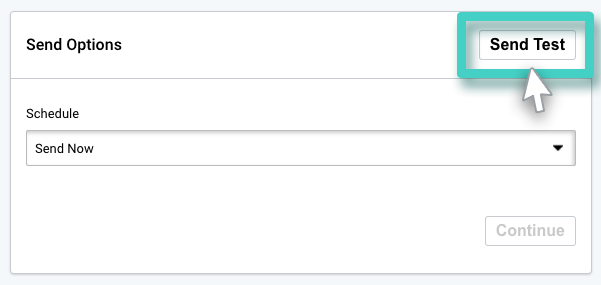
As you click Send Test, the following section appears, wherein you can specify the mobile number where you wish to receive the test SMS. You can add up to five mobile numbers for receiving test SMS(s).
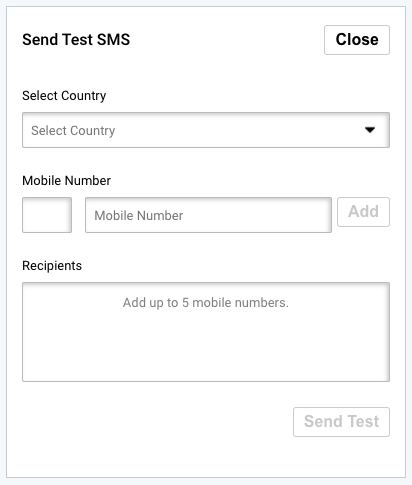
Note: The test SMSs sent will also count towards the account’s SMS consumption.
Note: Though highly recommended, sending a Test SMS is optional, and you can straight away send out the campaign to your recipients if you wish to.
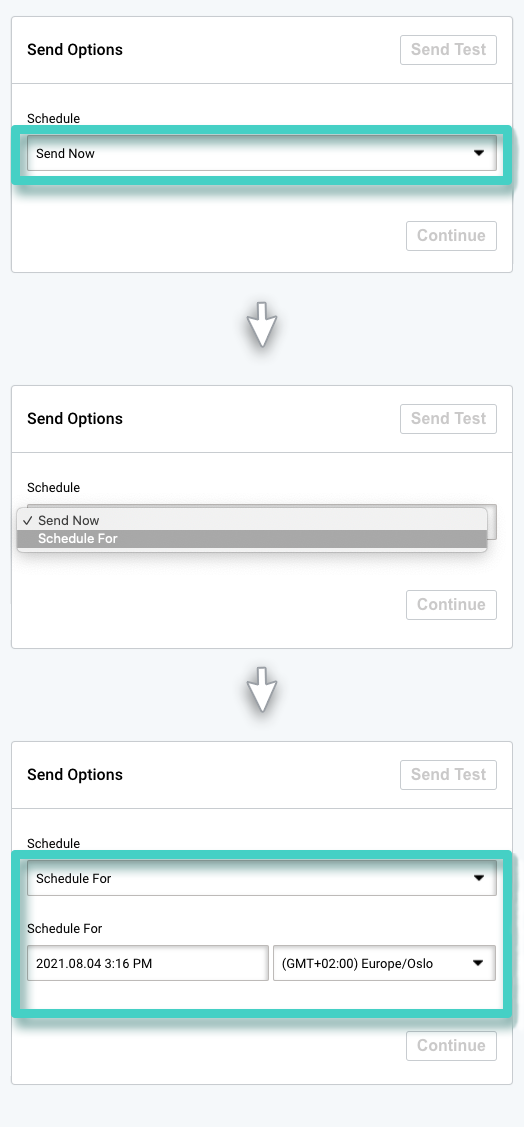
Once you have double checked all the details, and wish to send your campaign out to your recipients, use the section highlighted in the below screenshot to specify if you would like to:
- send your SMSs immediately, or
- schedule your SMS sending for a later time/date.
Step 5 – Set Goals For SMS Sending
In case you would like to specify the desired end goal for this SMS sending, click Set Your Goals.
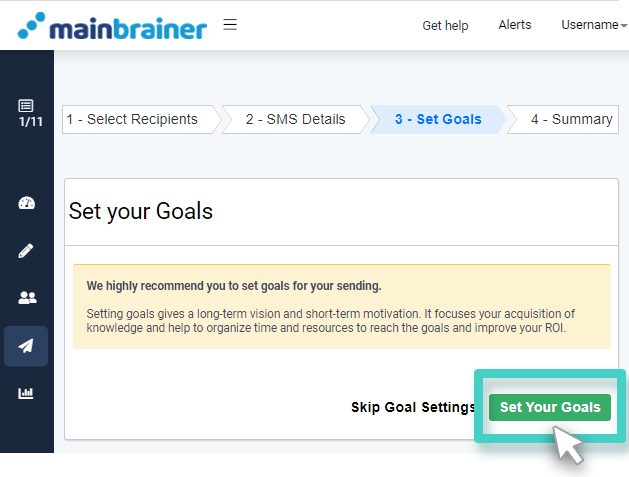
The subsequent screen displays KPIs for the different goal types. Enter the intended goal rate for the KPIs that you wish to monitor.
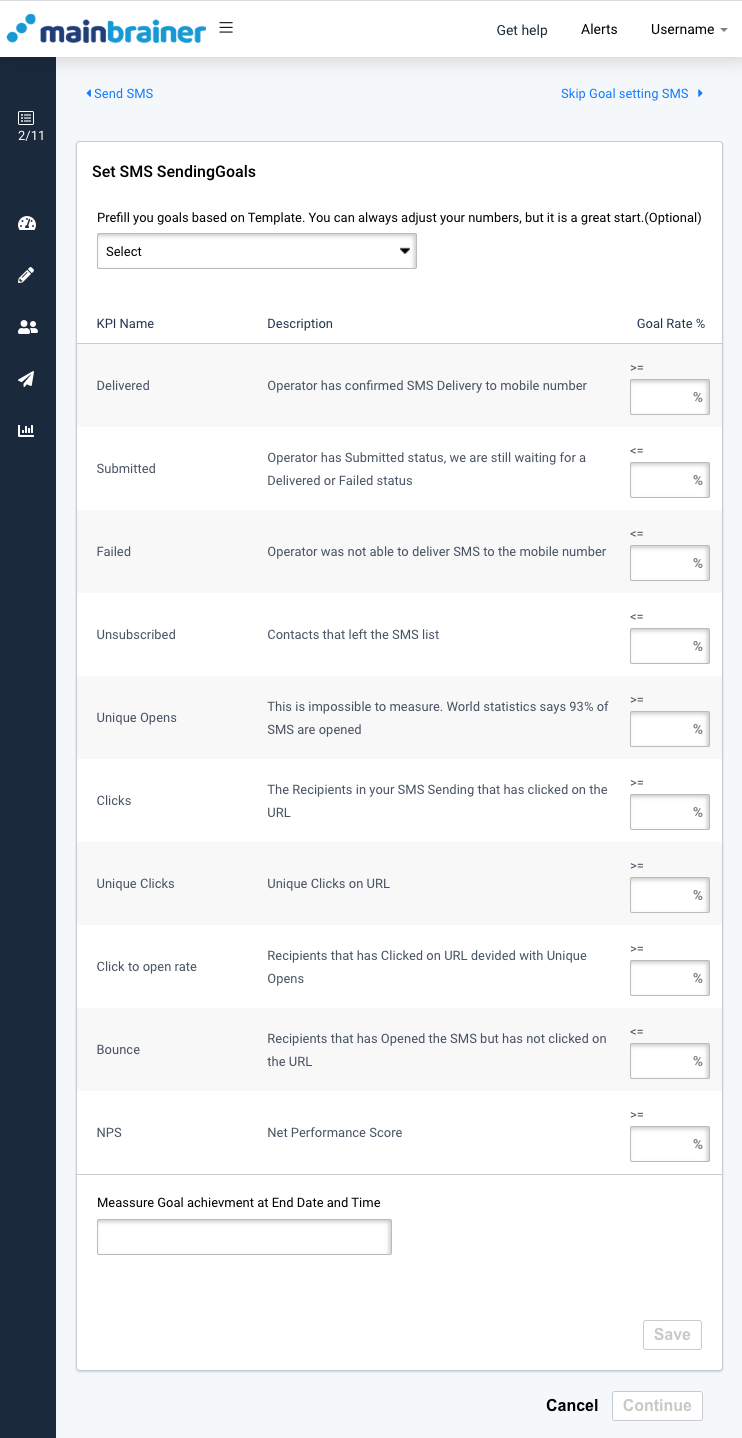
Note: Although this step is optional and can be skipped using the button Skip Goal Settings, we highly recommend that you always set goals for your campaign sendings. Doing so makes your work easier when it comes to campaign performance analytics. Just a glance at our insights section helps you see which sendings met their intended goals and which ones didn’t.
Note: In case you decide to skip goal setting at this stage, you can always set goals for the sending later at your convenience.
Step 6 – Send Your SMS Campaign
The subsequent screen displays the summary of your SMS campaign along with a preview of how the associated landing page would appear on a mobile screen.
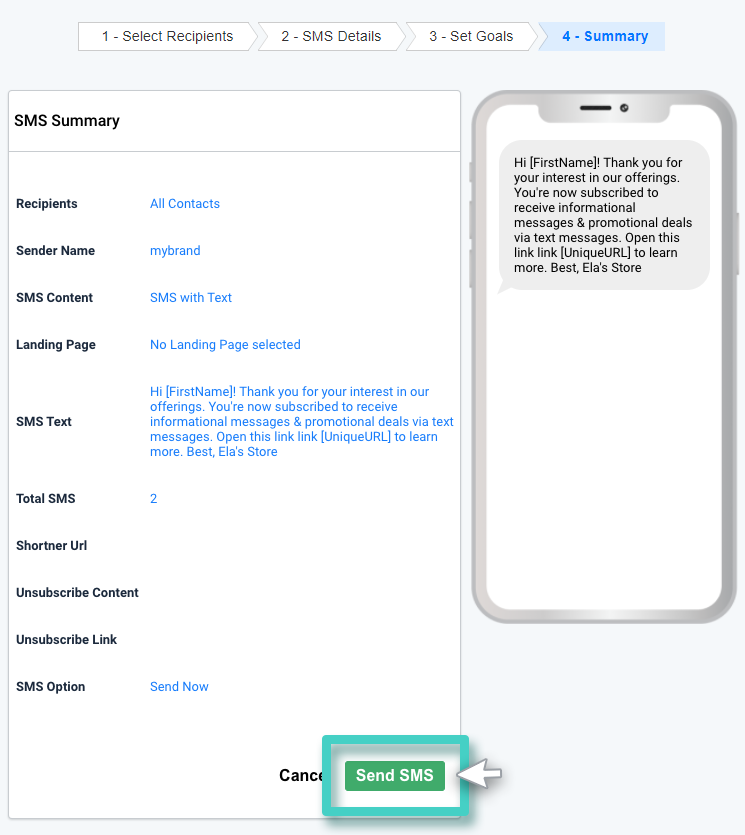
Double-check to ensure that all details are correct. Once you are sure, click Send SMS to send out your campaign!
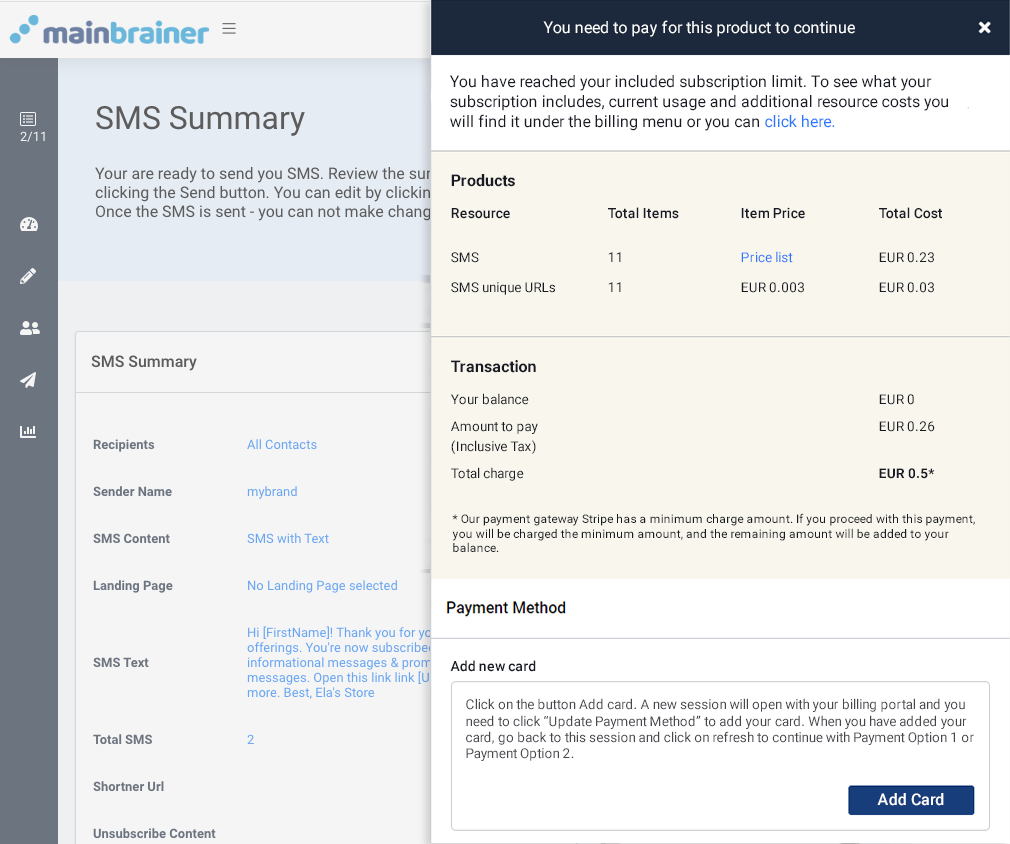
Note: In case you attempt to send more SMSs than are permitted in your subscription plan, and you have insufficient funds in your account to pay for the additional SMSs, the sending will not be executed. In such cases, add the requisite amount of funds to your MainBrainer account to reattempt the sending.
