The Question Widget helps you add questions to your survey. Before we show you how to use the Question Widget here are some terminologies you should get familiar with.
There are six types of question buttons available, namely:
- Radio Button: Radio button allows you to offer more than two options for the question but there is only one correct answer.
For example,
What is the capital of Germany?
Answer Choices – Berlin, Budapest, Mumbai, London - Check-Box button: It is the perfect button for multiple-answer questions.
For example,
Which dog breed do you like the most?
(You can choose more than one answer) - Open Text button: It allows your audience to write an answer based on their opinion. The Open Text button is perfect for feedback or suggestions.
For example,
What would you suggest for a better Company-employee relationship? - Drop-down, select one: It is a type of Radio button but the options are available in a drop-down format.
- Matrix (Single): It is the ideal choice for rating-based questions.
For example,
How would you rate your dine-in experience?
Ratings Scale – 1, 2, 3, 4, 5
Ratings Against – Ambience, Hygiene, Food, Overall - Matrix (Multiple): You can pick the Matrix (Multiple choice) button for questions with multiple-rating options.
For example,
Which motorcycle would you prefer for the following scenarios?
Scenarios – Racing, Aventure-cruising, Daily ride
Choices – Yamaha, Royal Enfield, Honda, Harley Davidson
Each question button has its own guidelines that you can set during the editing process.
Other functionalities involved are:
- Category: Available under Settings, a Category helps you define your questions. For example, you can create a category “Personal Information,” and assign the questions in your survey under this category, like Gender, Marital Status, etc.
- Score: Score helps you in analyzing your survey’s performance. You can set scores for each question that would be calculated at the end of the survey. It helps you in analyzing your survey’s performance. You can compare the total score with the score at the end of a survey period.
The scores are calculated depending on certain criteria defined for each question. MainBrainer calculates the score twice i.e total score at the time of survey creation and score after the form-filling process.
Here’s how the UI calculates the scores for each question type.
- Radio button
- For the total scoring – The UI picks the highest value among all the options.
- After the form-filling process – The UI picks the marked option only.
- Check boxes
- For the total scoring – The UI uses the sum of all the options except those with negative scores.
- After the form-filling process – The UI uses the sum of the marked options.
- Open Text
- For the total score and the form-filling process, the UI uses the assigned score.
- Drop-down, select one
- For the total scoring – The UI picks the highest value among all the options.
- After the form-filling process – The UI picks the marked option only.
- Matrix (Single choice)
- For the total scoring – The UI uses the maximum score in the column and multiplies it with the number of rows.
- After the form-filling process – The UI uses the sum of marked options.
- Matrix (Multiple choice)
- For the total scoring – The UI uses the sum of all the columns except the negative scores and multiplies it with the number of rows.
- After the form-filling process – The UI uses the sum of marked options.
How to Add a Question Widget to a Survey?
Step 1 – Navigate to the Survey Creator
Open the Survey Creator to start creating your survey.
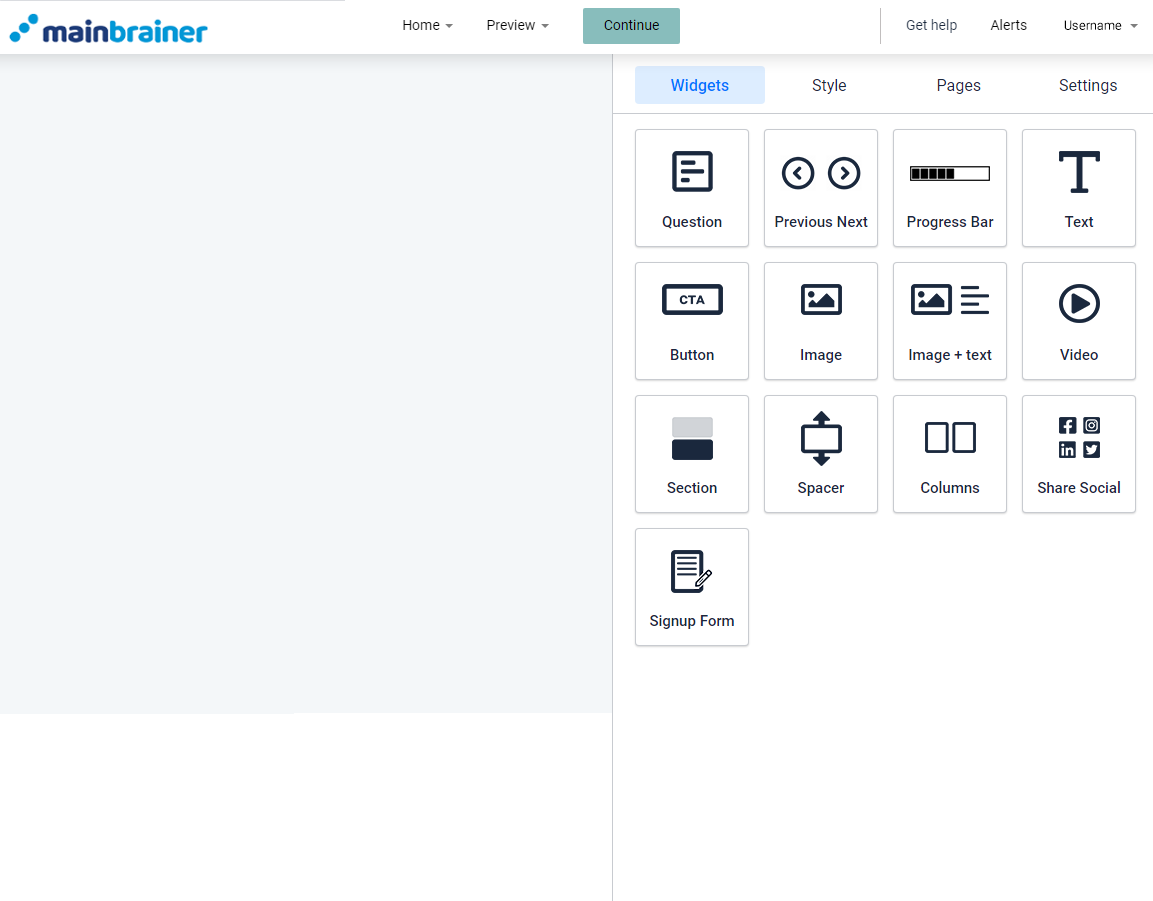
Before you start adding question buttons into the work area, you could define the Categories for the questions in the Settings.
Step 2 – Add Question Widget in your survey
To add questions to your survey, drag and drop the widget to the work area.
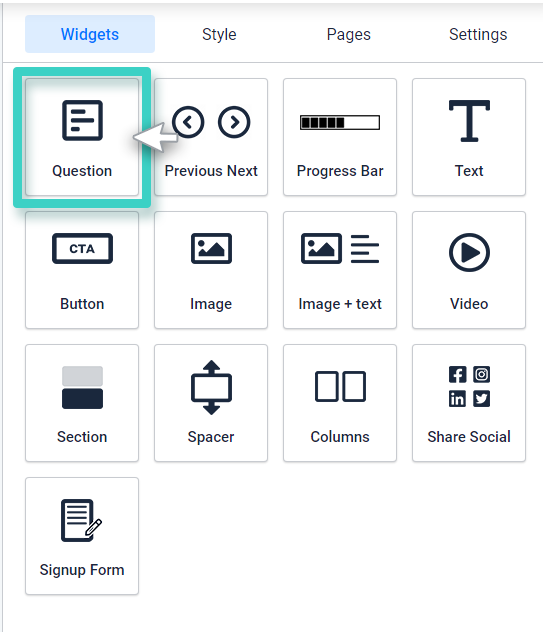
Step 3 – Configure the Question button
Once you drop the Question button into the work area, you’ll see the widget settings on the right side.
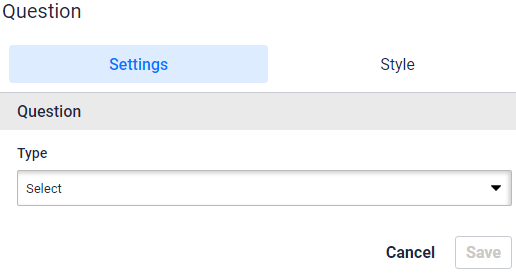
Click under “Type” option to see the type of question button that you can select from:
- Radio Button
- Check-boxes
- Open Text
- Drop-down, select one
- Matrix (Single Choice)
- Matrix (Multiple Choice)
Let’s take an example and understand how you can use each button.
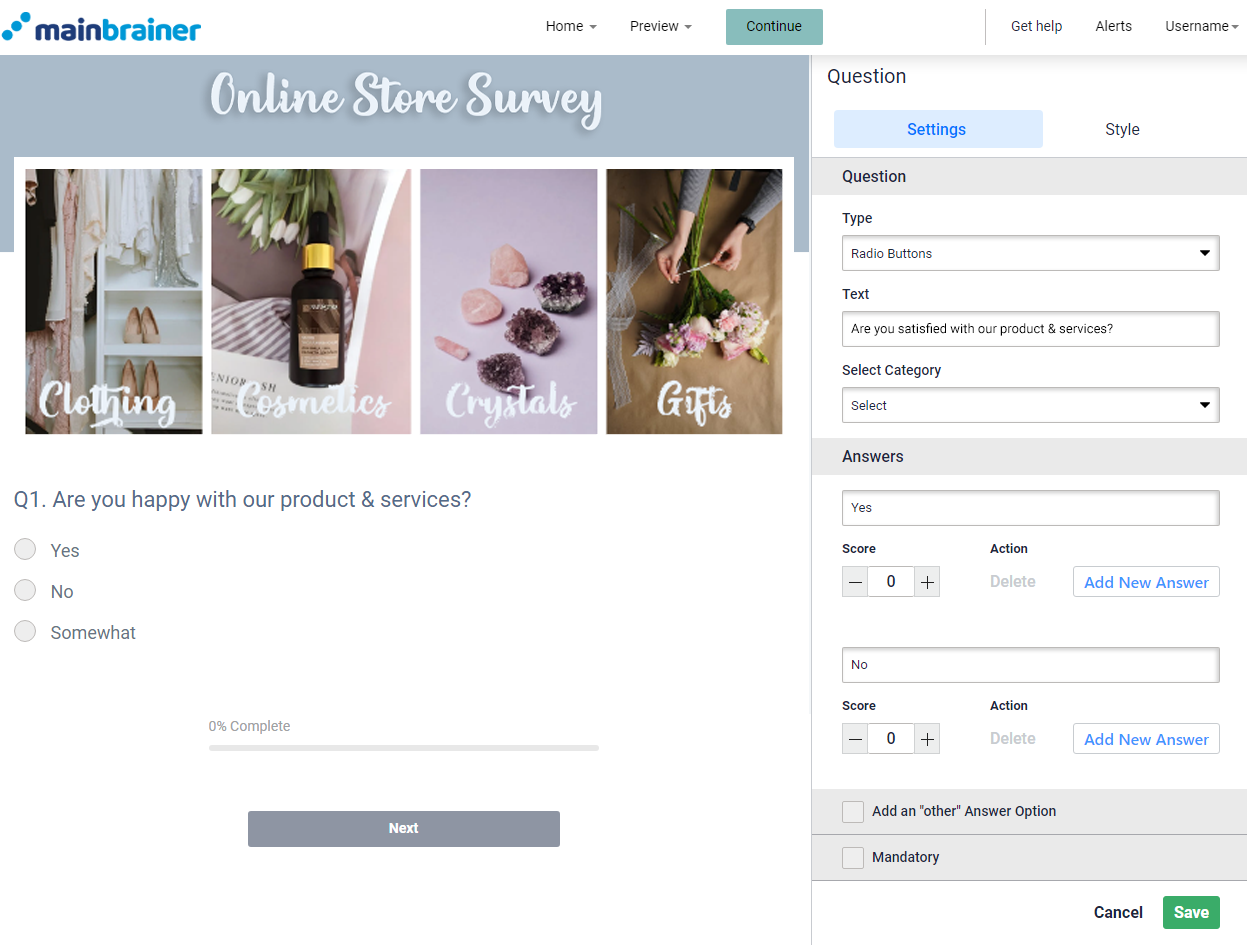
An online fashion store wants to create an online survey to understand its audience’s perception towards its products.
3.1 – For Radio Buttons.
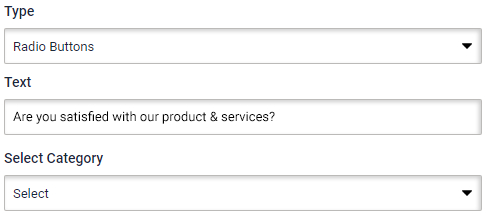
Click on Radio Button under button Type. Then proceed to type the question text under Text. Select the Category you want this question to be assigned to. You can leave this option if you haven’t defined any category or do not wish to add the question in one.
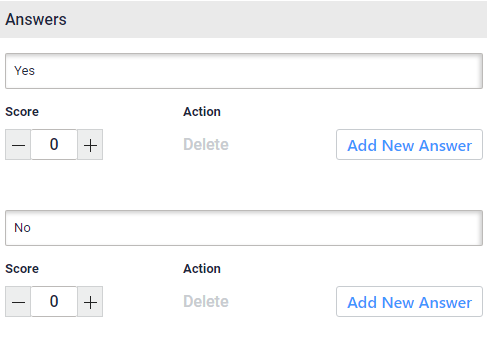
Fill in your Answers and assign a Score as you go along. If you wish, you can edit and add other answer options and characters limit as well.
Select Mandatory if you don’t want the audience to skip this question. Once you select mandatory, you can edit the Validation Message that will appear when your audience clicks Next, Previous, or Submit without answering the question.
3.2 – For Check Boxes
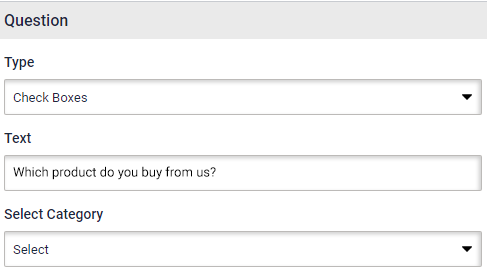
Select Check Boxes under Type. Now type the question text you want to ask under the Text box. Pick a Category you want this question to be assigned to. If you haven’t defined any category earlier or do not want to add the question in one, you can skip this option.
Now start filling in your Answers along with the scores. You can even add other answer options and define the characters limit for them.
If you want your audience to answer this question before going ahead, you can select Mandatory. Now, you can edit the Validation Message to appear when a customer clicks Next, Previous, or Submit without answering the question.
Note: You can select multiple answers in Check Boxes.
3.3 – For Drop-down, select one button
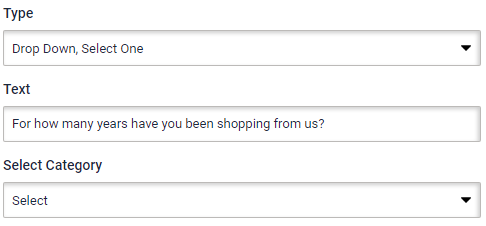
Go to Type and pick Drop Down, Select One. Click on the text box under Text and type your question. Select a Category for the question, or you can skip if you don’t want to add the question in one.
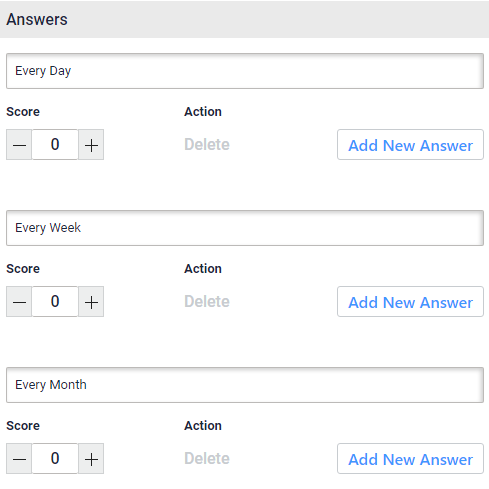
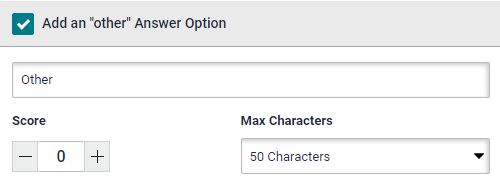
Now, start writing your Answers and their Scores. Add “other” answer option along with the character limit if you want to.
If your audience must answer this question, select Mandatory and edit the Validation Message. This will appear if your audience presses Next, Previous, or Submit button before answering the question.
3.4 – For the Open text button
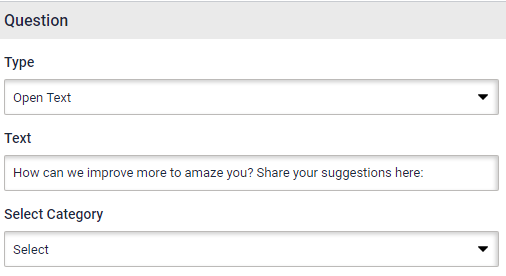
Select Open Text Button under button Type. Now you can type your question under the Text. You can pick a Category like Feedback or skip this part completely if you haven’t defined any categories.
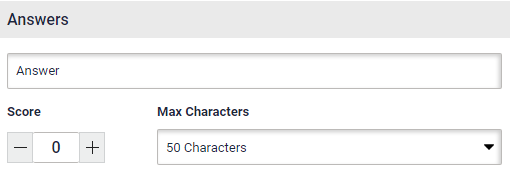
You can change the “Answer” text that will be visible to the audience and set the score and character limits for the answer.
Click on Mandatory if you want the audience to answer this question. Now, you get to edit the Validation Message that appears if your audience tries to skip the question and presses Next, Previous, or Submit.
3.5 – For Matrix (Single Choice)
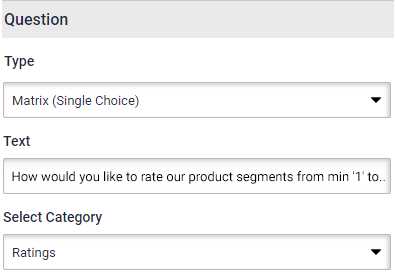
Check Matrix (Single Choice) under Type. Then type your question under the question text and then proceed to define the Category like Ratings. You can skip this step if you haven’t defined any category.
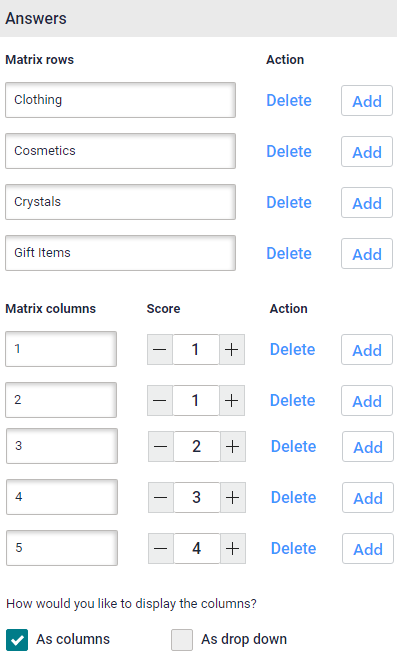
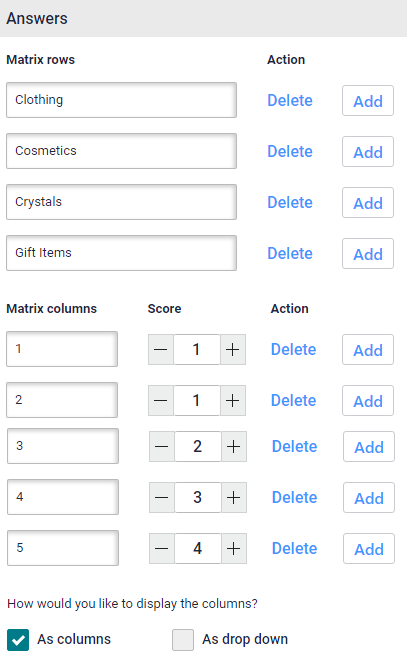
Under Answers, you need to edit each Matrix Row according to your parameters. You can Delete or add more if you want. After this, edit the name of each Matrix Column, assign Score, and Delete or add more columns if you want.
Now you can select how the columns should appear in the survey. After this, you can add a Comment section under the question if you want the audience to provide their opinions.
Select Mandatory if you don’t want the customer to skip this question. Once you select mandatory, you can edit the Validation Message that will appear when a customer clicks Next, Previous, or Submit without answering the question.
3.6 – For Matrix (Multiple Choice)
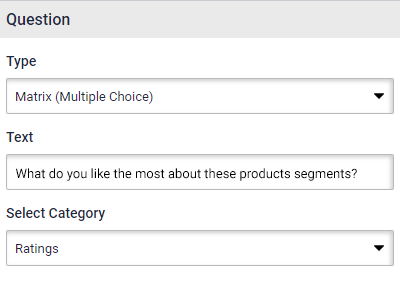
Under button Type, select Matrix (Multiple Choice) and click on the Text box to type your question. Once you’re done typing your question, pick the Category for the question or skip this part if you don’t have a defined category.
Under Answers, you can edit the Matrix Rows and Columns according to your preference. You can even set the Score for the Matrix Columns. Once you’ve added the rows and columns, you can pick how the columns should appear, i.e., as Columns or drop down.
You can go ahead and add a Comment section for the audience. Then select Mandatory if you don’t want them to skip this question.
Step 4 – Style the Question Button
You can edit how your button looks using the Style tab.
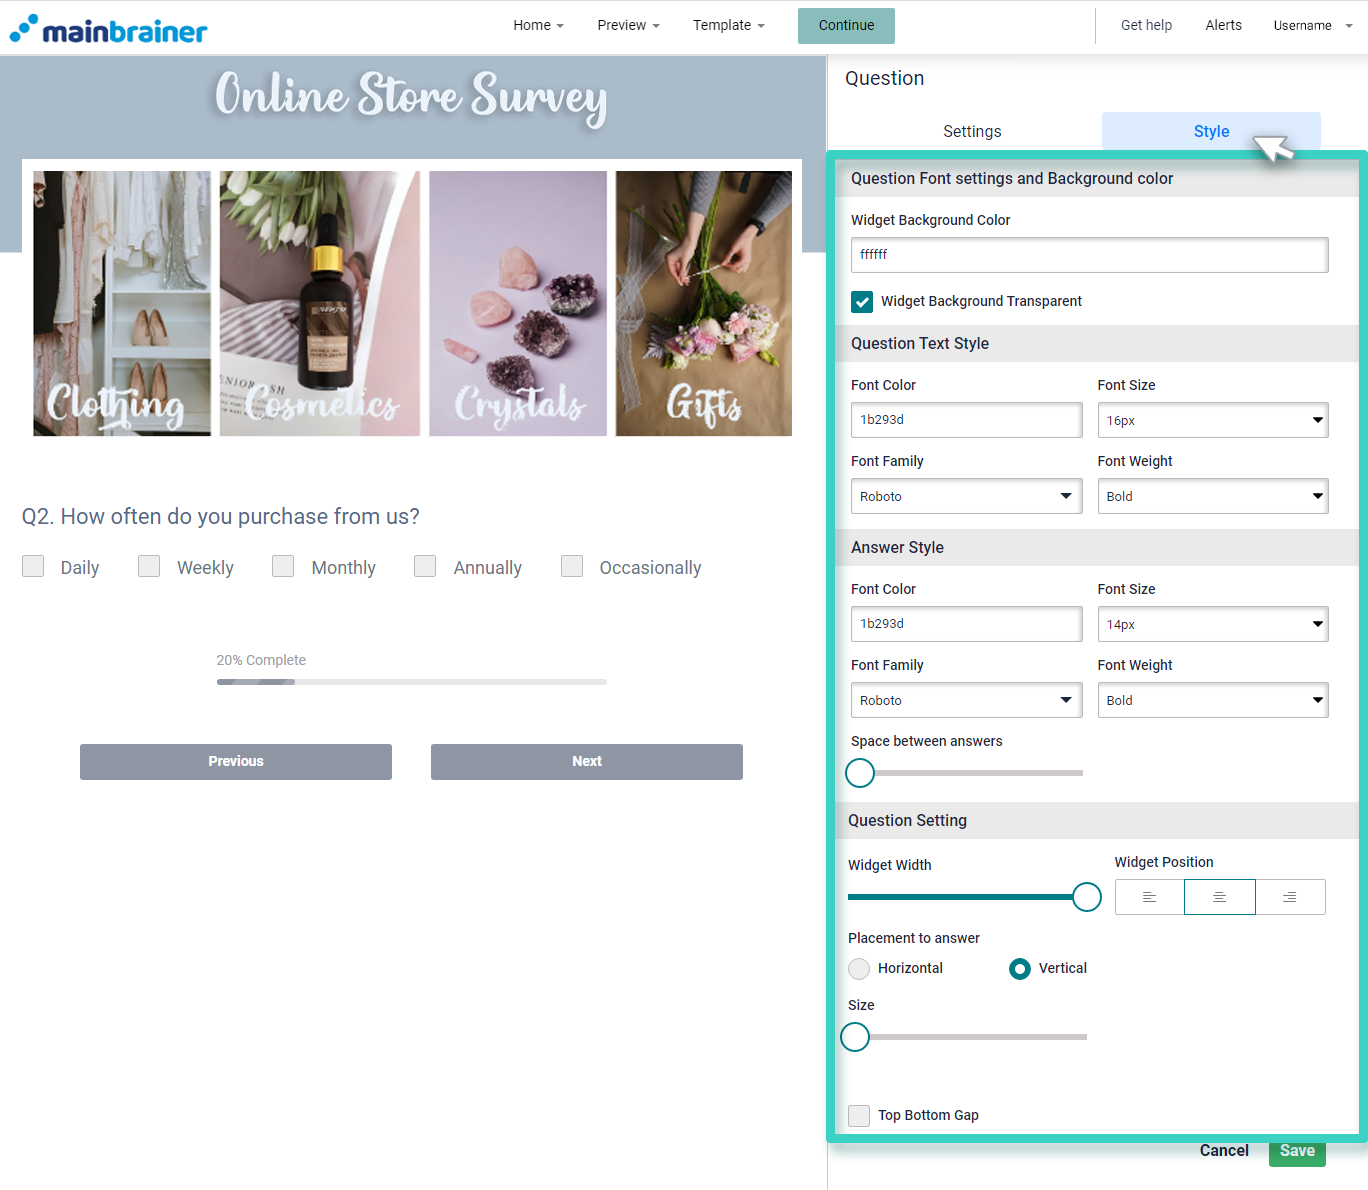
These are the design options available to you:
4.1 – Question Font and Color Setting

Widget Background Color to change the color of the button background.
4.2 – Question Text Style
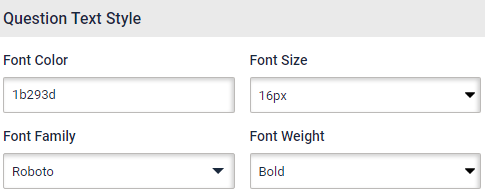
The different options available under this section help you edit the font style, color, font family, and font-weight of the button text.
4.3 – Answer Style (Available in Radio button, Check Boxes, Matrix (Single, and Mulitiple)
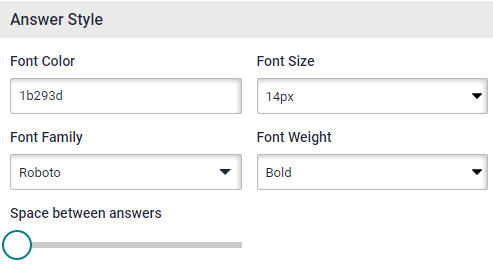
Like Question Text Style, Answer Style offers different options to assist you in editing the font style, color, font family, fond weight, etc.
4.4 – Question Setting
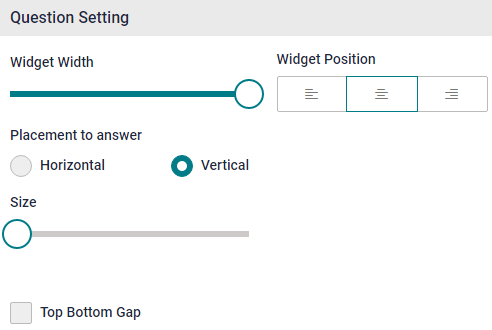
- Widget Width to adjust the width of the button.
- Widget Position to change the alignment of the button in the design
- Top Bottom Gap to put some gap between the top widget and the question button.
Click Save and that’s it!
You have successfully added a custom Question button to your survey!

